While carrying out some repair works, it is important to gain access to a given faulty part. Therefore, depending on the kind of failure, it is sometimes necessary to put the platform in the right position. For example, if you’re experiencing a Z-axis motor failure, you won’t be able to move the platform up using options from the menu. That’s why, you will have to lift or lower the platform manually.
The following manual shows the correct procedure of both firmware and manual platform lifting/lowering.
Firmware Platform Lifting
Plug the power cable in and turn on the printer.
From the menu choose Maintenance and then Move the platform up. Keep the knob pressed to move the platform upwards.
Turn off the printer and unplug the power cable.
Firmware Platform Lowering
Plug the power cable in and turn on the printer.
From the menu choose Maintenance and then Move the platform down. Keep the knob pressed to move the platform to the very bottom.
Turn off the printer and unplug the power cable.
Manual Platform Lifting
Turn off the printer and unplug the power cable.
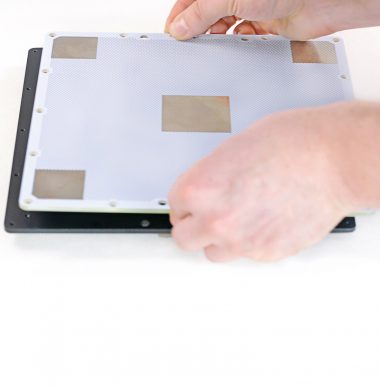
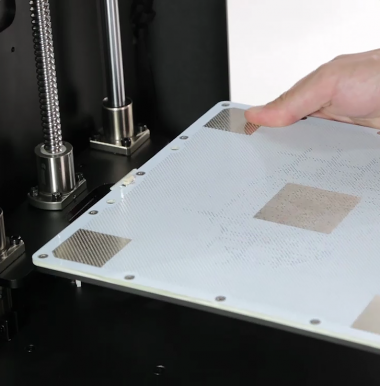
To lift the platform, hold the heatbed mount on both sides next to the Z-axis rails and push it upwards.
Manual Platform Lowering
Turn off the printer and unplug the power cable.
To lower the platform, hold the heatbed mount on both sides next to the Z-axis rails and push it downwards.


