The perforated plate is an essential part of the platform, which increases adhesion of the model to the platform surface during the whole printing process. However, the perforated plate can become worn over time and material residues which remain on its surface can influence the quality of 3D printed parts. Once you notice signs of wear and tear, such as visible scratch marks or deformations, consider replacing the perforated plate. Also, the plate requires replacement when you have problems with completing the platform calibration procedure or when the small connector has been damaged. This manual shows the correct replacement procedure.
Unplugging the Power Cable
Turn off the printer and unplug the power cable.
Unplugging the Heatbed Cable
Unplug the heatbed cable from the platform. Both big and small connectors need to be unplugged.
Platform Removal
Remove the platform from the printer.
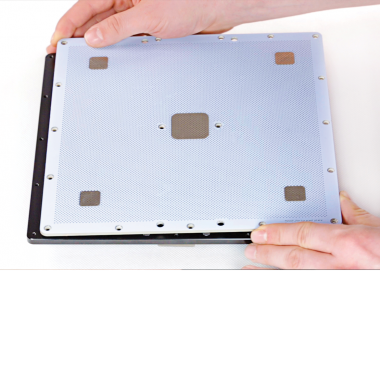
Unscrewing the Perforated Plate
Unscrew the screws to separate the perforated plate from the heatbed.
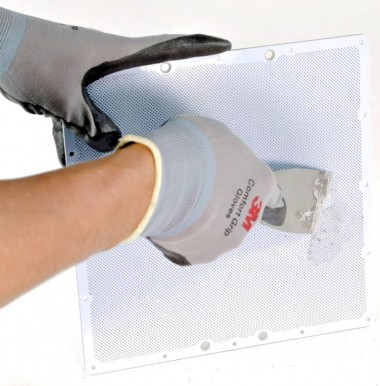
Cleaning the Heatbed
Remove material residues from the heatbed using a piece of cloth or, if it is necessary, use a spatula.
Securing the Perforated Plate
Secure the new perforated plate to the heatbed with the screws.
Platform Installation
Put the platform back in the printer and plug the heatbed cable in. Both big and small connectors need to be plugged in.
Plugging the Power Cable
Plug the power cable in.