The heatbed cable is responsible for transferring power from the motherboard to the heatbed and perforated plate during platform calibration and printing process. The heatbed provides proper platform heating, whereas perforation on the plate’s surface increases adhesion of models during the printing process. Both of these factors highly influence the printing quality. Therefore, if you are unable to complete the calibration (the nozzle hits the perforated plate) or the display shows one of the following error messages: #012, #014, #030, #031, #033, at first you should check the heatbed cable for proper connection. If the connectors are properly connected but you still encounter problems, you have to replace the heatbed cable. The following manual shows how to properly replace the cable.
Moving the Platform up
From the menu choose Maintenance and then Move the platform up. Keep the knob pressed to move the platform to the top.
Unplugging the Power Cable
Turn off the printer and unplug the power cable.
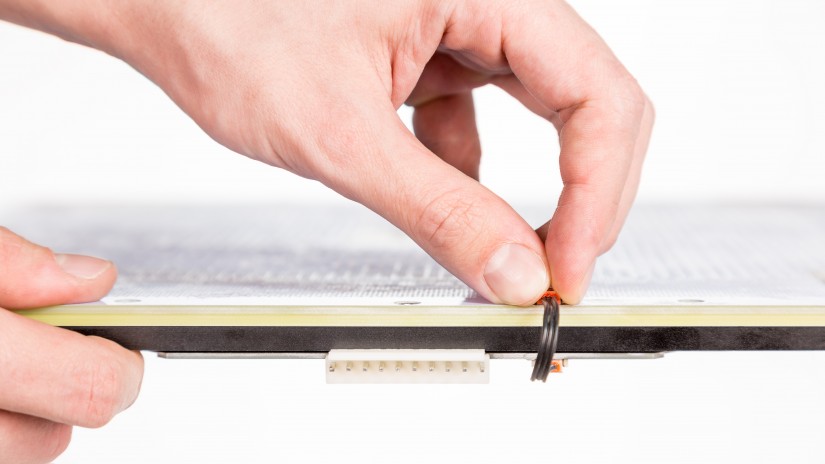
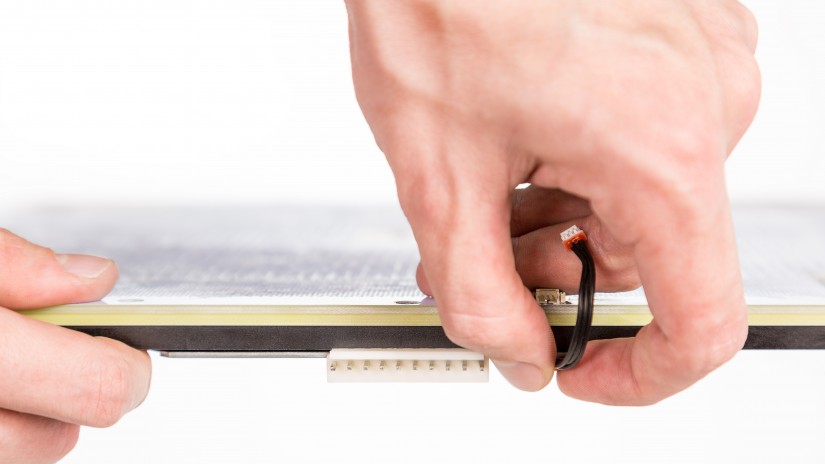
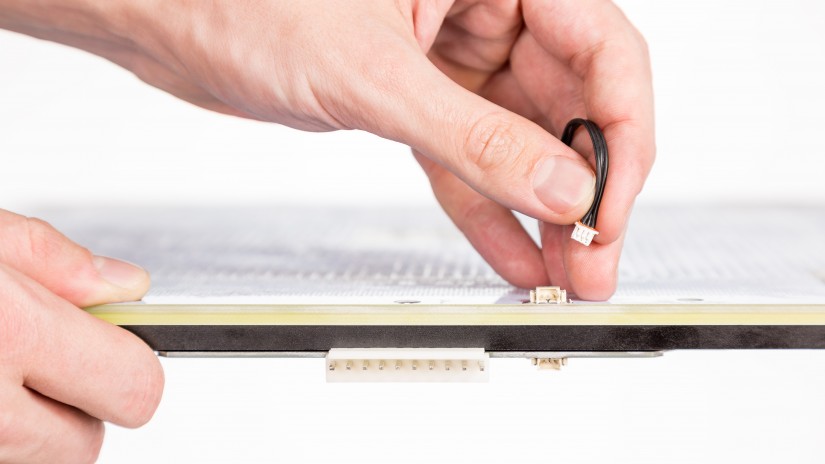
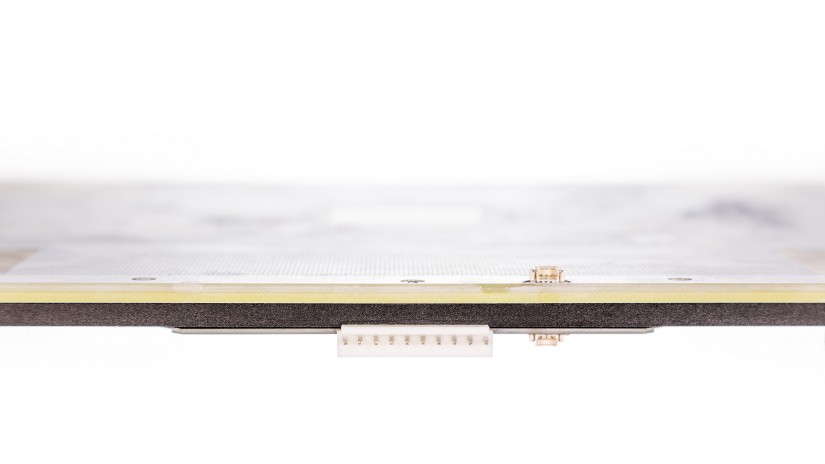
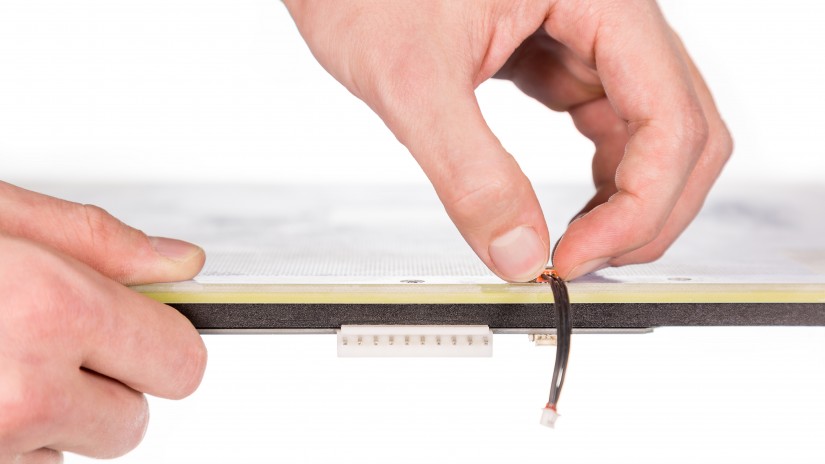
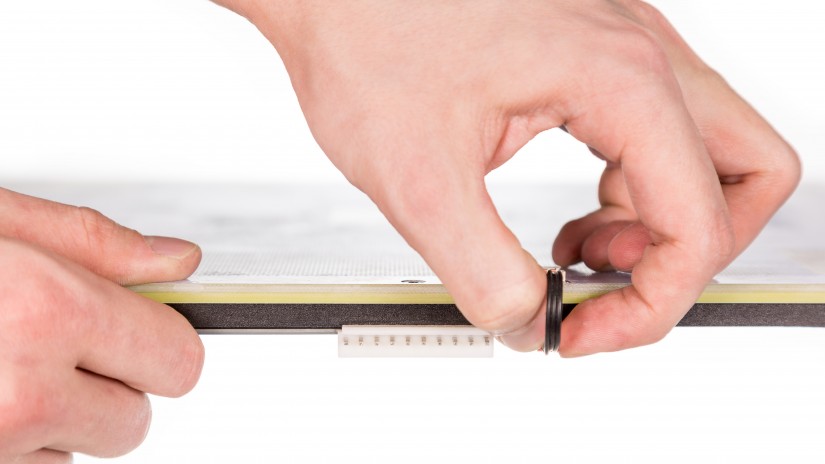
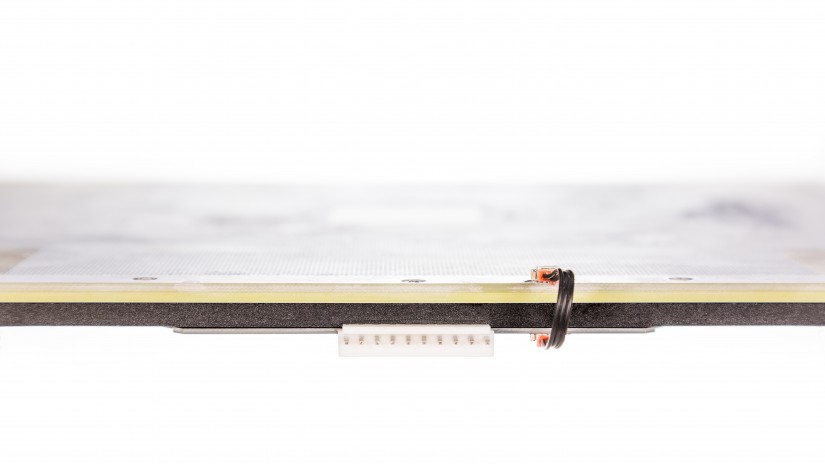
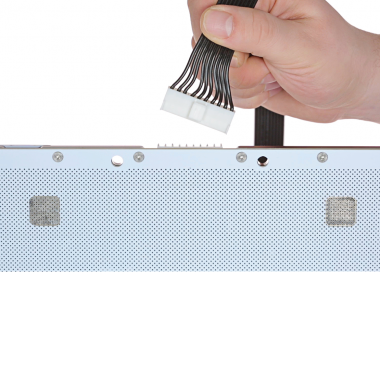
Unplugging the Heatbed Cable
Unplug the heatbed cable from the platform. Both big and small connectors need to be unplugged.

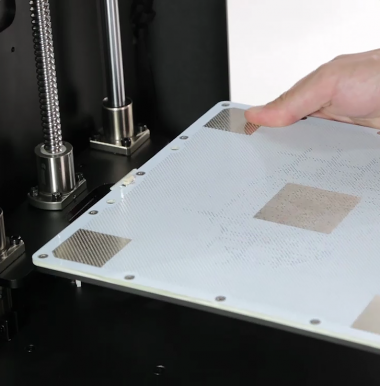
Changing the Printer's Position
Grab the printer’s housing and change the printer’s position so that you can easily access the bottom plate.
Unscrewing the Bottom Plate, part 1
Unscrew the screws that secure the bottom plate on one side of the housing. Use a 2.5mm Allen key.
Turning the Printer
Turn the printer over.
Unscrewing the Bottom Plate, part 2
Unscrew the screws that secure the bottom plate on the other side of the housing. Use the same key.
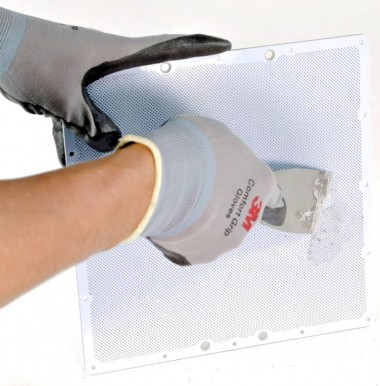
Separating the Bottom Plate
Separate the bottom plate from the printer and unplug the bottom fan cable from the motherboard.
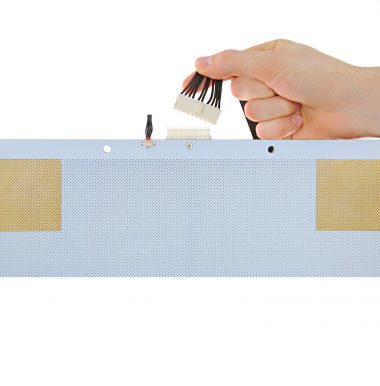
Unplugging the Cable from the Motherboard
Unplug the heatbed cable from the motherboard.
Heatbed Cable Removal
Unfasten the two extruder cable straps and carefully remove the cable from under the motherboard. Next, remove the opposite end of the cable through the hole next to the Z-axis screw.
Heatbed Cable Installation
Take the new cable and pass one end (with the two connectors to be connected to the platform) through the hole next to the Z-axis screw. Pass the other end of the cable (with the two connectors to be connected to the motherboard) under the motherboard. Leave the third connector next to the motherboard.
Fasten the two extruder cable clamps.
Plugging the Cable into the Motherboard
Plug the cable into the motherboard.
Bottom Plate Installation
Plug the bottom fan cable into the motherboard and install the bottom plate.
Securing the Bottom Plate, part 1
Secure the bottom plate on one side of the housing. Use a 2.5mm Allen key.
Turning the Printer
Turn the printer over.
Securing the Bottom Plate, part 2
Secure the bottom plate on the other side of the housing. Use the same key.
Changing the Printer's Position
Grab the printer’s housing and set the printer upright.
Plugging the Power Cable
Plug the power cable in.
Moving the Platform down
From the menu choose “Maintenance” and then “Move the platform down.” Keep the knob pressed to move the platform to the very bottom.