The heatbed cable is responsible for transferring power from the motherboard to the heatbed and perforated plate during platform calibration and printing process. The heatbed provides proper platform heating, whereas perforation on the plate’s surface increases adhesion of models during the printing process. Both of these factors highly influence the printing quality. Therefore, if you are unable to complete the calibration (the nozzle hits the perforated plate) or the platform heating is insufficient, at first you should check the heatbed cable for proper connection. If the cable is properly connected but you still encounter problems, you have to replace the heatbed cable. This manual shows how to properly replace the cable.
Unplugging the Power Cable
Turn off the printer and unplug the power cable.
Unplugging the Heatbed Cable (from the Z-axis Cover)
Unplug the heatbed cable from the Z-axis cover.
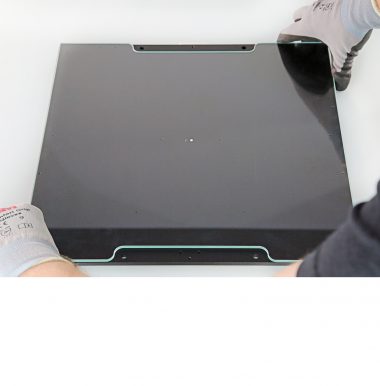
Platform Removal
Remove the platform with the heatbed cable from the printer.
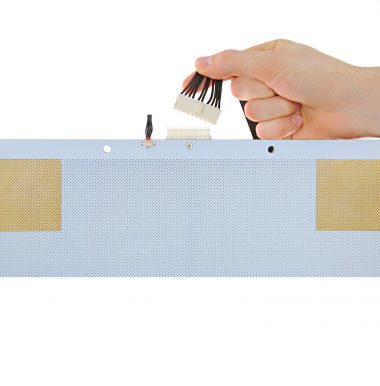
Unplugging the Heatbed Cable (from the Platform)
Unplug the heatbed cable from the platform.
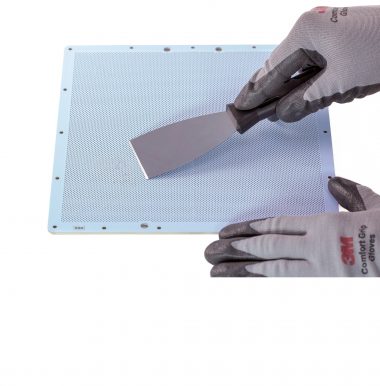
Plugging the Heatbed Cable (into the Platform)
Plug the new heatbed cable into the platform.
Platform Installation
Pass the heatbed cable behind the heatbed mount and install the platform back in the printer.
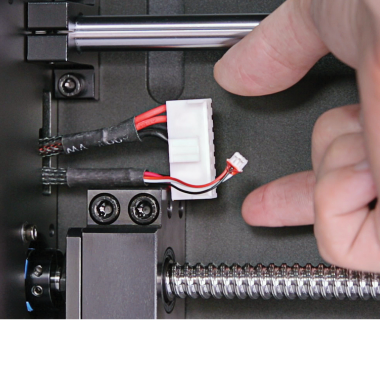
Plugging the Heatbed Cable (into the Z-axis Cover)
Plug the heatbed cable into the Z-axis cover.
Plugging the Power Cable
Plug the power cable in.