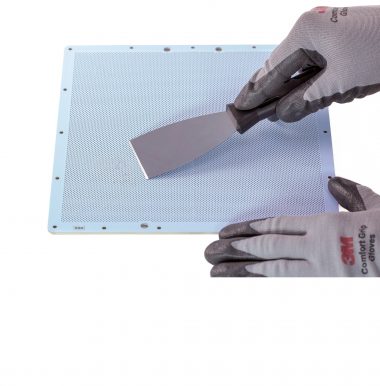
Platform block maintenance is a special procedure that can help you resolve problems connected with platform calibration. If the platform in your printer remains loose despite performing calibration or it becomes loose shortly afterwards and you cannot produce successful prints, you should carry out platform block maintenance. This procedure involves tightening the platform screw, but after disassembling the platform block and its ball joint. Follow the steps from this manual to see how to properly carry out the whole procedure.
UV Cover Removal
Remove the UV cover.
Lifting up the Platform
From the menu select “Tools,” “Platform” and “Move the platform.” Keep the UP arrow pressed to lift the platform.
Platform Removal
Loosen the platform block screw and remove the platform.
Platform Block Removal
Unscrew the four screws that secure the platform block to the platform. Next, remove the block.
Platform Connector Removal
Unscrew the three screws that secure the platform connector to the platform block. Next, remove the connector.
Bearing Stud Removal
Unscrew the four screws that secure the ball joint frame. Next, remove the frame and the bearing stud.
Tightening the Platform Screw
Press the ball joint socket with your finger and tighten the platform screw.
Bearing Stud Installation
Place the bearing stud in its place. Install the ball joint frame and tighten the four screws.
Platform Connector Installation
Join the platform connector with the platform block and tighten the three screws.
Platform Block Installation
Join the platform block with the platform and tighten the four screws.
Platform Installation
Place the platform in its place and tighten the platform block screw.
Once you complete the maintenance procedures, carry out Platform Calibration


