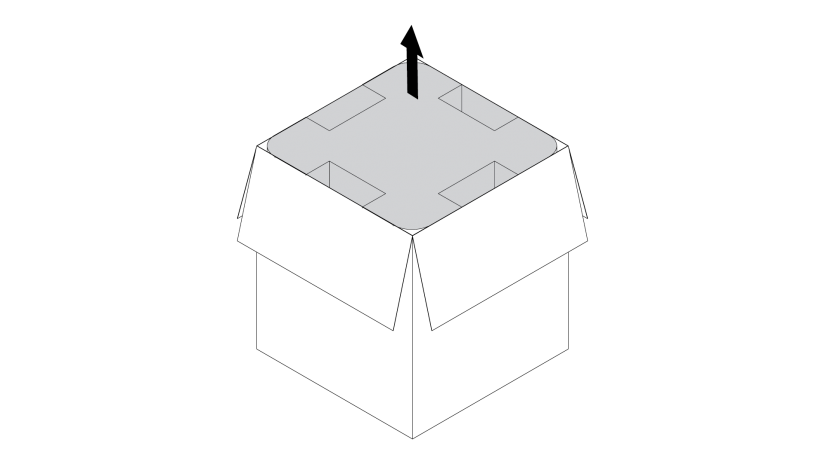
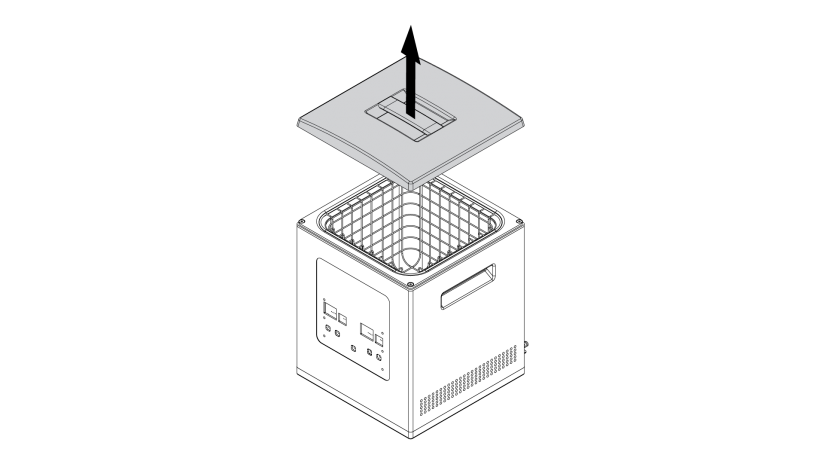
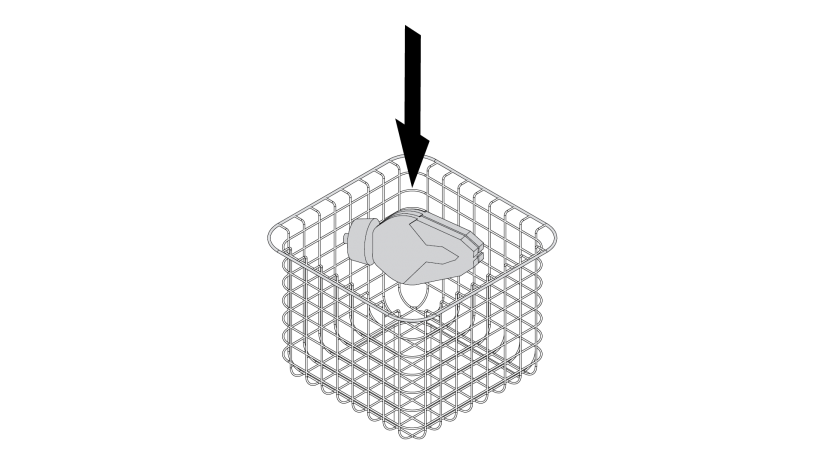
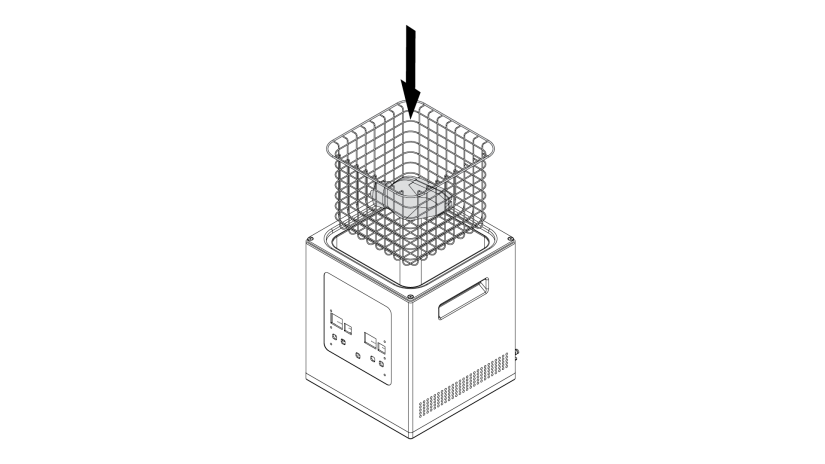
Preparing the Zortrax DSS station for the first use is important to ensure safe and proper functioning of the equipment. The following steps show how to unpack and set up the machine. This article also shows how to carry out the support removal procedure correctly.
3
Setting up
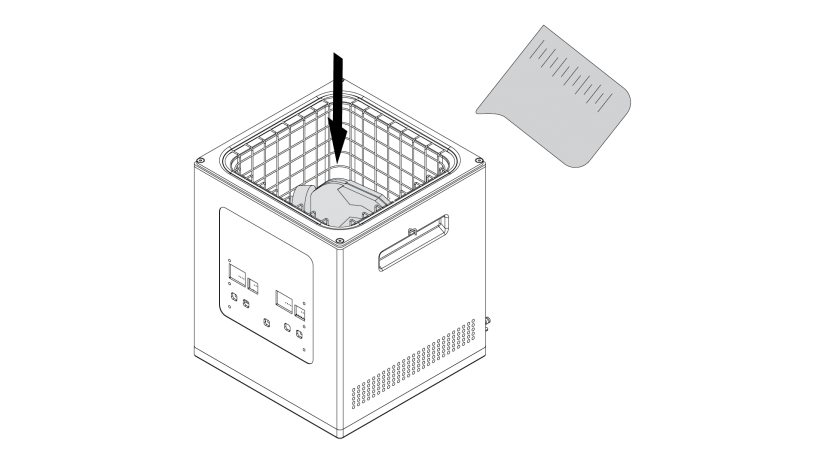
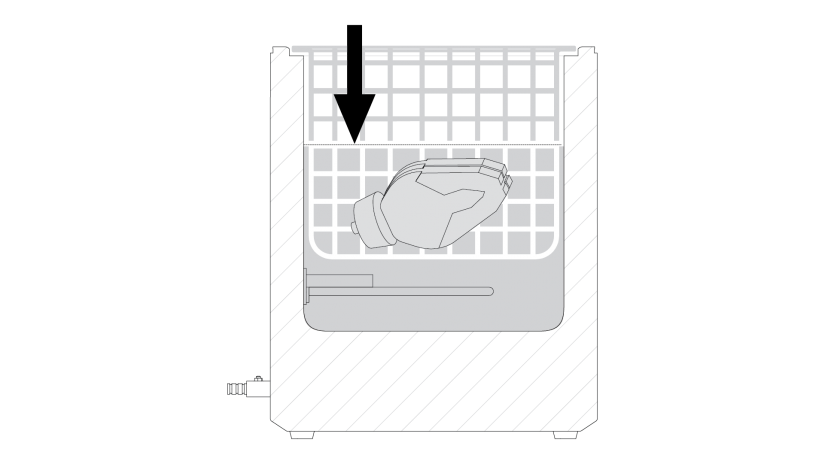
Fill up the device with warm water.
Do not fill the device all the way to the top. Make sure that the water level is above the model.
4
Operating
Press the POWER ON switch. Set the temperature and time with the buttons on the front.
Recommended temperature settings for models printed with:
– Z-PETG: between 40 and 50° C [104 and 122° F]
– Z-PLA: max. 40° C [104° F]
– Z-ULTRAT Plus: 50° C [122° F]
– Z-SEMIFLEX: 50° C [122° F]
Time settings should depend on the size and complexity of the model and the amount of support structures.
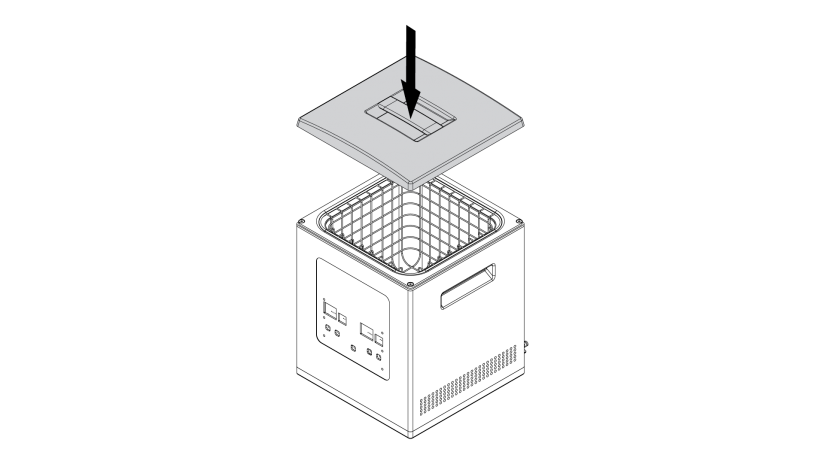
Remove the top cover.
Be careful, the device contains hot water. Wear rubber gloves and safety goggles.


