The display panel consists of a high contrast screen and a round, rotating knob. The screen displays information about the current printing process, the printer’s menu, and other information concerning the printer. The knob allows you to navigate through the printer’s menu, and adjust and control its basic settings. Therefore, if there is nothing displayed on the screen or the knob does not work properly (it rotates with resistance or becomes too loose), the display panel needs to be replaced. This manual shows the correct replacement procedure.
| The following manual shows the M200 repair work. For the M300, these procedures are the same. |
Unplugging the Power Cable
Turn off the printer and unplug the power cable.
SD Card Removal
Remove the SD card from the slot.
Unscrewing the Display Panel
Unscrew the four screws that secure the panel to the front frame of the printer
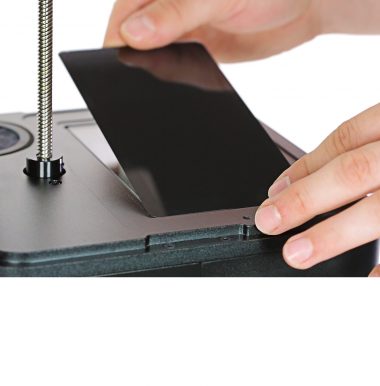
Display Panel Back Cover Removal
Carefully separate the back cover from the front frame.
Display Panel Removal
Unplug the display connector and remove the display panel.
Connecting the Display Panel
Connect the new display panel.
Display Panel Installation
Install the display panel with the back cover.
Securing the Display Panel
Secure the panel with the four screws.
Inserting the SD Card
Insert the SD card into the slot.
Plugging the Power Cable
Plug the power cable in.