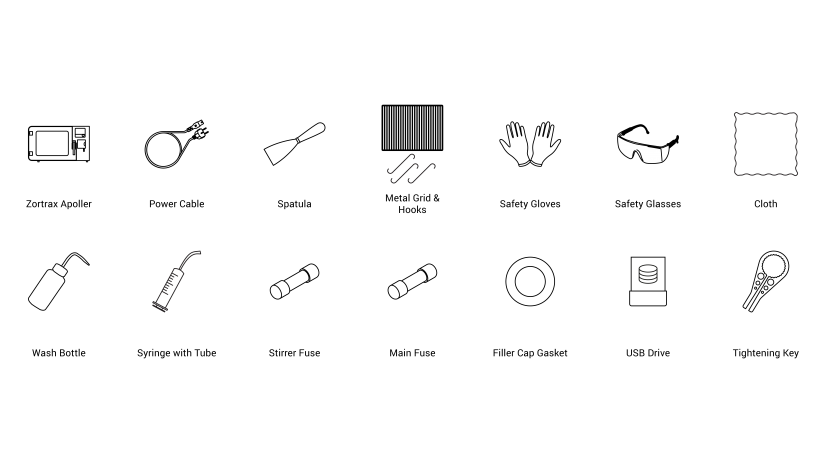
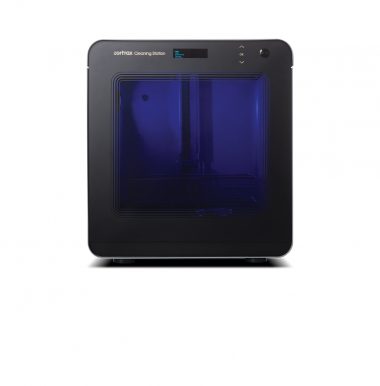
Preparing your device for the first use ensures its proper functioning and makes the whole smoothing process easier. The following steps show how to properly unpack and set up the machine. This article also shows how to add solvent and start the smoothing process. Here you also learn how to install the metal grid used for hanging models intended for smoothing (optional).
| Wear protective clothing, gloves and glasses during all procedures. |
| Only pure acetone and pure butanone (MEK) are supported and safe to use. Using other solvents may be dangerous and should not be attempted. It will also result in voiding the warranty. |
| Every unit requires an annual inspection conducted by the Zortrax Authorized Service to keep the ATEX certification valid and ensure safe operation of the device. |
Unpacking
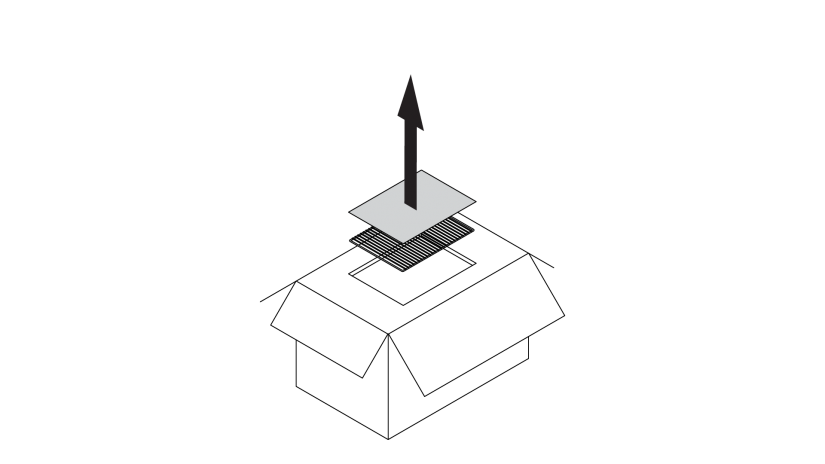
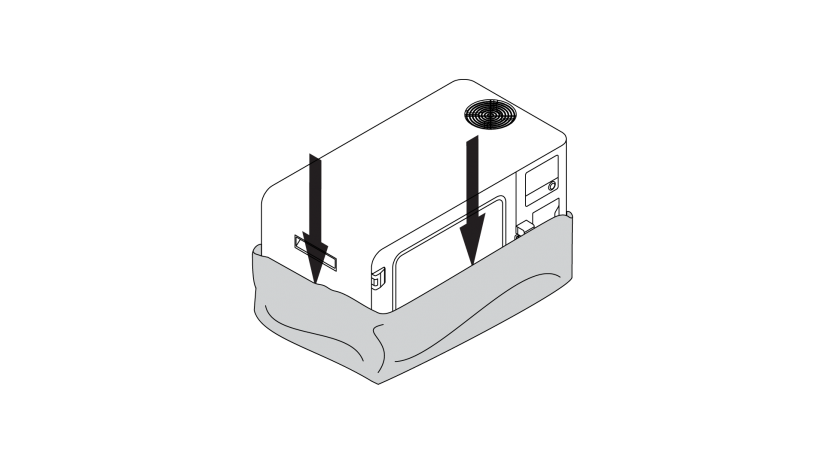
1. Open the box and remove the metal grid and brochures.
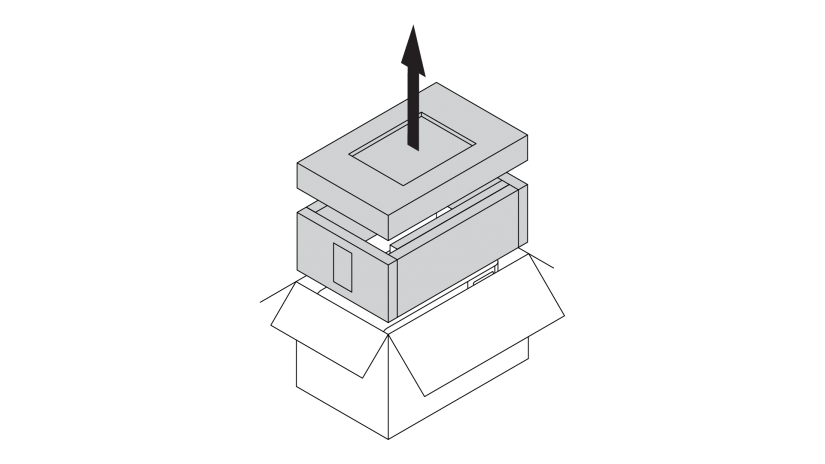
2. Remove the upper and side cushioning.
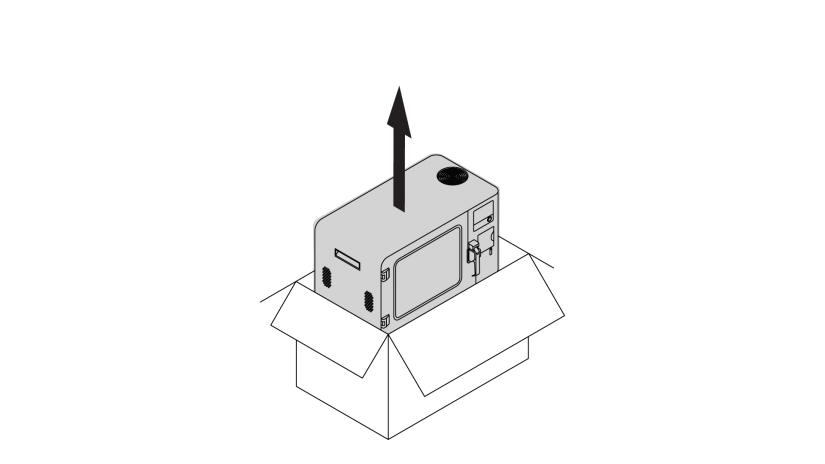
3. Take the device out of the box.
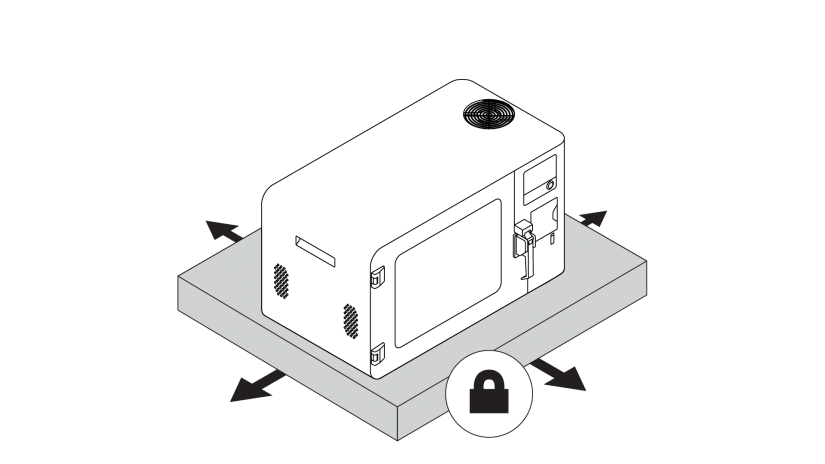
2. Place the device on a flat and stable surface. Make sure that the work area is safe and well-ventilated.
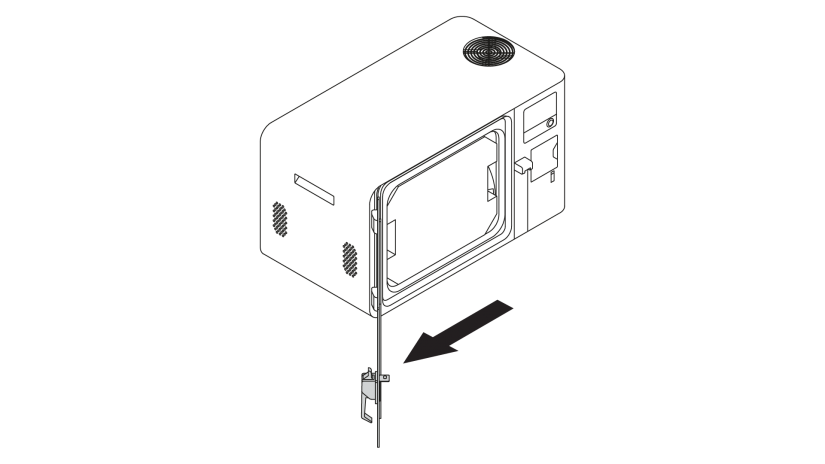
1. Remove the foil.
2. Place the device on a flat and stable surface. Make sure that the work area is safe and well-ventilated.
3. Open the chamber door. The door should open easily. If the door is blocked, contact the Authorized Service. Do not pull the chamber door handle or attempt to remove the blockage.
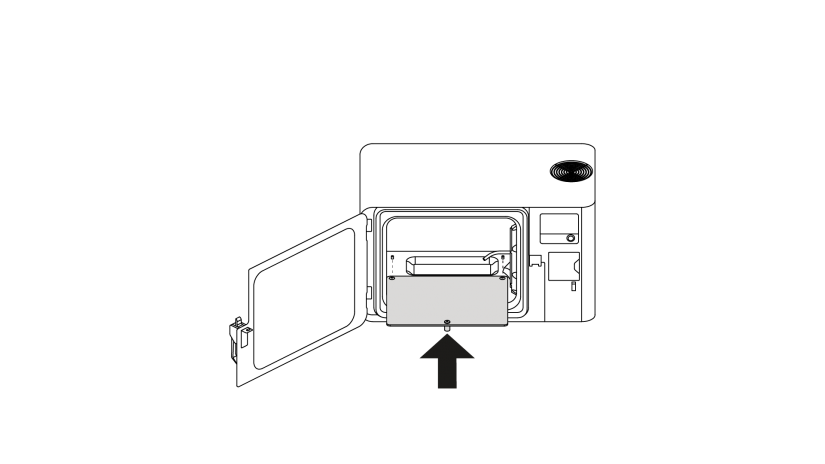
1. Remove the Starter Kit with the platform from the chamber.
2. Remove the plug from the drain tube.
3. Remove the foil from the platform. Place the platform on pins inside the chamber.
Firmware Update

1. Plug in the power cable and turn on the device. Connect it to a network via Wi-Fi or Ethernet cable. Go to Settings and configure the connection using options from the menu.
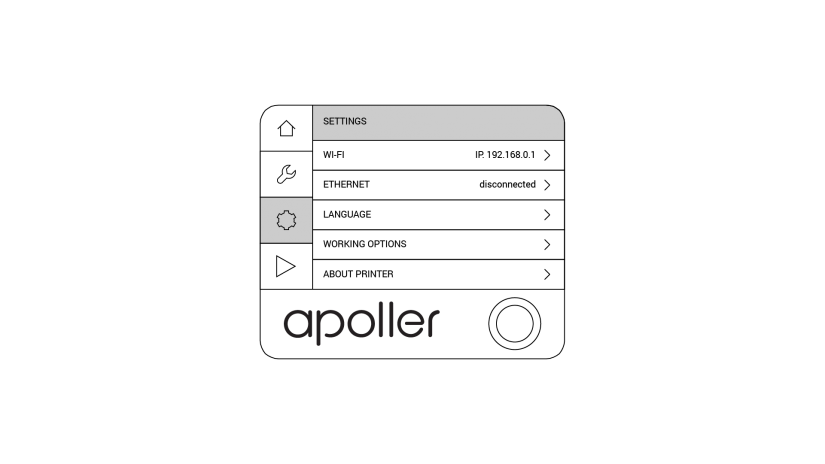
2. If the device is connected to a network, select Settings -> About Device -> Check for updates to check if there is a newer firmware version available. If so, follow the instructions displayed on the screen.
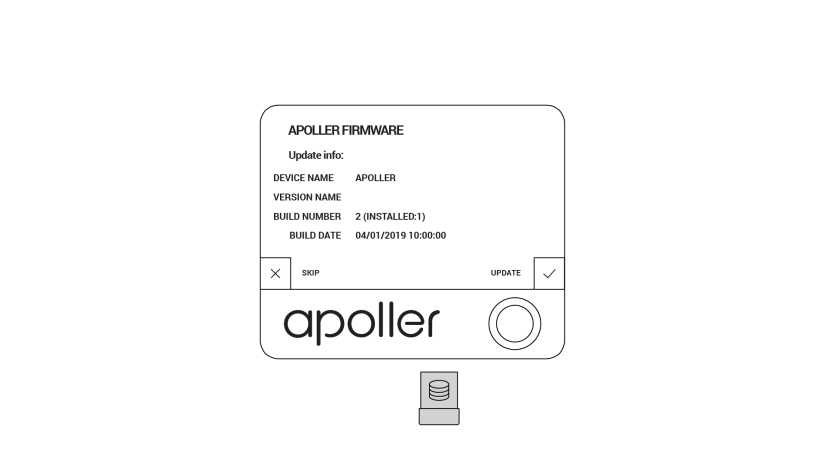
3. If the device isn't connected to a network, go to support.zortrax.com/downloads and check if there is a firmware update available. If so, download the file and save it on the USB drive. Plug the USB drive into the port at the side of the device to start the installation.
1. Plug in the power cable and turn on the device. Connect it to a network via Wi-Fi or Ethernet cable. Go to Settings and configure the connection using options from the menu.
2. If the device is connected to a network, select Settings -> About Device -> Check for updates to check if there is a newer firmware version available. If so, follow the instructions displayed on the screen.
3. If the device isn't connected to a network, go to support.zortrax.com/downloads and check if there is a firmware update available. If so, download the file and save it on the USB drive. Plug the USB drive into the port at the side of the device to start the installation.
Metal Grid Installation (Optional)
1. Tilt the metal grid (A) to place it in the chamber (B). Next, adjust the grid so that it is in the upper part of the chamber (C).
2. Slide the grid on the back pins (A) and move it back (B).
3. Move the grid forward (A) so that it is on the front pins (B).
Adding the Solvent
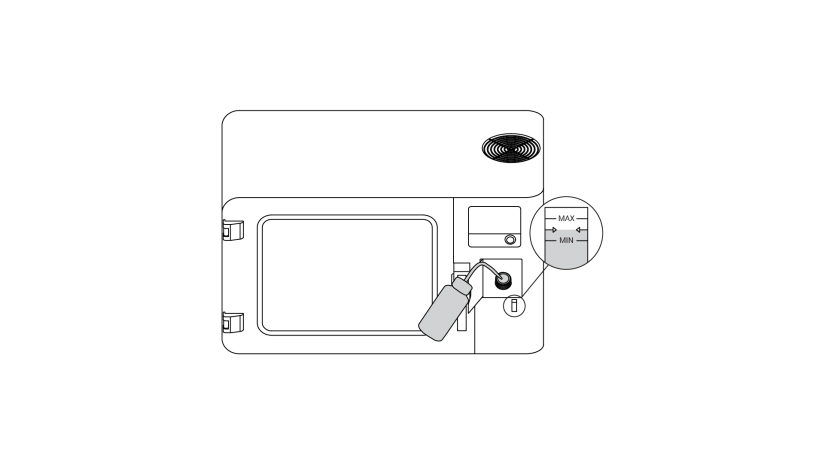
2. Pour solvent into the wash bottle. Fill the tank with liquid up to the line marked with arrows (the most optimum level). Tightly close the solvent container and put it in a safe place. For smoothing process use only dedicated solvents: pure acetone or pure butanone (MEK). Do not use other solvents.
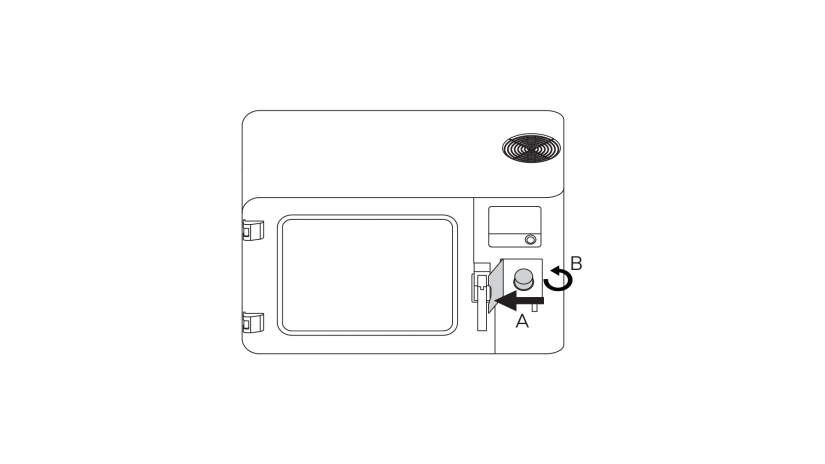
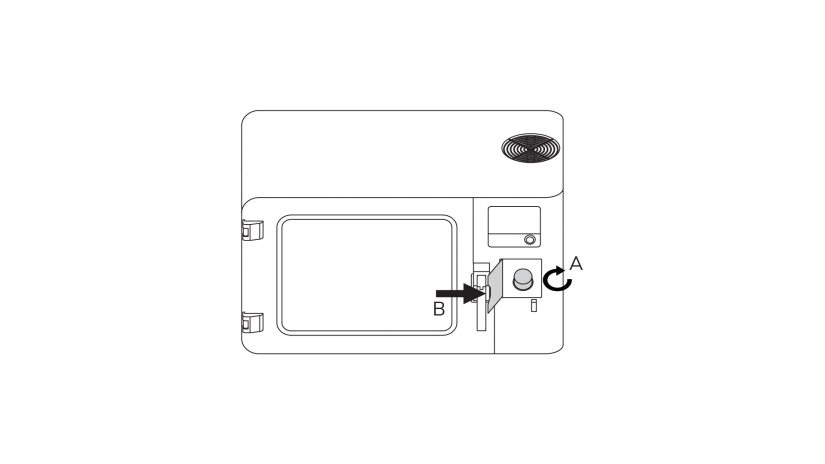
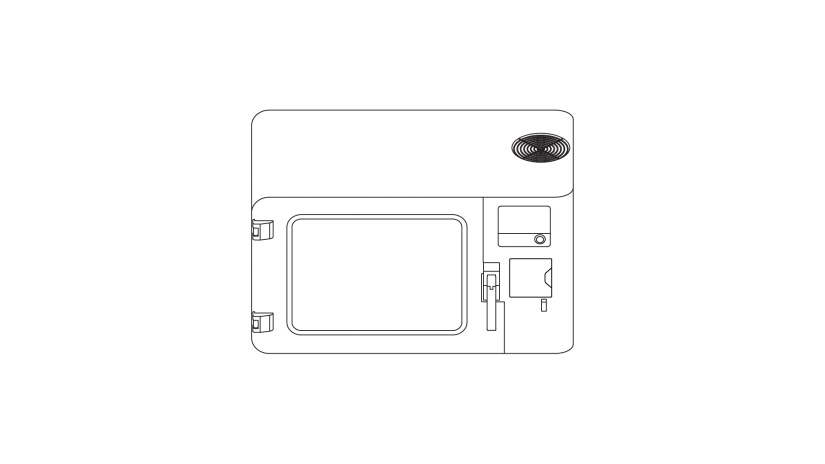
1. Open the filler cover (A) and unscrew the filler cap (B). Wear safety gloves and glasses.
2. Pour solvent into the wash bottle. Fill the tank with liquid up to the line marked with arrows (the most optimum level). Tightly close the solvent container and put it in a safe place. For smoothing process use only dedicated solvents: pure acetone or pure butanone (MEK). Do not use other solvents.
3. Tightly screw the filler cap. Make sure the cap is properly attached and tightened (A). Close the filler cover (B).
Smoothing Process

2. Place a model on the platform. If you smooth several models, keep appropriate distance between them (2-5 cm [0.8-2 in]).
You can also suspend the models on the metal grid using hooks deliver with the device.
1. Open the chamber door.
2. Place a model on the platform. If you smooth several models, keep appropriate distance between them (2-5 cm [0.8-2 in]).
You can also suspend the models on the metal grid using hooks deliver with the device.
3. Close the door. Select settings: mode, solvent type, material type, smoothing intensity and start the smoothing process.
During all procedures follow the instructions displayed on the screen.

