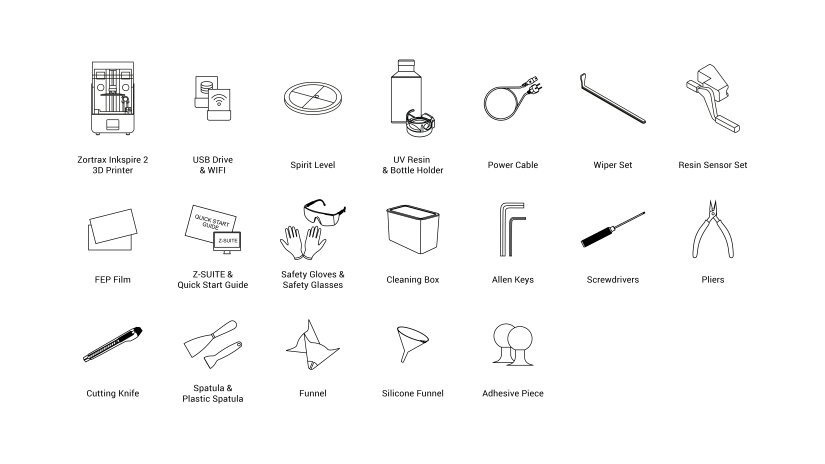
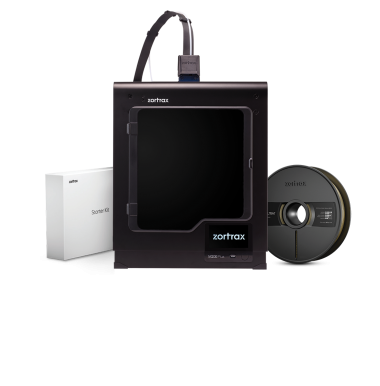
Preparing your printer for the first use ensures its proper functioning and makes the whole printing process easier. The following steps show how to properly unpack and set up the machine.
Preparing the Printer for Work
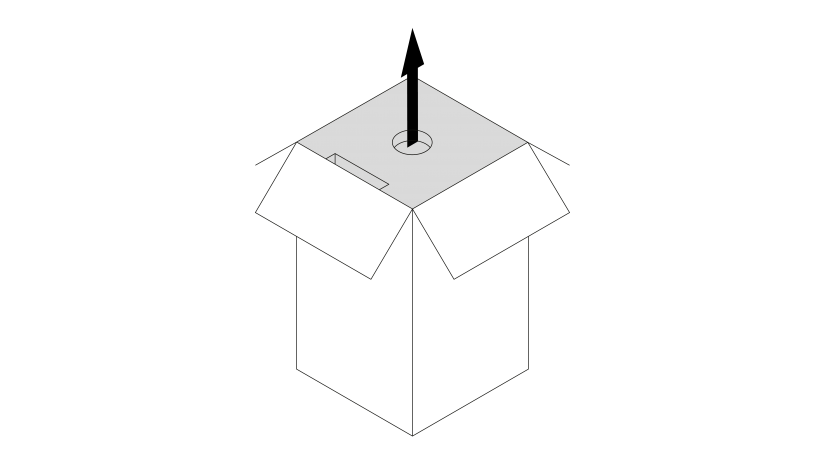
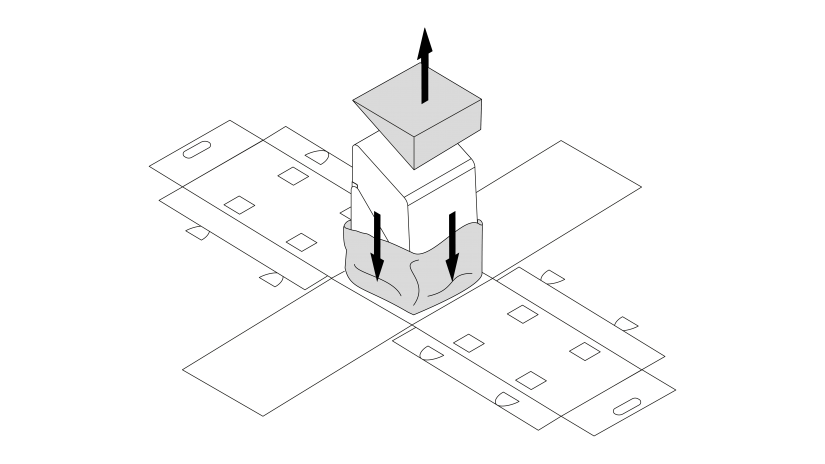
1. Open the shipping box and remove the upper cushioning.
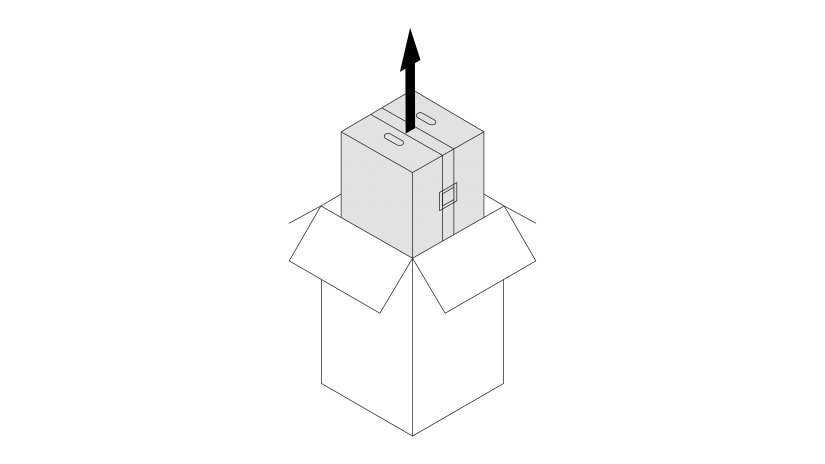
2. Remove the box with the printer from the shipping box.
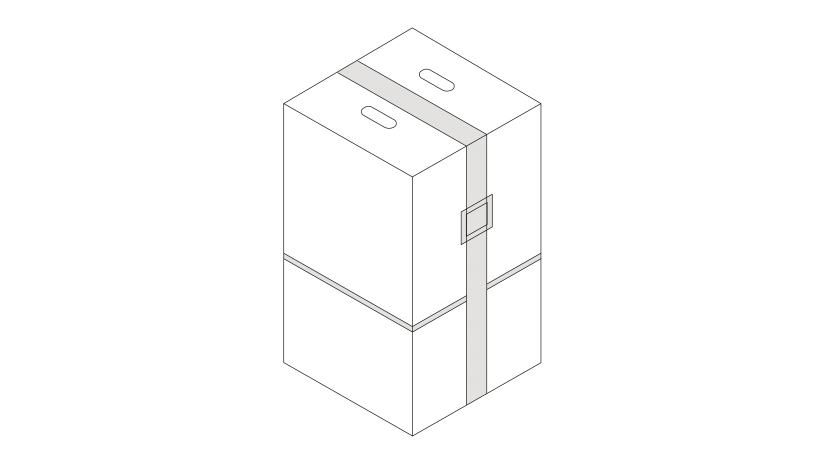
3. Unfasten the safety belt and separate it from the box.
1. Open the box. Next, remove the upper cushioning and foil.
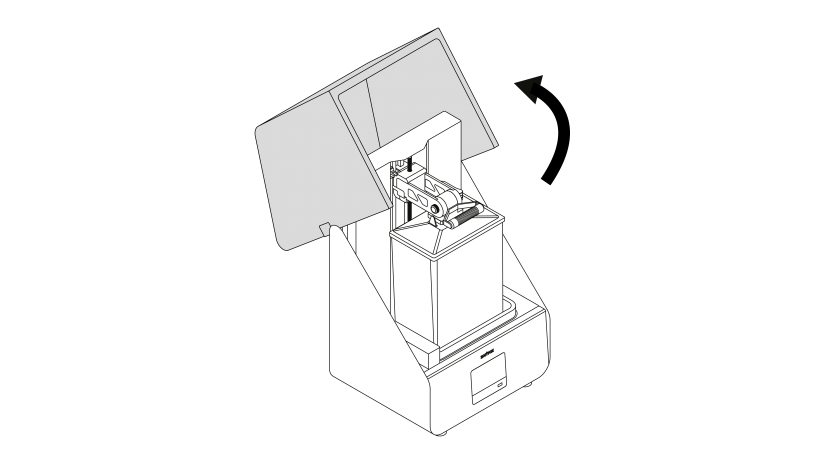
2. Open the UV cover by pushing it backwards.
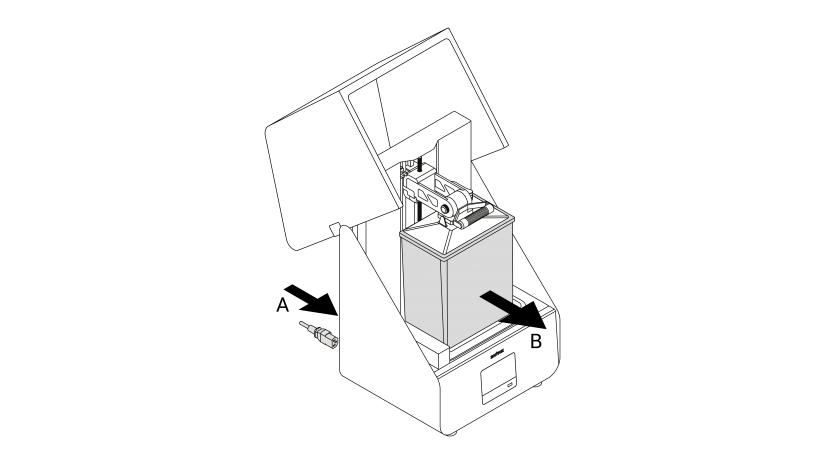
3. Plug the power cable in (A), turn the printer on, and wait until the platform automatically moves up. Next, remove the box with the Starter Kit (B).
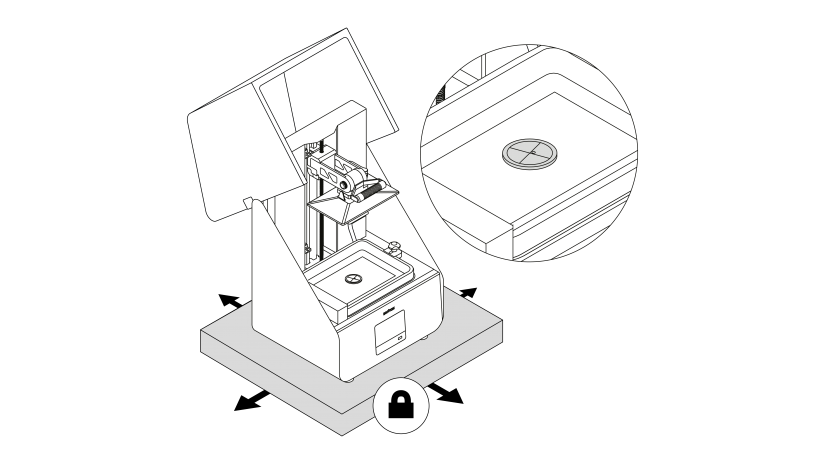
2. Place the printer on a flat and stable surface. Align the unit by tightening or loosening the printer's legs manually as needed. Use a spirit level.
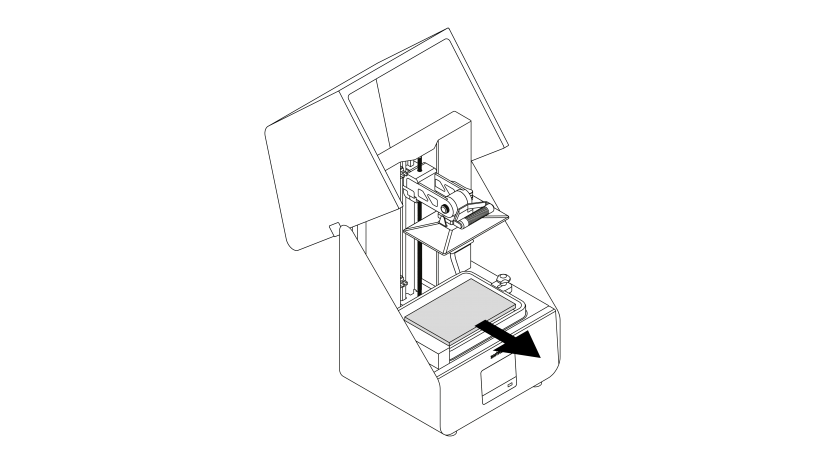
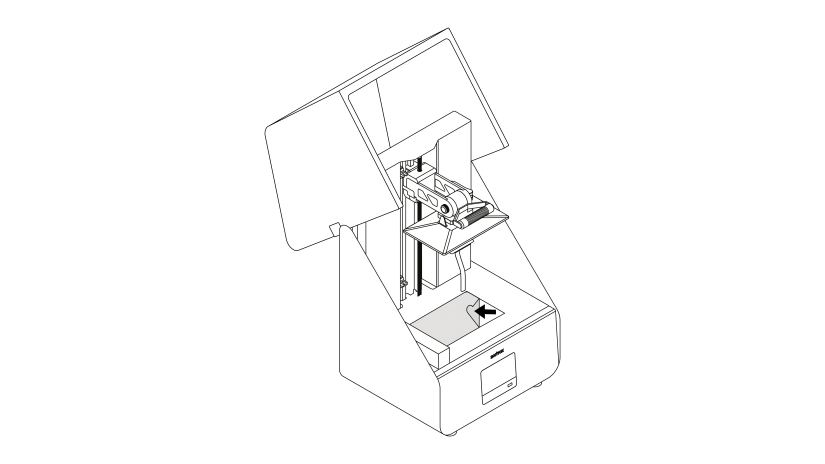
1. Turn the printer off and remove the cushioning from the resin vat.
2. Place the printer on a flat and stable surface. Align the unit by tightening or loosening the printer's legs manually as needed. Use a spirit level.
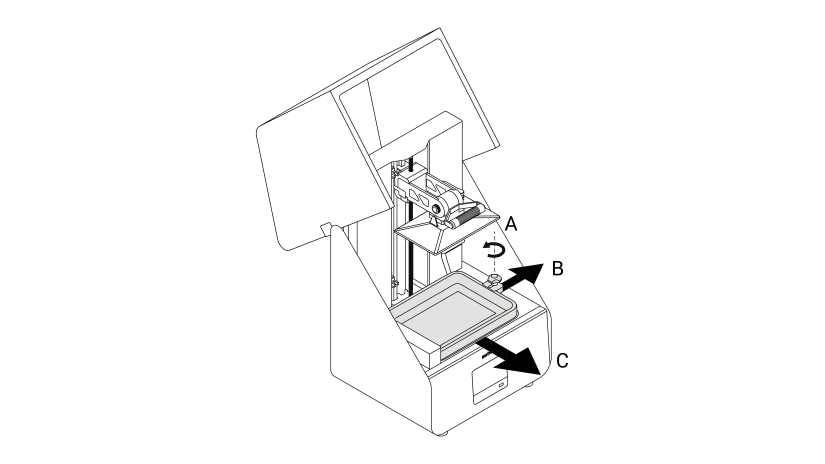
3. Loosen the release handle (A) and slide the lock to the right (B). Next, remove the resin vat (C).
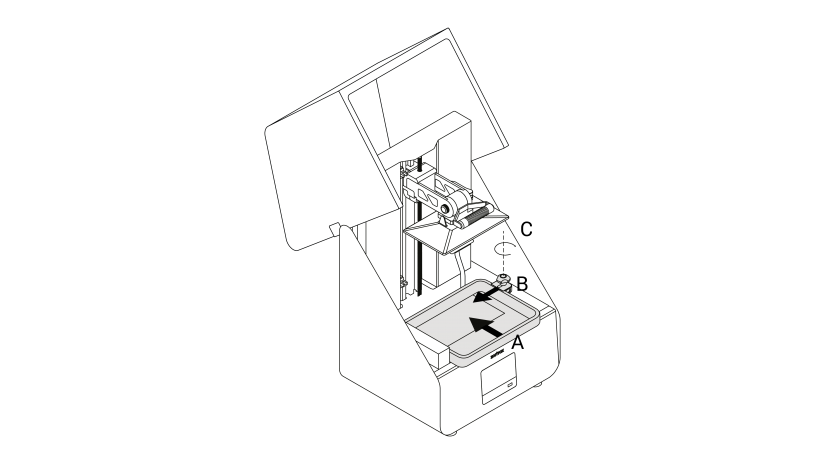
2. Install the resin vat back in its place (A), press the lock to the left (B), and tighten the release handle (C).
1. Remove the sticker from the LCD screen.
2. Install the resin vat back in its place (A), press the lock to the left (B), and tighten the release handle (C).
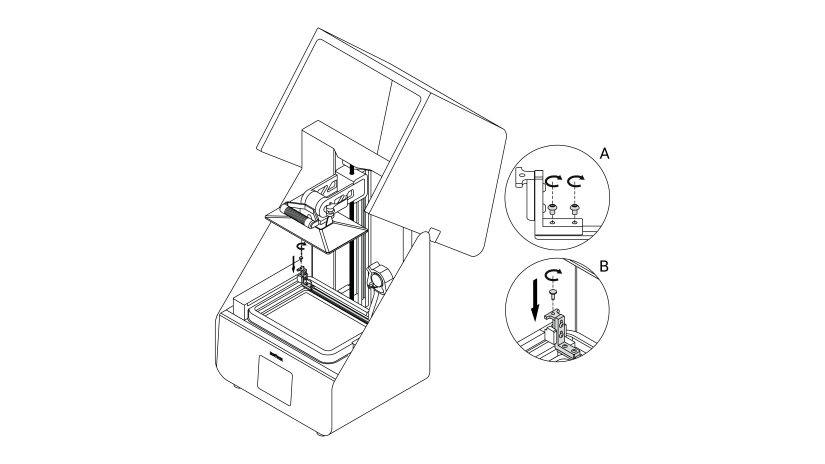
3. Fasten the wiper holder to the wiper blade (A) using the two screws. Next, install the wiper in the vat - insert the wiper in the holder and secure it with the screw (B).
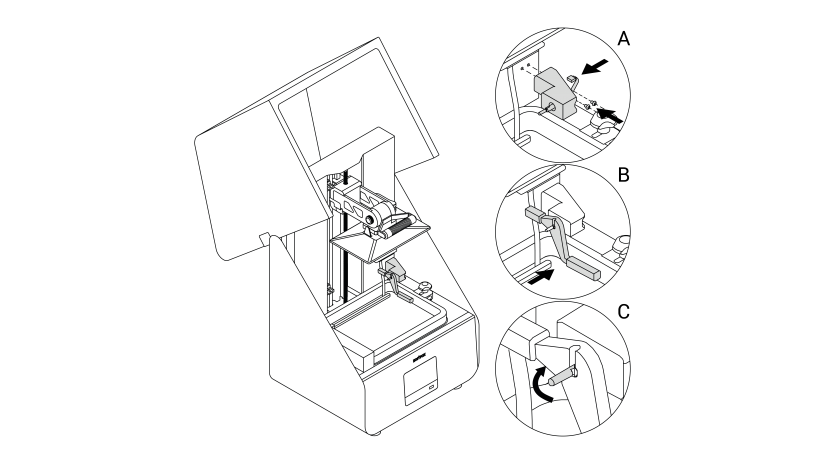
1. Plug the resin sensor cable into the resin sensor shaft cover and secure the sensor to the printer’s housing with the two screws (A). Next, install the sensor onto the shaft cover metal pin (B). Place the metal pin in the vertical position to block the resin
sensor (C).
1. Plug the resin sensor cable into the resin sensor shaft cover and secure the sensor to the printer’s housing with the two screws (A). Next, install the sensor onto the shaft cover metal pin (B). Place the metal pin in the vertical position to block the resin
sensor (C).
2. Plug the bottle holder cable in and secure the holder to the back of the printer with the two screws.

