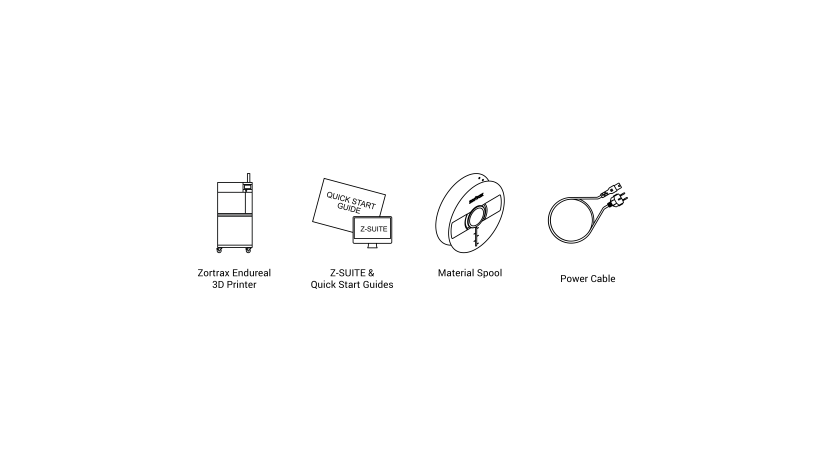
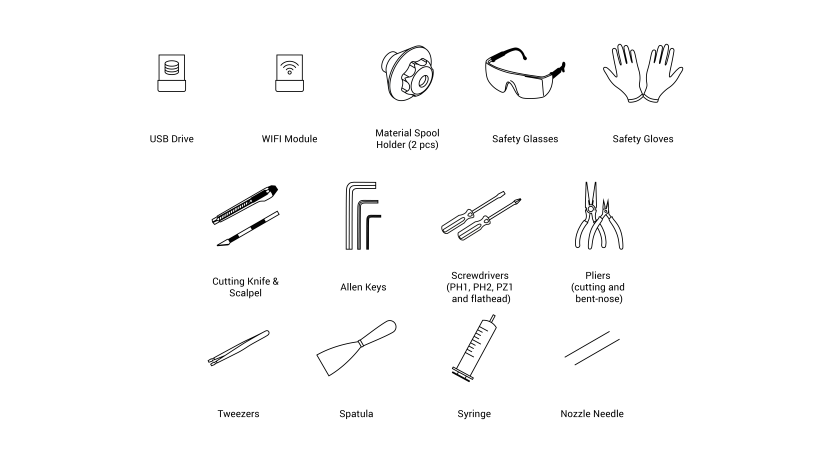
Preparing your printer for the first use ensures its proper functioning and makes the whole printing process easier. The following steps show how to properly unpack and set up the machine. This article also shows how to install the firmware as well as how to carry out the platform calibration procedure.
Unpacking; part 1
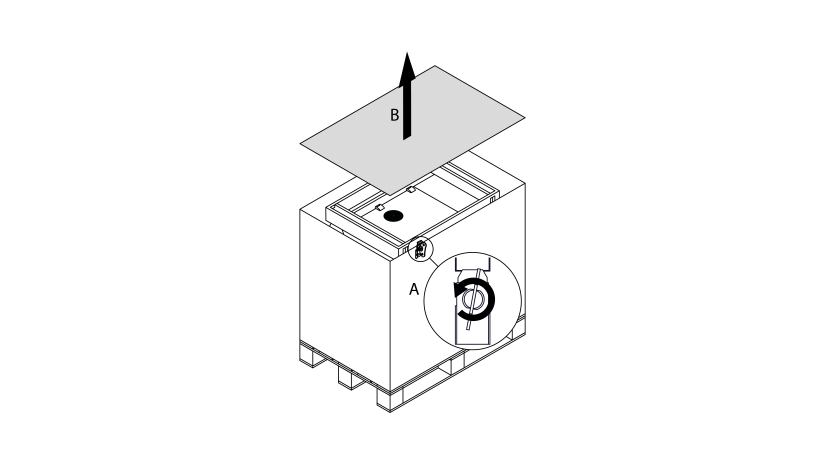
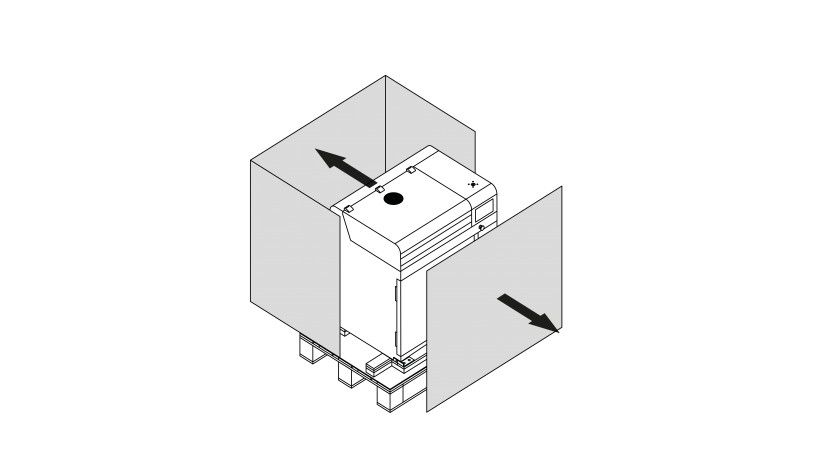
1. Open the latches on the sides of the chest (A) and remove the top cover (B).
2. Remove the security foams placed on top of the printer.
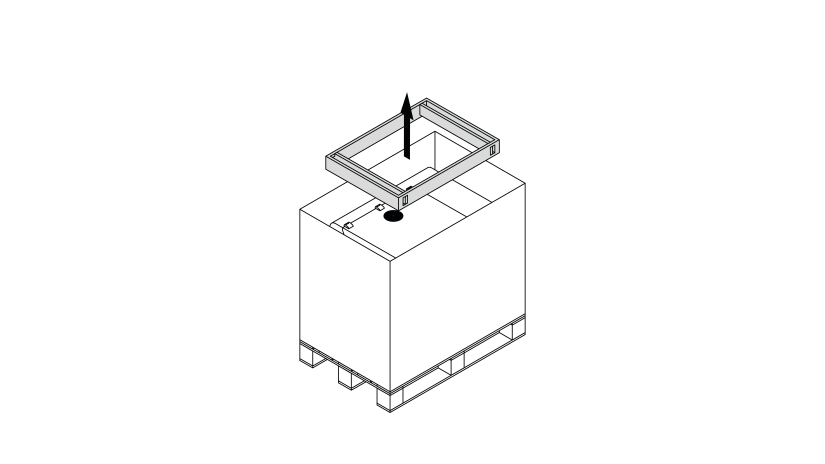
3. Remove the front and side panels.
Unpacking; part 2
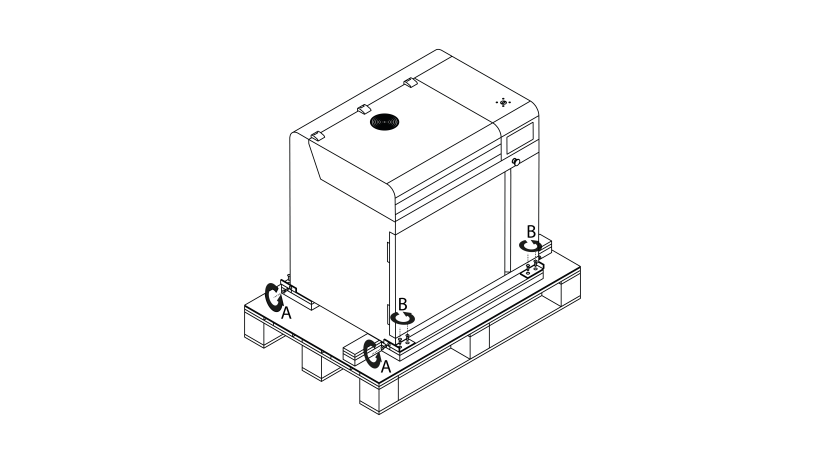
1. Remove the four screws that secure the printer to the connecting angles (A). Next, remove the eight screws that secure the connecting angles to the pallet (B).
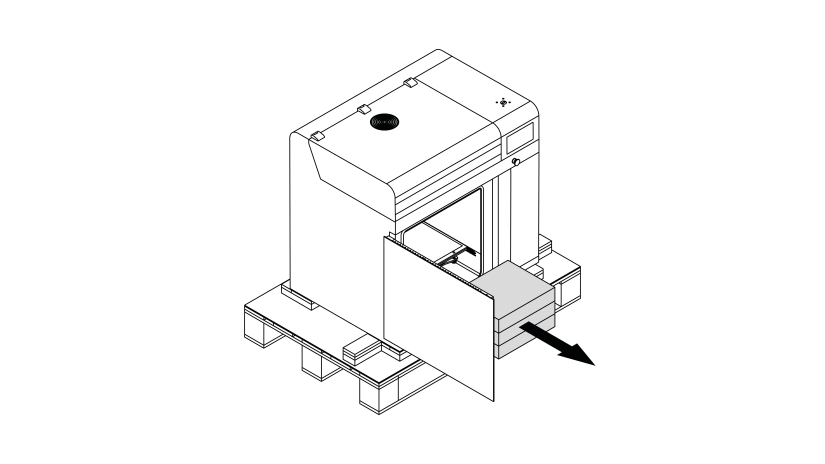
2. Open the front door and remove the boxes with materials and accessories from the chamber.
Relocating the Printer
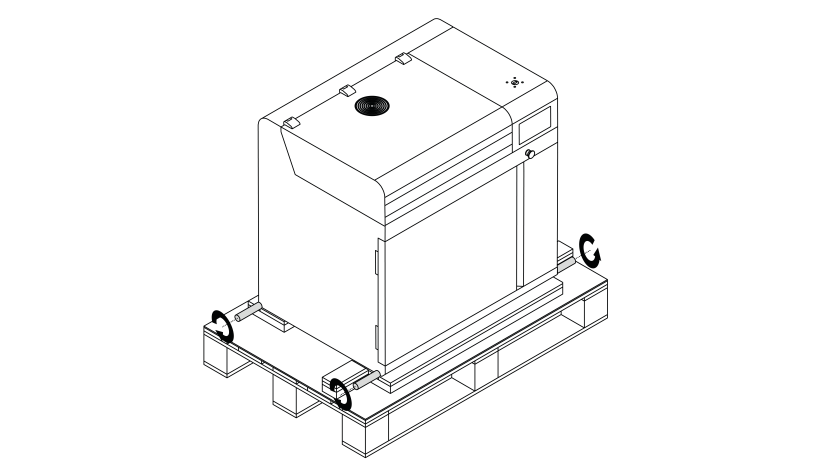
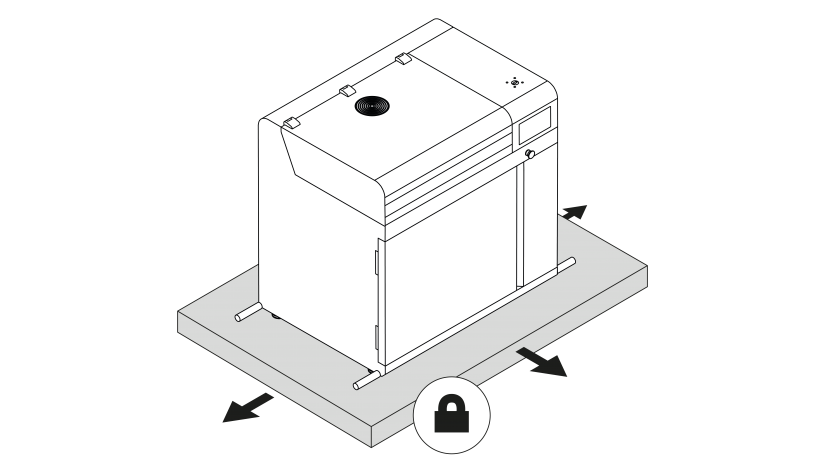
1. There are four screw-in handles in one of the supplied boxes. Install the handles on the sides of the printer. Make sure the handles are properly tightened.
1. There are four screw-in handles in one of the supplied boxes. Install the handles on the sides of the printer. Make sure the handles are properly tightened.
2. Place the printer on a flat and stable surface that can withstand the weight of 150 kg [331 lb]. Next, remove the handles.
*The printer should be lifted or moved by at least four people.
LED Tower Installation
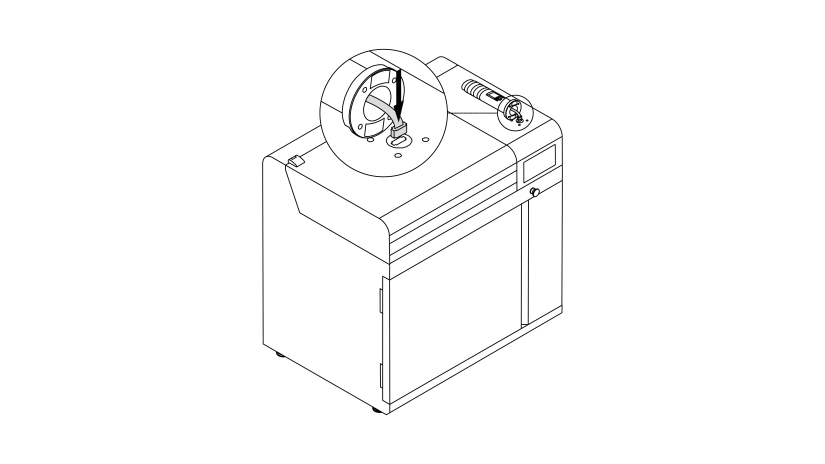
1. Unpack the signaling unit and plug its connector into the port placed in the top right corner of the housing.
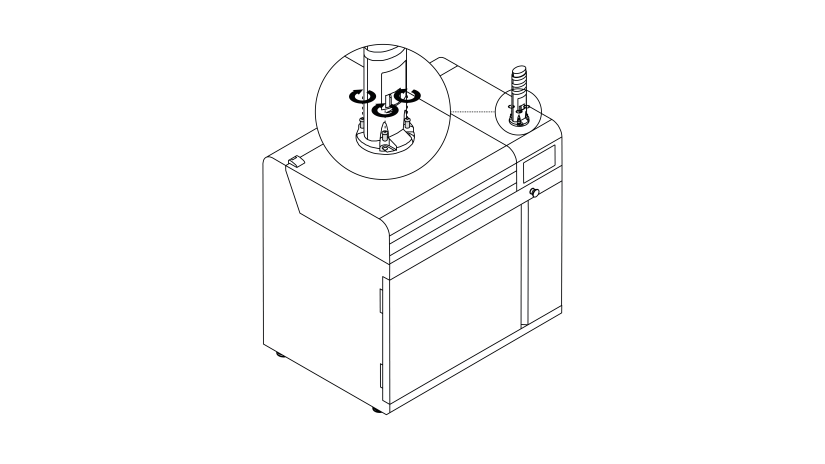
2. Secure the signaling unit to the housing with the four screws.
Setting Up
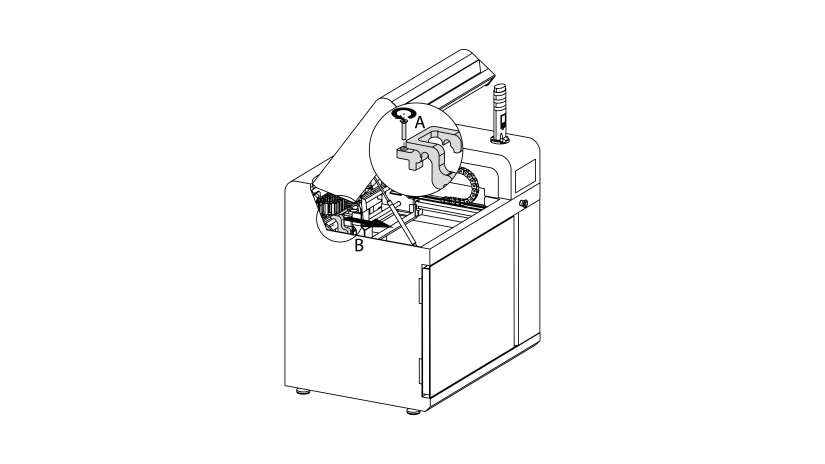
1. Open the lid and remove the screw that secures the extruder jig (A). Next, remove the jig from the printer (B).
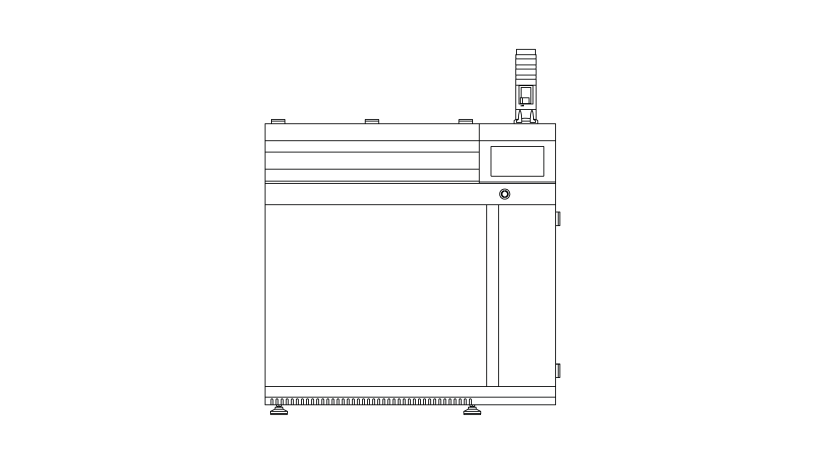
2. Make sure the printer is properly leveled. If it is necessary, tighten or loosen the printer’s legs as needed with a wrench.
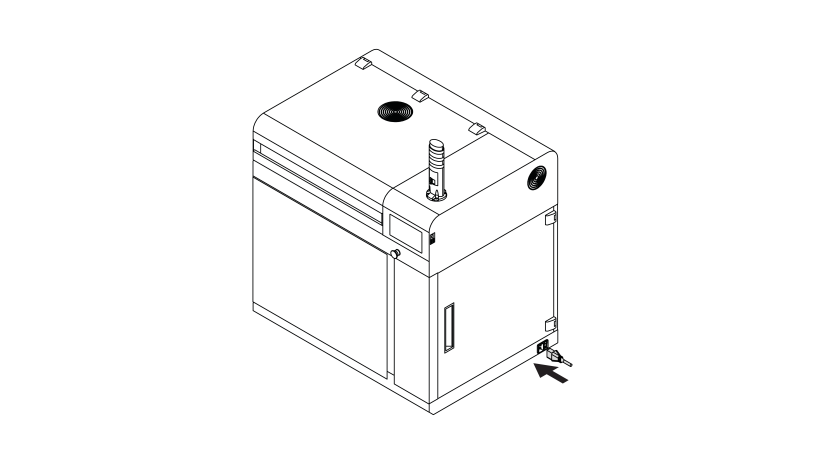
3. Plug the power cable in.
Preparing for Printing Process
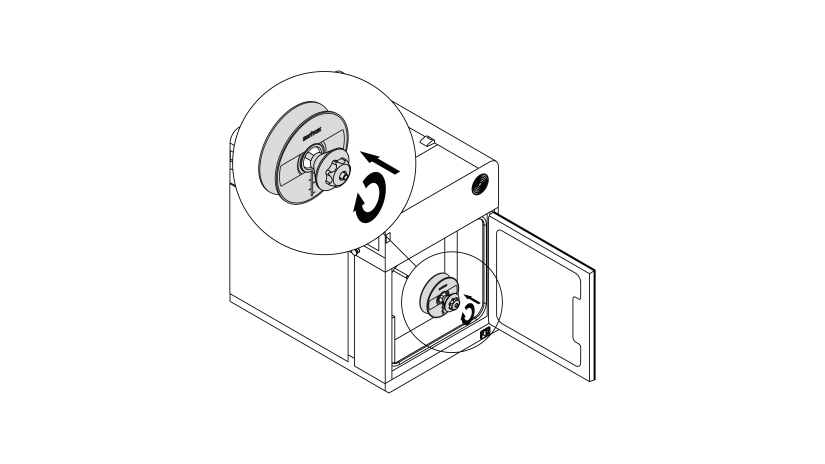
1. Open the filament chamber door and install a spool on the holder. Next, install the spool nut, press it against the spool, and tighten it clockwise. Both spools are installed in the same way.
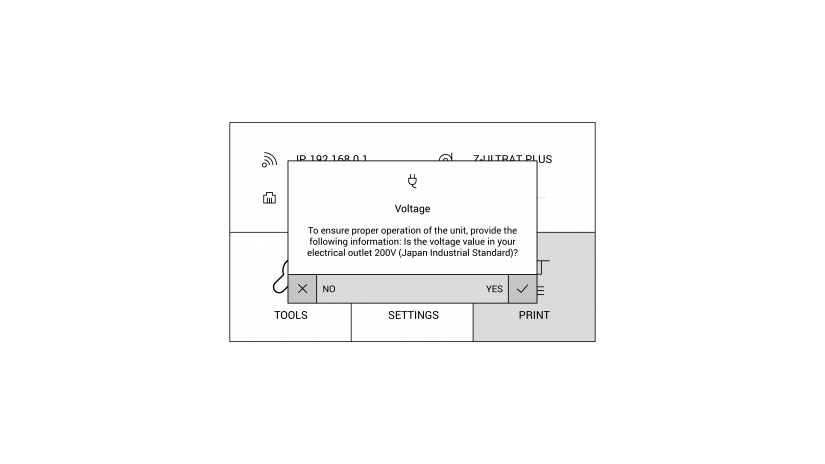
2. Turn the printer on. When you start the device for the first time, you will be asked to confirm the voltage value in your electrical outlet. If it is not 200 V (Japan), select No.
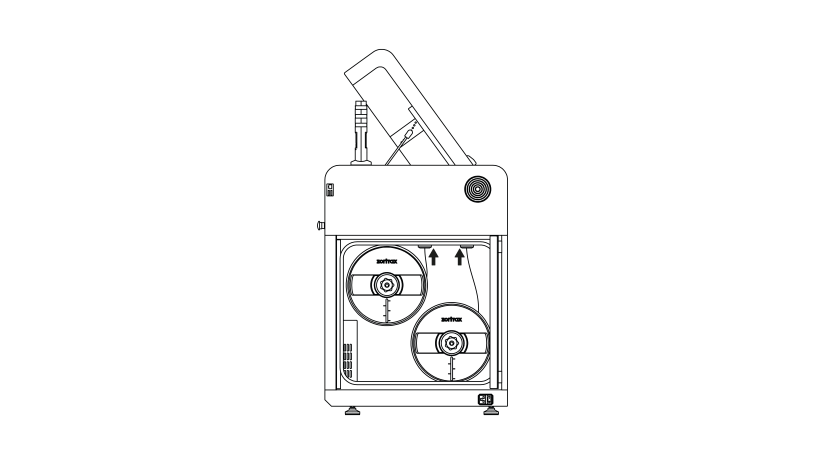
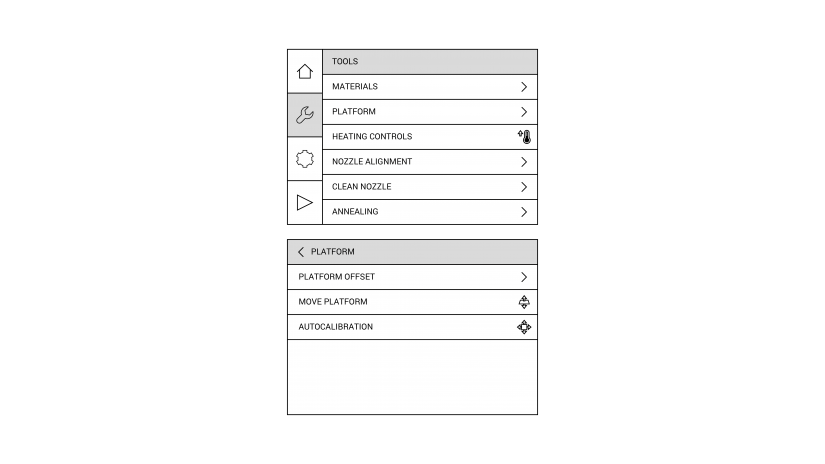
3. Feed the materials into the material endstops. Start the material loading procedure using options from the menu: Tools -> Materials -> Load material.
1. Open the filament chamber door and install a spool on the holder. Next, install the spool nut, press it against the spool, and tighten it clockwise. Both spools are installed in the same way.
2. Turn the printer on. When you start the device for the first time, you will be asked to confirm the voltage value in your electrical outlet. If it is not 200 V (Japan), select No.
3. Feed the materials into the material endstops. Start the material loading procedure using options from the menu: Tools -> Materials -> Load material.
4. Calibrate the platform - select Tools -> Platform -> Autocalibration. Follow the instructions displayed on the screen. Next, carry out Nozzle alignment calibration - select Tools -> Nozzle alignment. Follow the instructions displayed on the screen.

