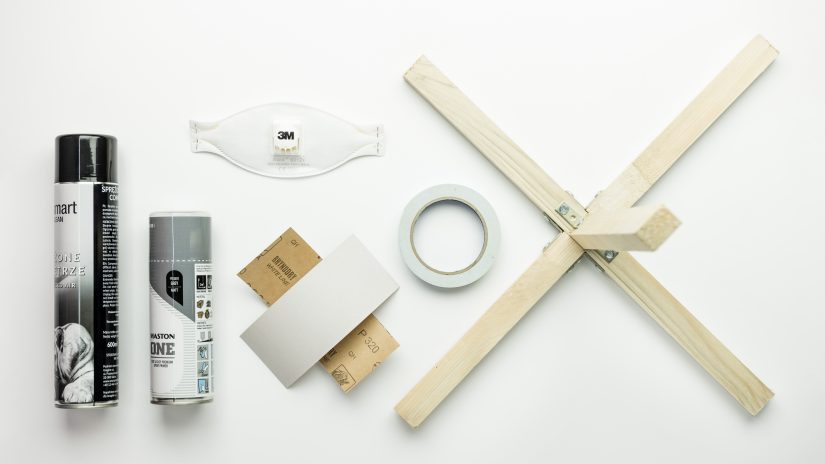
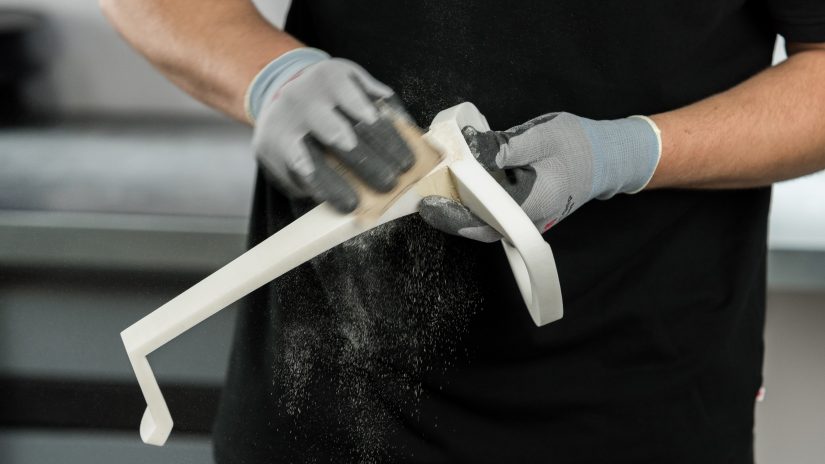
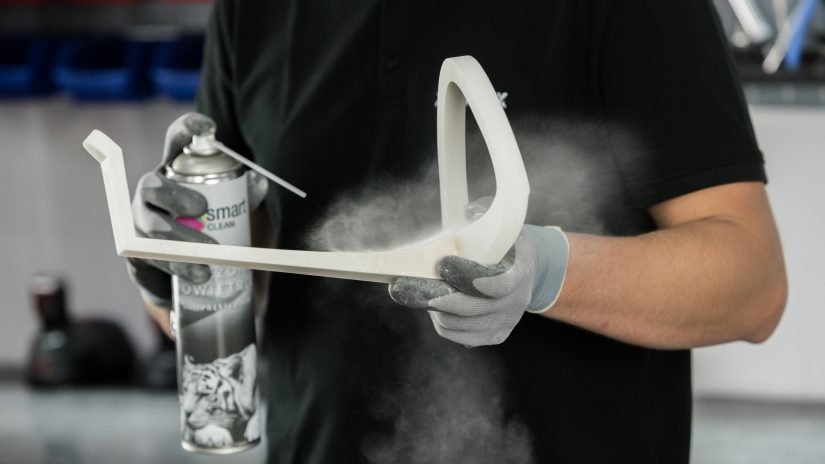
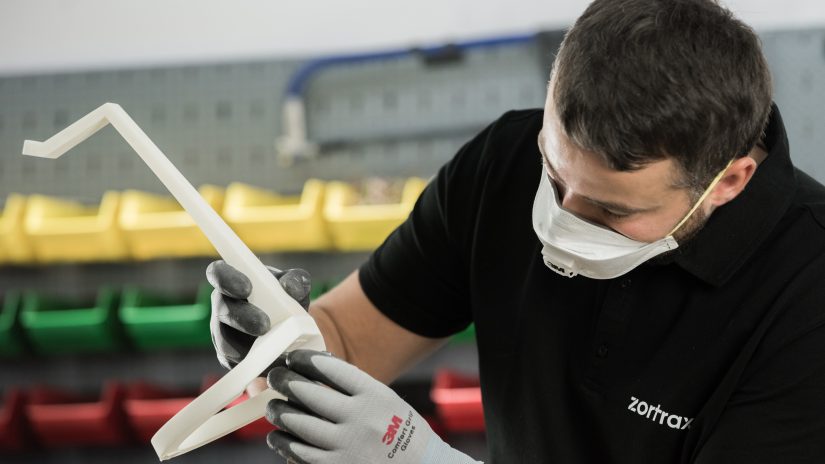
Welcome to the third episode of our post-processing workshops. Today you’ll learn how to prepare your model for priming and apply the primer onto its whole surface correctly. First of all, secure the work area with paper or foil as it may get a little messy later.
Be sure to check out the previous episode where we showed how to assemble the headphone stand: Episode 02.
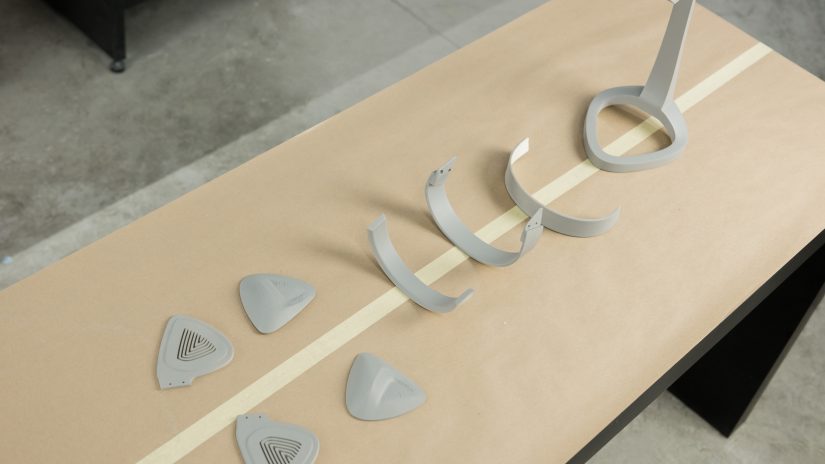
The .stl files are available for download here: headphones and a headphone stand.

4
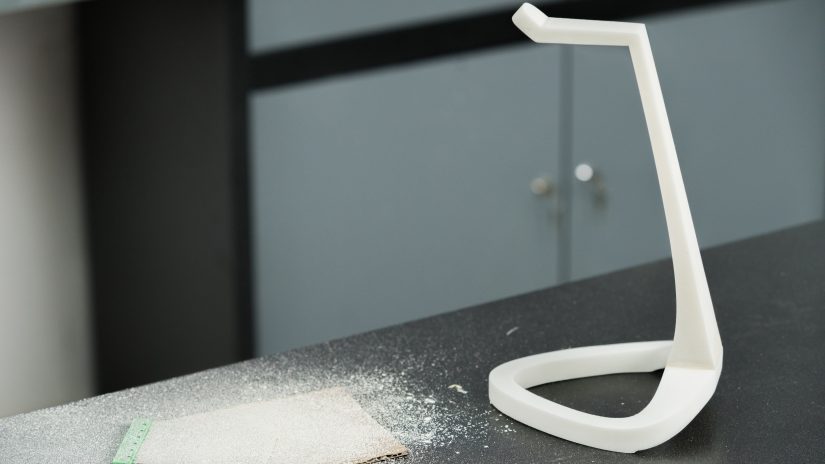
Priming the Model
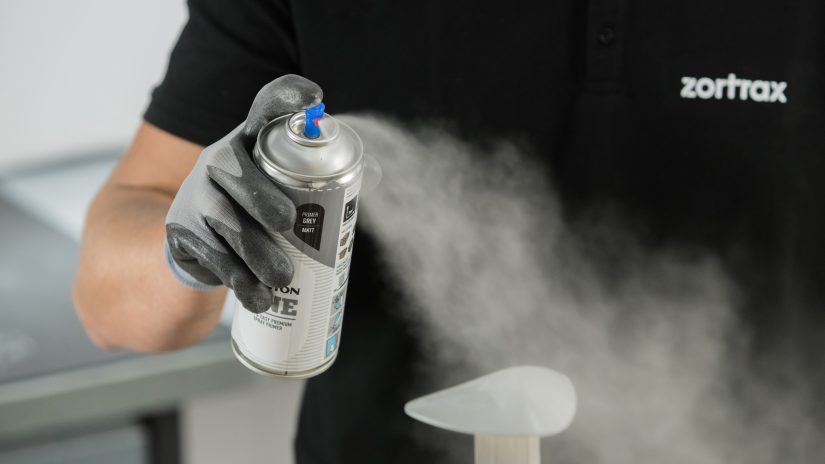
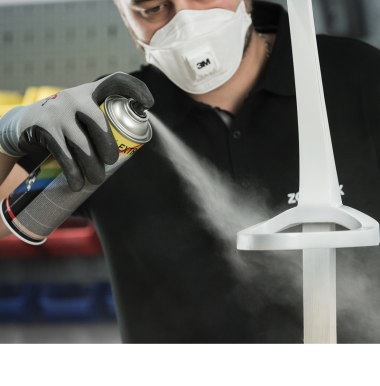
Shake the can well for three minutes and begin to apply the primer onto the hard-to-reach areas and then onto the whole model.
At first, apply two thin layers. Wait about three minutes and apply two more.
While spraying, the can should be held 25-30cm away from the model.
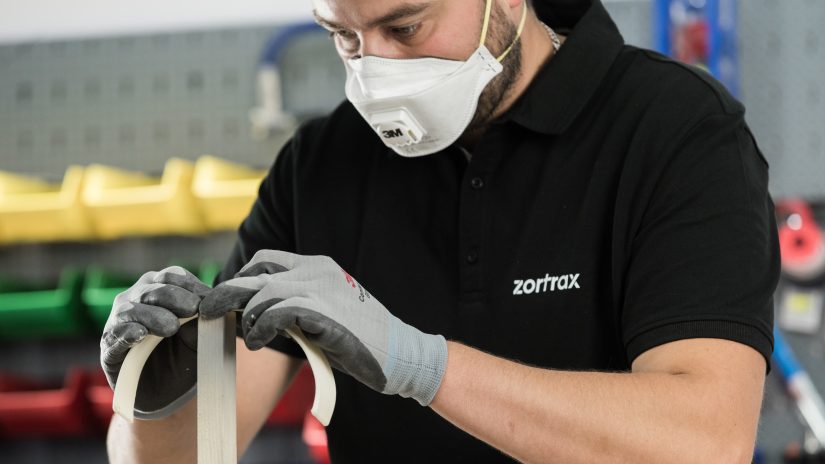
Put the mask on for safety before you start priming!
5
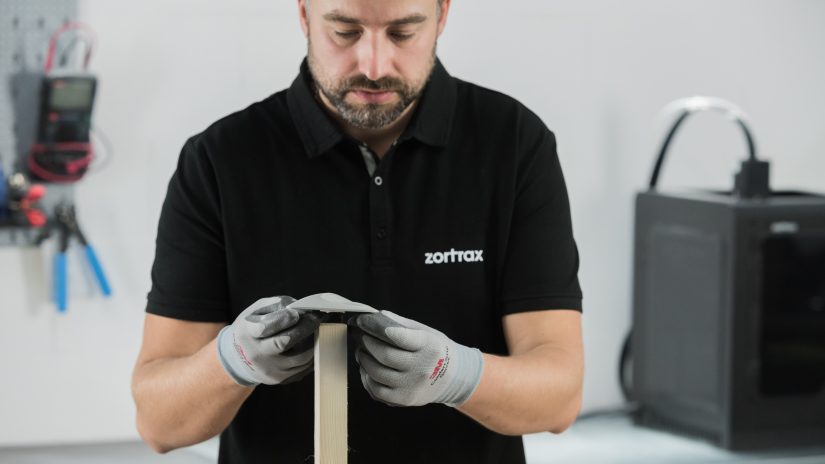
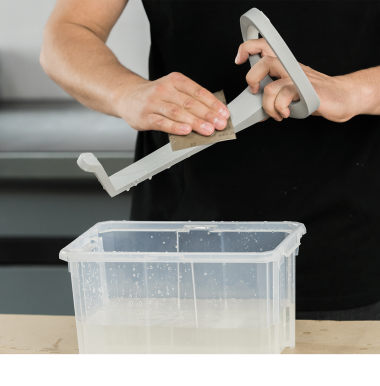
Leaving the Model to Dry
Leave the elements to dry for about 20 minutes at room temperature.
EPISODE 04 CAN BE FOUND HERE: Wet Sanding the Model
