The Variable Layer Thickness tool allows you to divide models into one or more areas which can be printed with different layer thickness settings. You can print one model with thicker and finer layers interchangeably, depending on the intended purpose of a model. If your model has a segment which doesn’t contain many details in it and you want to save time on printing, choose thicker layers. However, if another segment within that model is rich in details and you want to achieve higher quality, choose finer layers.
When preparing a model in Z-SUITE, select the last icon on the toolbar on the left to open the Variable Layer Thickness menu. You can add a number of dividers which split your model into areas, for example, with two dividers, your project will have three areas. In the small window on the left, you can set layer thickness settings for the selected areas, whereas in the Print settings menu on the right, you can set layer exposure time settings for these areas. Follow the steps described below to learn how to add and delete dividers, and to adjust settings.
Adding Dividers
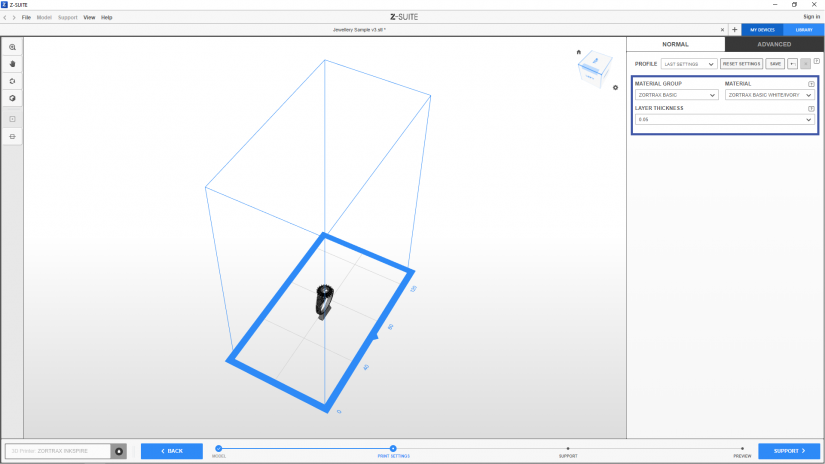
1. Once you upload your model to the workspace and make the necessary changes to its size and position, move on to the Print settings step. First, select the Material Group and then Material type.
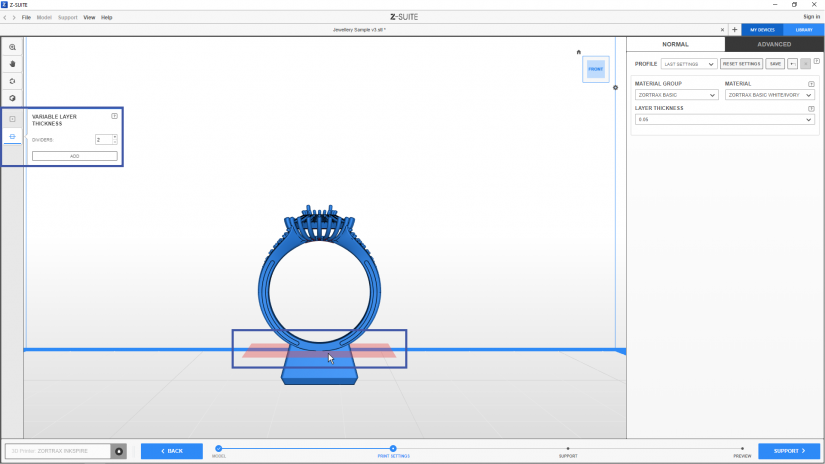
2. To split your model into areas, select the Variable Layer Thickness icon on the toolbar on the left and add one or more dividers. You can do it by selecting the number of dividers and clicking the Add button, or by clicking directly on the spot where you want your model to be divided.

1. Once you upload your model to the workspace and make the necessary changes to its size and position, move on to the Print settings step. First, select the Material Group and then Material type.
2. To split your model into areas, select the Variable Layer Thickness icon on the toolbar on the left and add one or more dividers. You can do it by selecting the number of dividers and clicking the Add button, or by clicking directly on the spot where you want your model to be divided.
3. Once you add the first divider, you can add more dividers by double-clicking on the Model height bar that appears on the right. Also, you can click and hold the divider on the Model height bar to move the added divider along the model in both directions.

Layer Exposure Time Settings

Once you add a selected number of dividers to your model, adjust layer thickness settings for each created area in the Variable Layer Thickness menu on the left. Select the desired layer thickness values from the drop-down list. Next, move on to the Advanced Print Setting menu on the right. In the Layer thickness section, you will see the default Layer exposure time values for the resin type you have chosen earlier. If you want to change the Layer exposure time settings for in the assigned areas, type in the desired value or use the +/- icons.
Remember that the same layer thickness values will have exactly the same layer exposure time settings, even when selected for different areas in your model.
Next, move on to the Preview step where the program will generate a .zcodex file. Layer thickness settings for your model are also saved in a .zprojx file and are available once you open the Variable layer thickness menu after loading a project.

