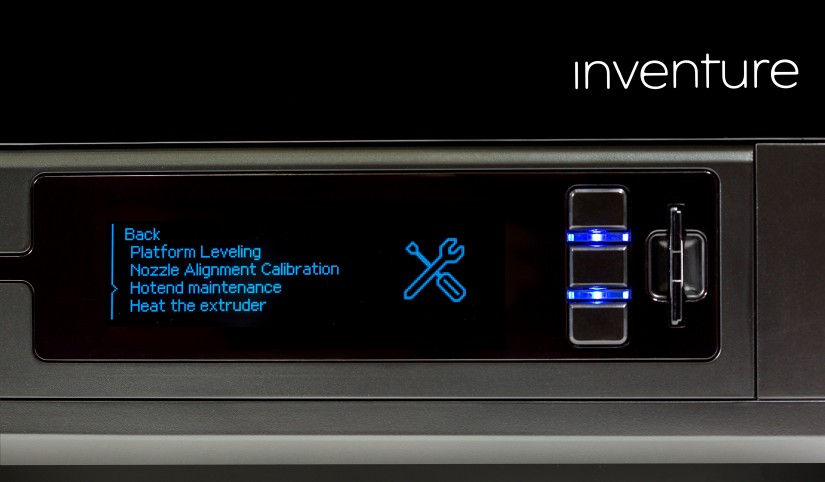
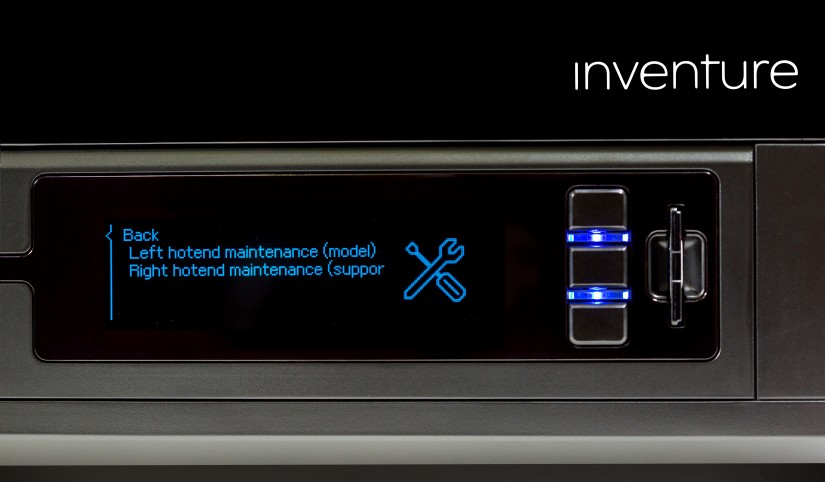
If the printer does not extrude either of the two materials during the material loading or printing, the respective nozzle may be clogged and needs to be replaced. Also, if you notice burn marks on the model or there are material deficiencies in the model or the support material, either of the nozzles requires replacing. Follow the steps from this manual to properly complete the replacement procedure.


4
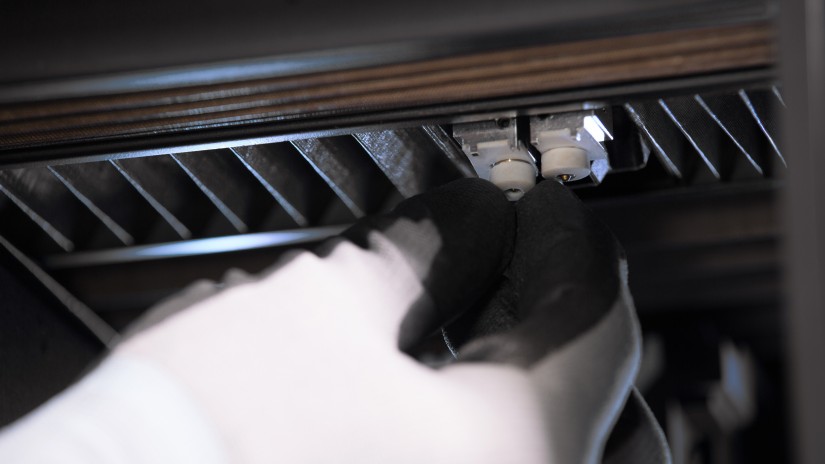
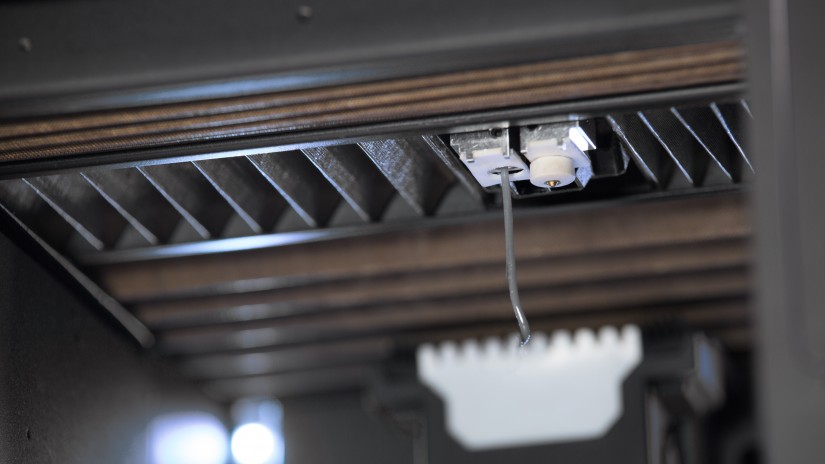
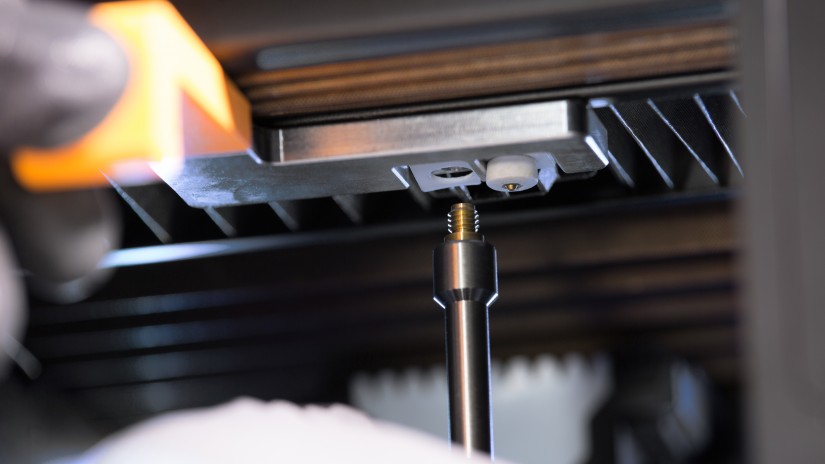
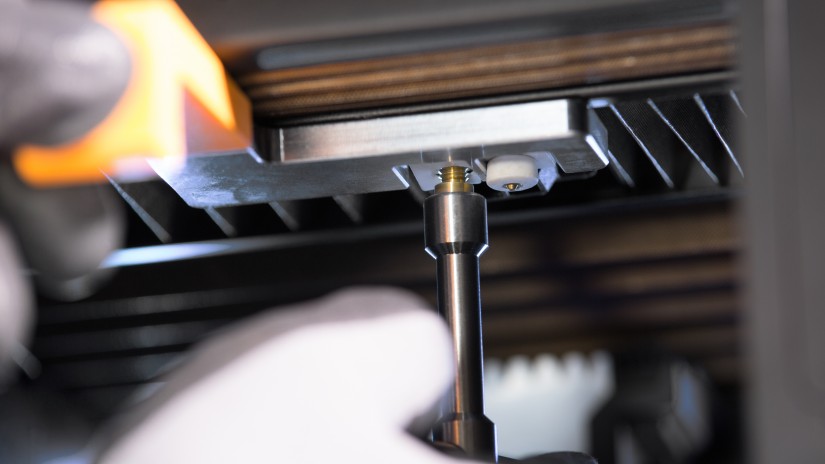
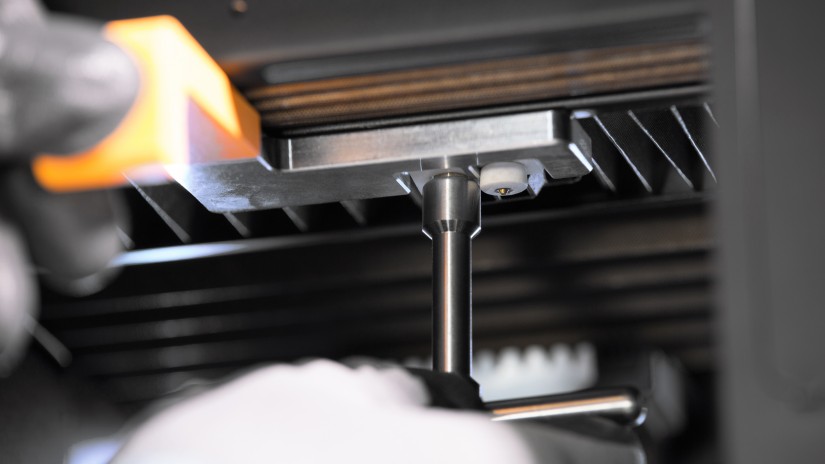
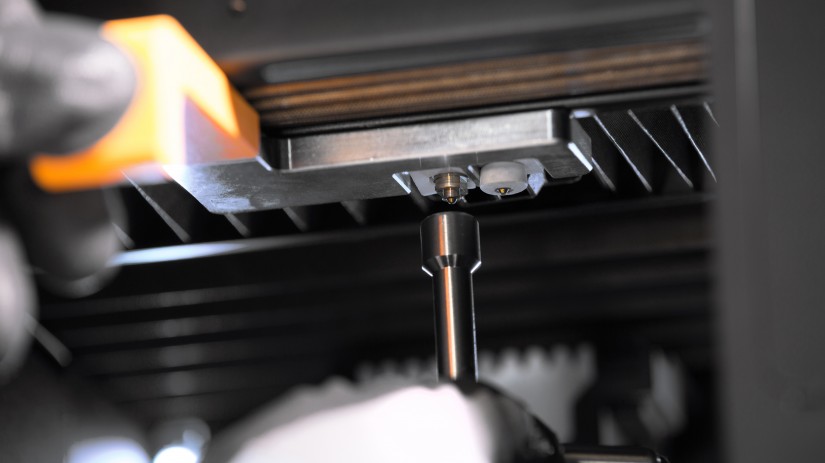
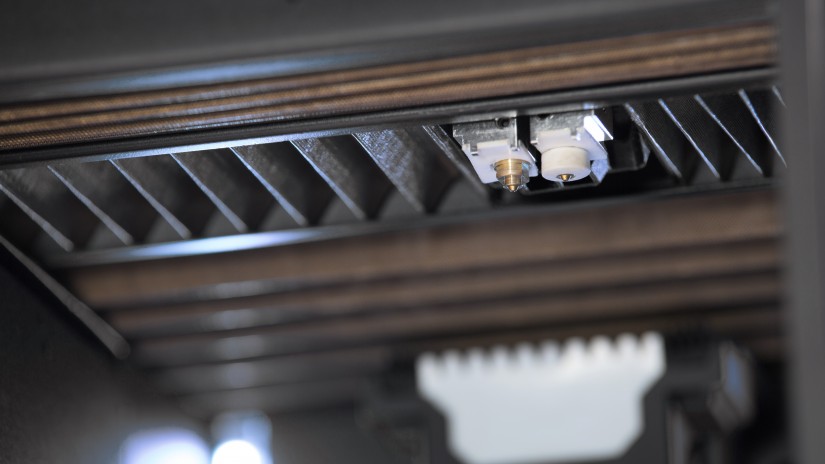
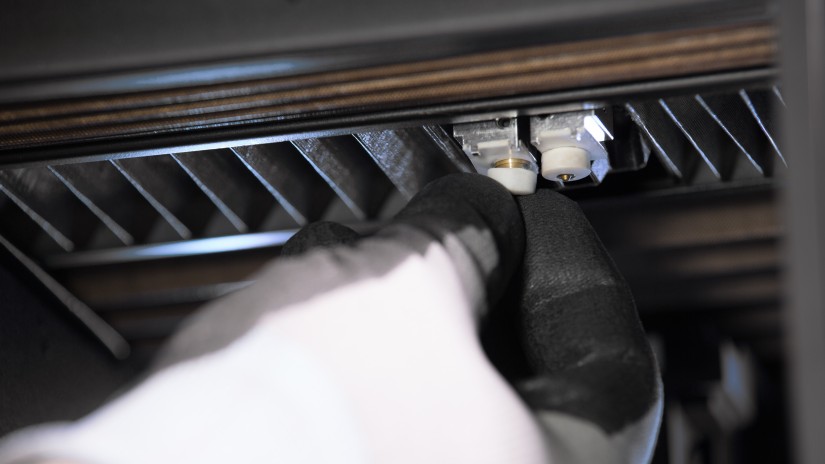
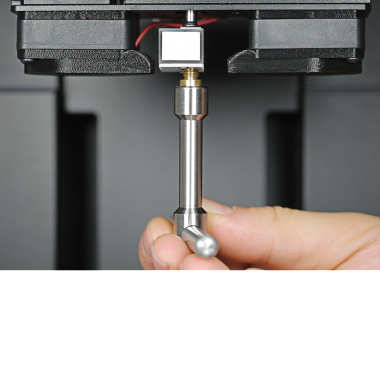
Nozzle Removal
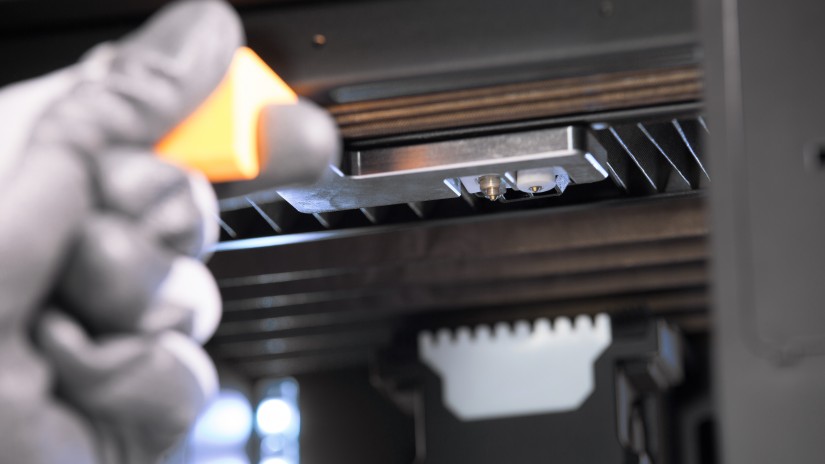
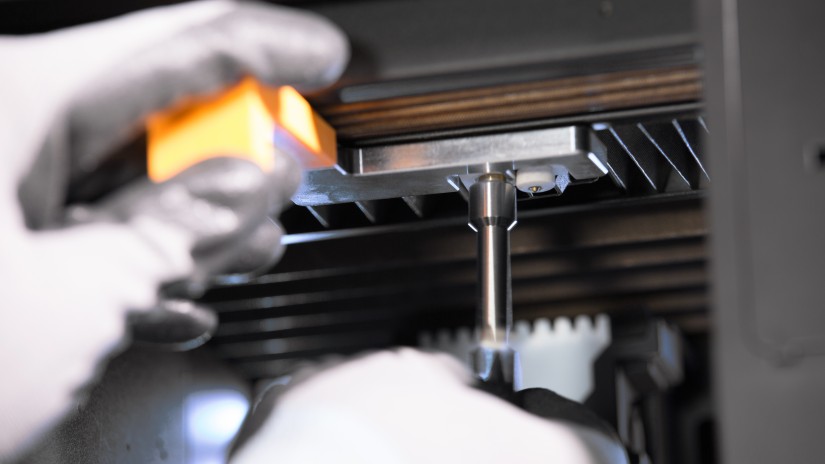
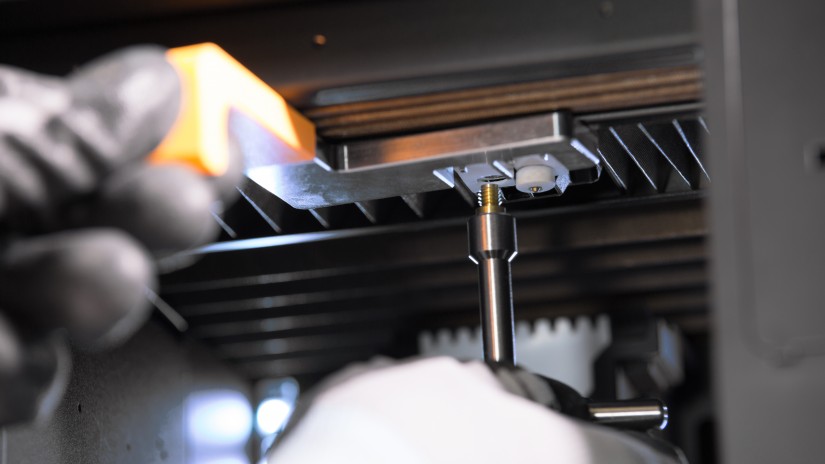
Use the hotend maintenance tool to keep the hotends from moving and unscrew the nozzle counterclockwise using the nozzle key (when viewed from below). Removing the nozzle should take place while the extruder is still hot. When the nozzle is loose, take it out using pliers and follow the instructions from the printer display panel.


