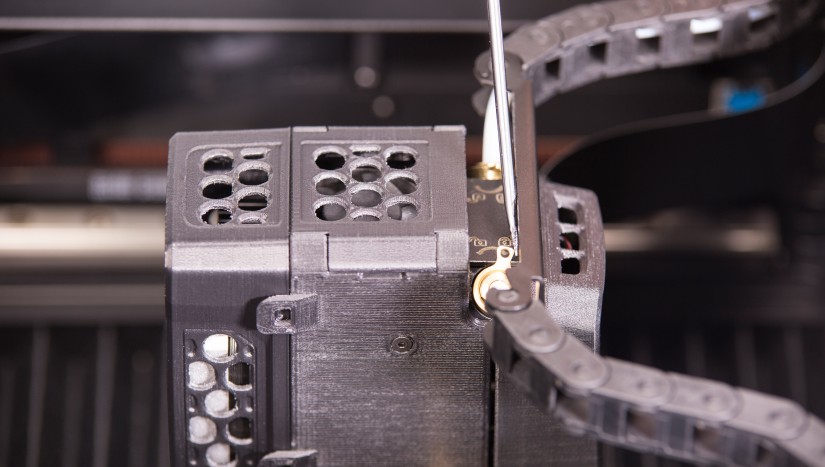
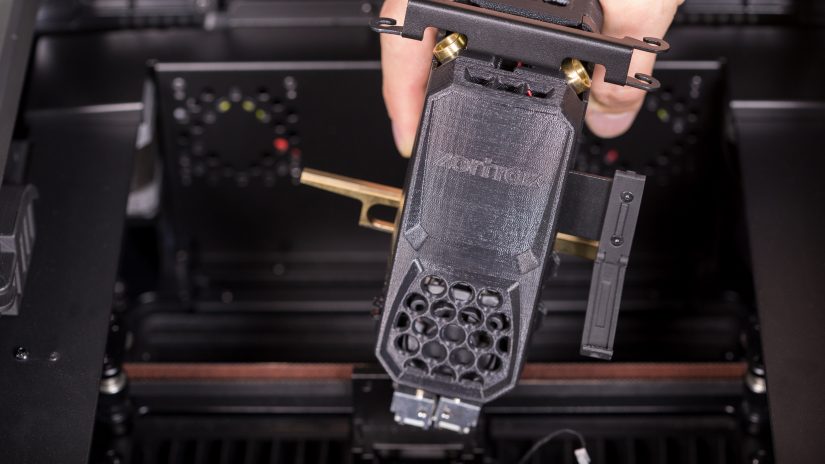
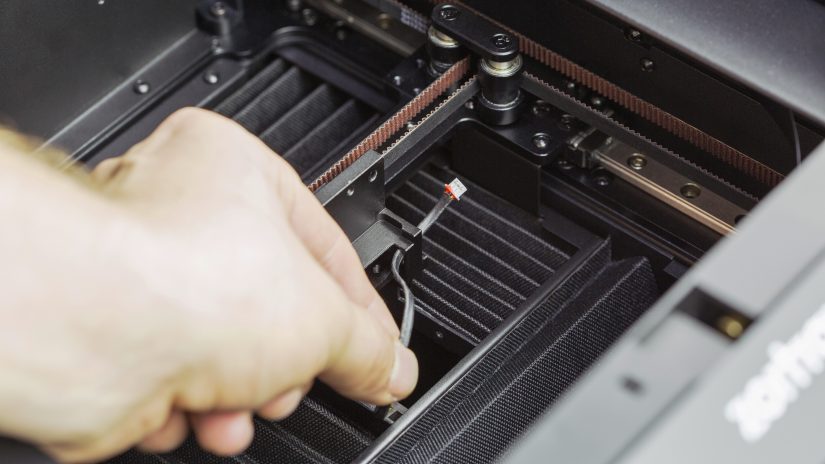
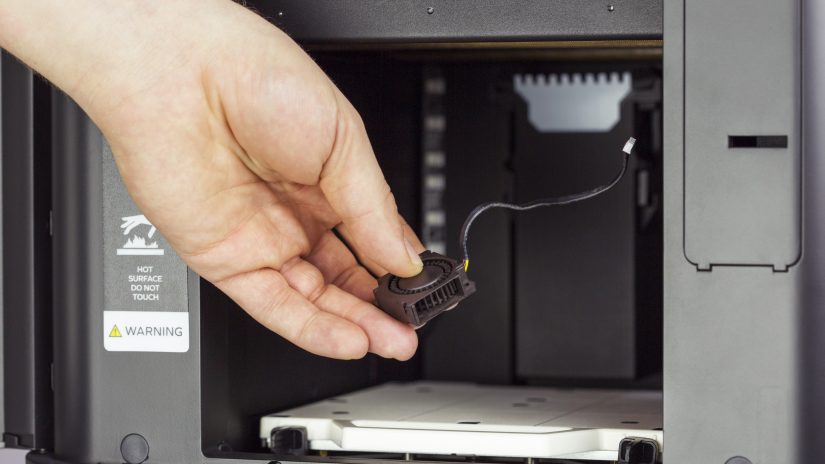
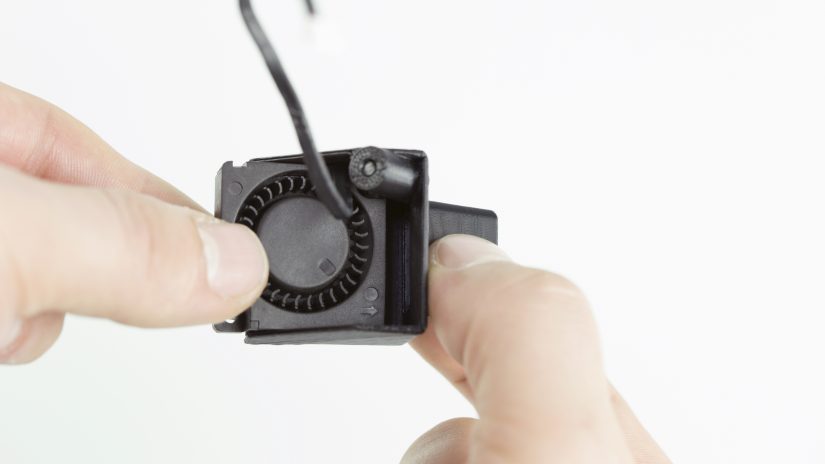
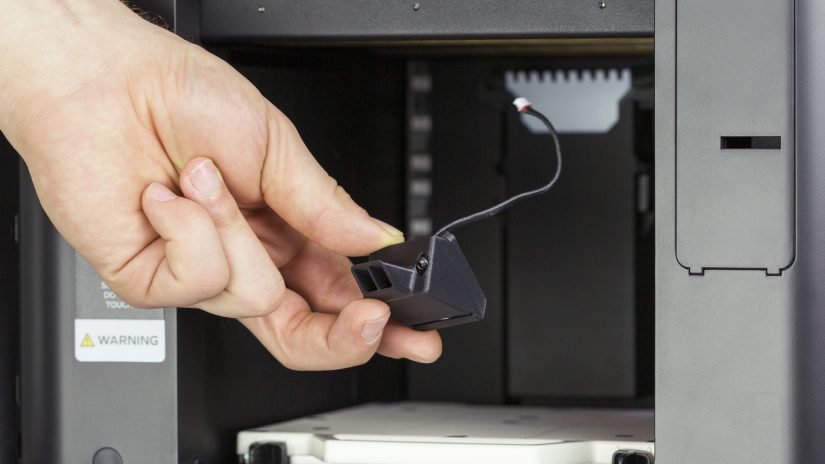
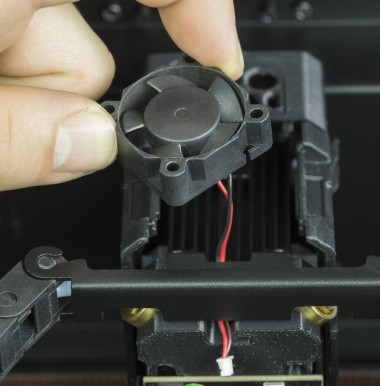
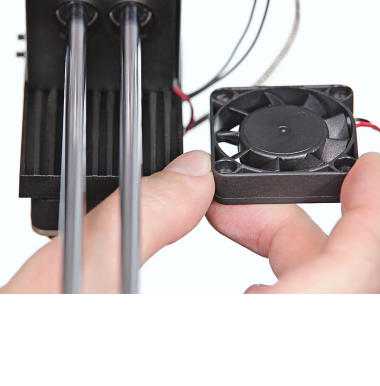
The extruder lower fan is an essential part of the extruder and has a direct influence on the quality of the printed objects as it cools down each layer of material during the printing process. Thanks to that, successive layers adhere to one another without causing cracks in the model’s structure. If you still notice some defects on your model, for example, it melts or warps during the printing, and it has burn marks on the surface, the extruder lower fan may be faulty. Also, if the fan generates unusual noises, or its blades don’t spin, it needs to be replaced. Follow the steps from this manual to replace the fan and avoid having a failed print.

1

Unplugging the Power Cable

Turn off the printer and unplug the power cable.

2

Opening the Top Door

Open the top door.

3

Unplugging the Extruder Cable

Unplug the extruder cable.

4

Unplugging the Extruder Lower Fan Cable

Extruder-Bottom-Fan-Replacement_4.jpg

Unplug the extruder lower fan cable.

5

Unlocking the Material Guides

Unlock the material guide tube switches on both sides of the extruder using a flathead screwdriver.

6

Detaching the Material Guides

Bend the outer material guide gently and move it up and down until you detach it. Repeat this step with the other material guide. Detach both material guide tubes from the extruder.

7

Unscrewing the Extruder

Unscrew the two screws securing the extruder.

8

Extruder Removal

Remove the extruder from the printer.

9

Unscrewing the Extruder Lower Fan

Unscrew the extruder lower fan and remove the fan shroud.

10

Extruder Lower Fan Removal

Pass the extruder lower fan cable through the hole and remove the fan from the printer.

11

Extruder Lower Fan Installation

Put the fan shroud together with the new extruder lower fan. Pass the extruder lower fan cable through the hole and place the fan in its place.

12

Securing the Extruder Lower Fan

Secure the extruder lower fan with the screw.

13

Extruder Assembly

Place the extruder back in the printer.

14

Securing the Extruder

Secure the extruder with the two screws.

15

Attaching the Material Guides

Attach the material guide tube to the extruder. Next, install the outer material guide gently in its place. Repeat this step with the other material guide.

16

Locking the Material Guides

Lock the material guide tube switches on both sides of the extruder using a flathead screwdriver.

17

Plugging the Extruder Lower Fan Cable

Extruder-Bottom-Fan-Replacement_17.jpg

Plug the extruder lower fan cable in.

18

Plugging the Extruder Cable

Plug the extruder cable in.

19

Closing the Top Door

Close the top door.

Was this article helpful?

Yes No

Thank you for your feedback.

Arrow back Arrow up