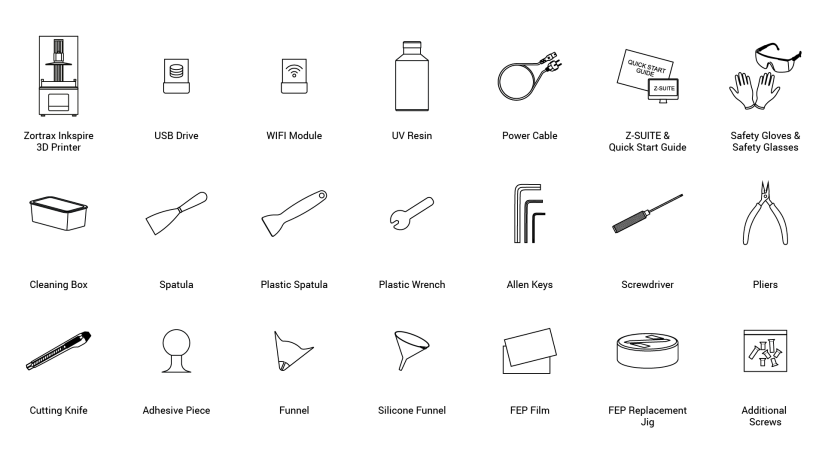
Preparing your printer for the first use ensures its proper functioning and makes the whole printing process easier. The following steps show how to properly unpack and set up the machine. This article also shows how to prepare and start the printing process as well as how to post-process finished prints in a liquid detergent and UV light.
|
Preparing the Printer for Work
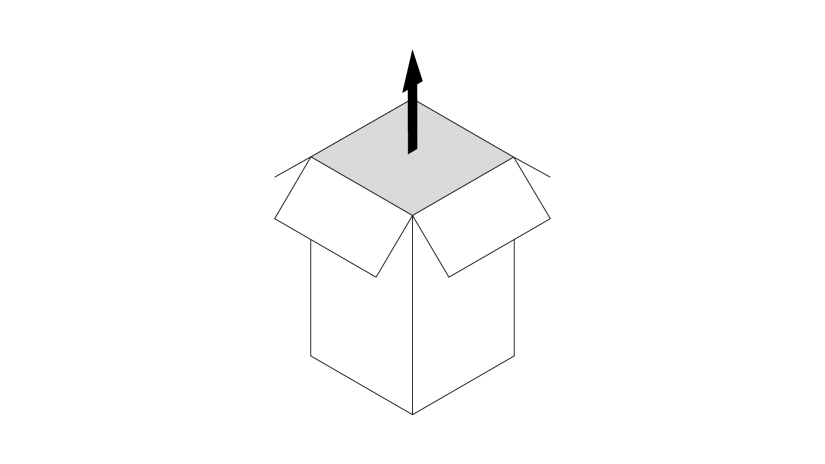
1. Open the box and remove the upper cushioning.
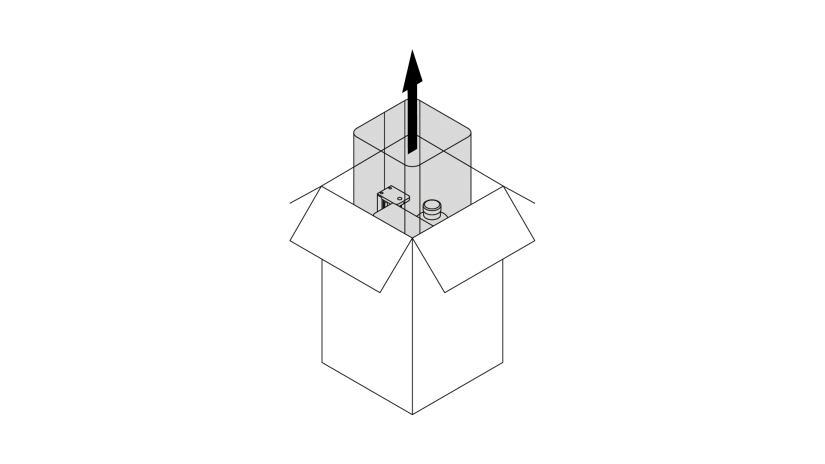
2. Remove the UV cover.
3. Remove the Starter Kit and the foam with the bottle of resin.
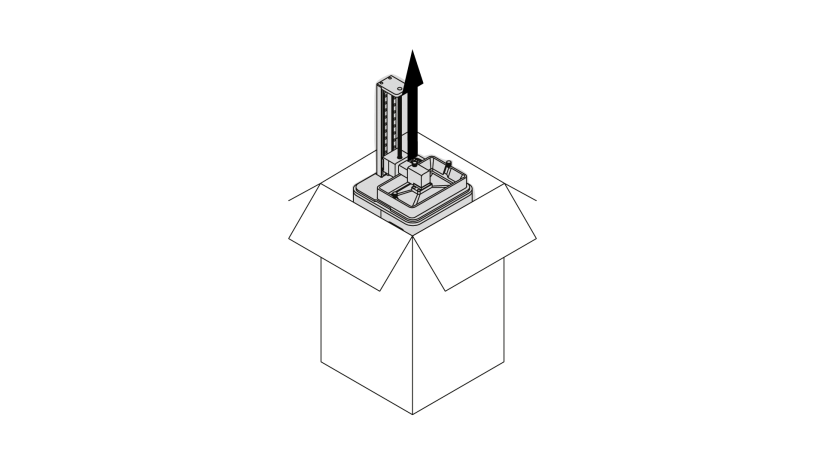
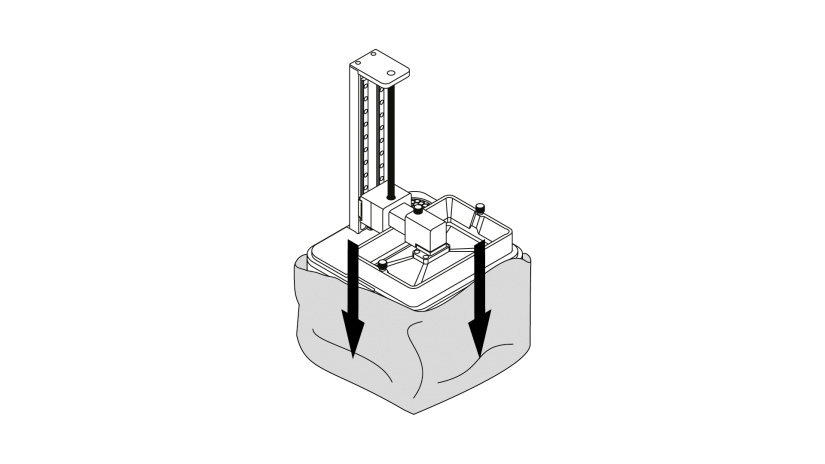

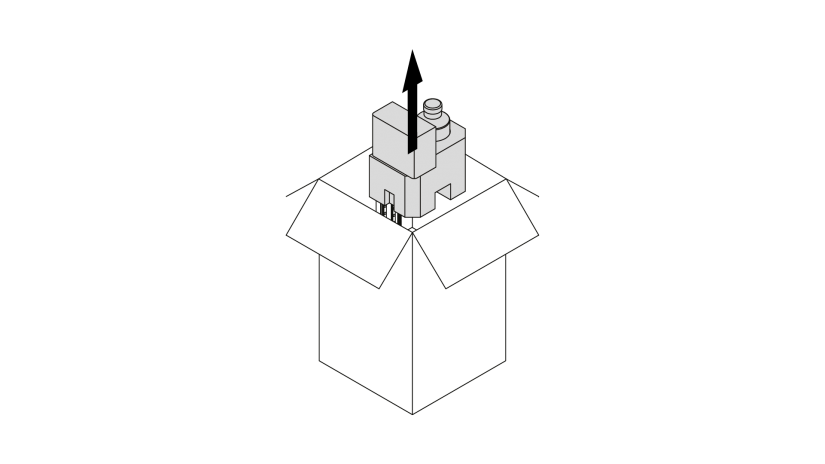
1. Take the printer out of the box. Don't grab the Z-axis screw when lifting the printer.
2. Remove the foil.
3. Place the printer on a flat and stable surface*.
*If the printer remains uneven, use the plastic wrench from the Starter Kit to tighten or loosen the printer's legs as needed.
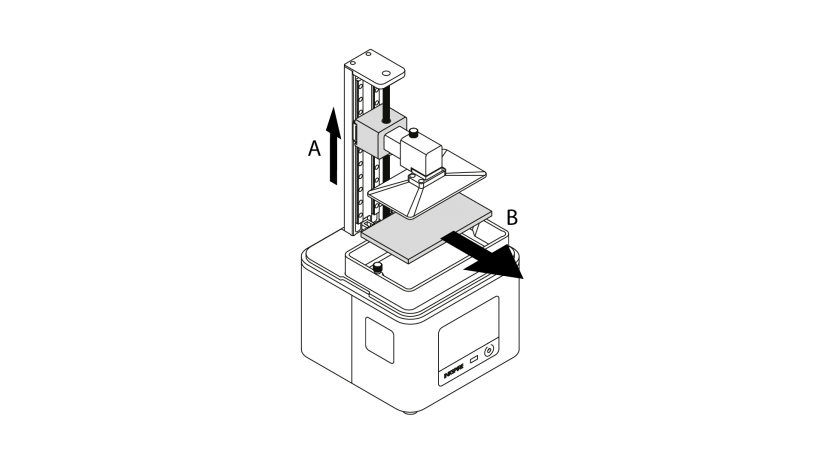
1. Move up the platform by gripping the platform block and pulling it upward (A). Remove the cushioning (B).
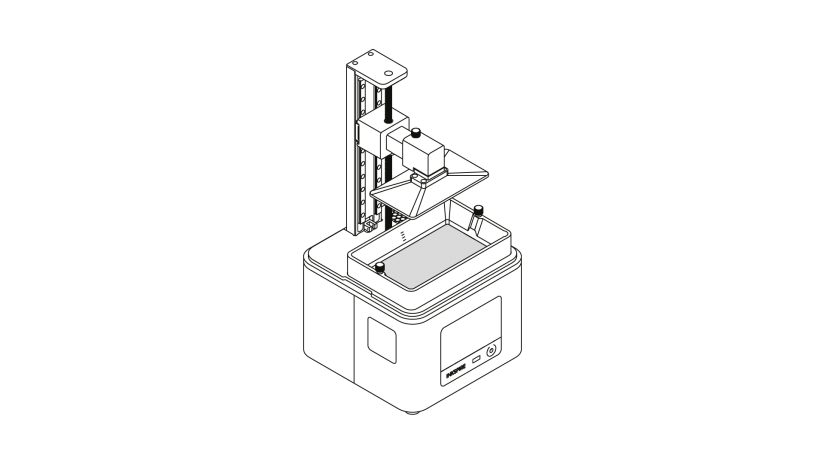
2. Clean the FEP film inside the resin tank with a cloth.
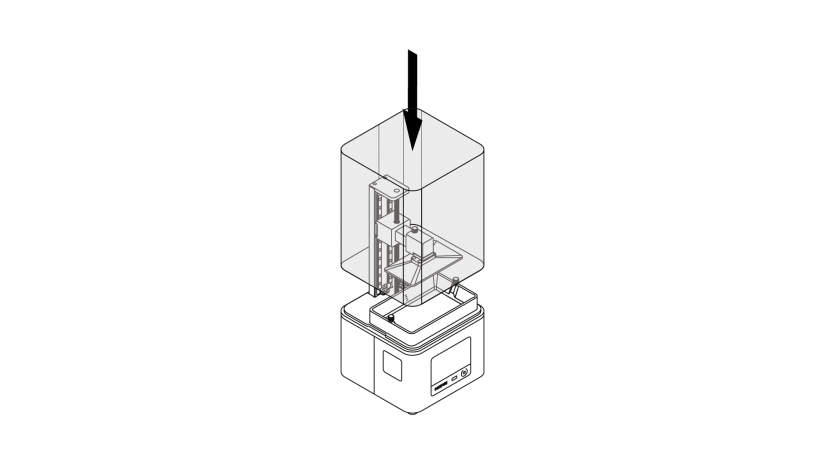
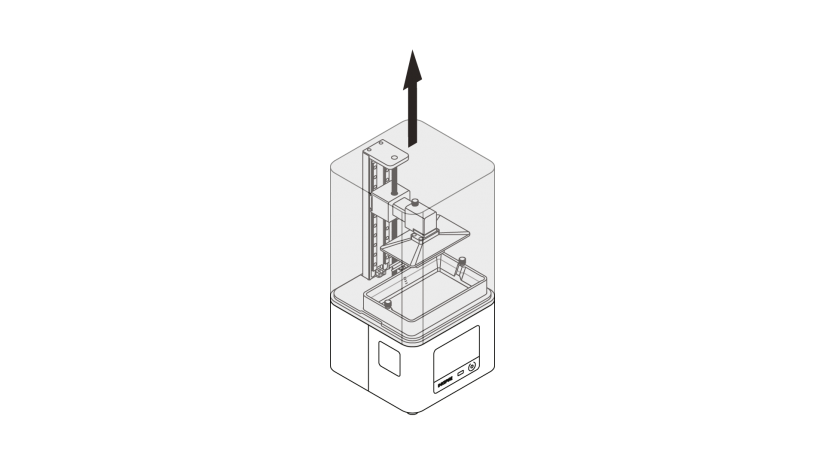
3. Remove the foil from the UV cover. Install the UV cover on the printer. The cover's seam should be placed behind the Z axis.
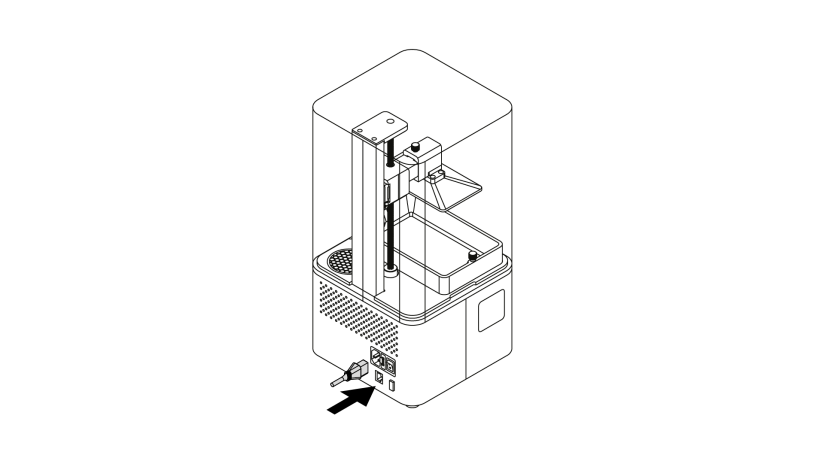
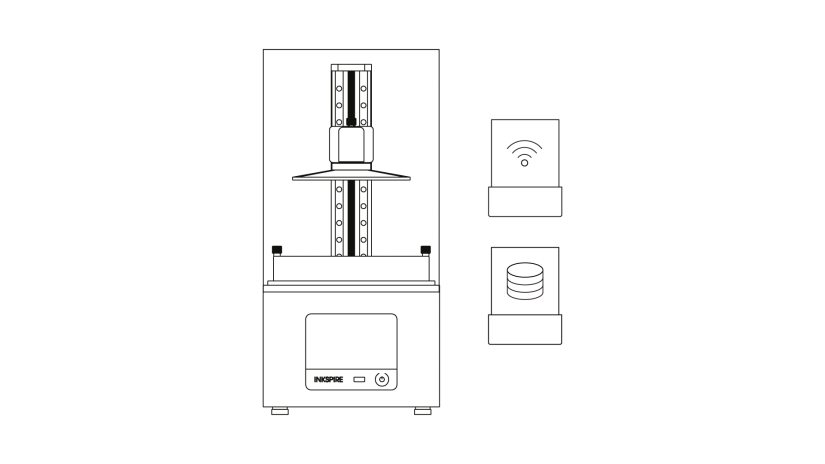
1. Plug in the power cable and turn on the printer. Connect it to a network via Wi-Fi or Ethernet. Go to Settings and configure the connection using options from the menu.
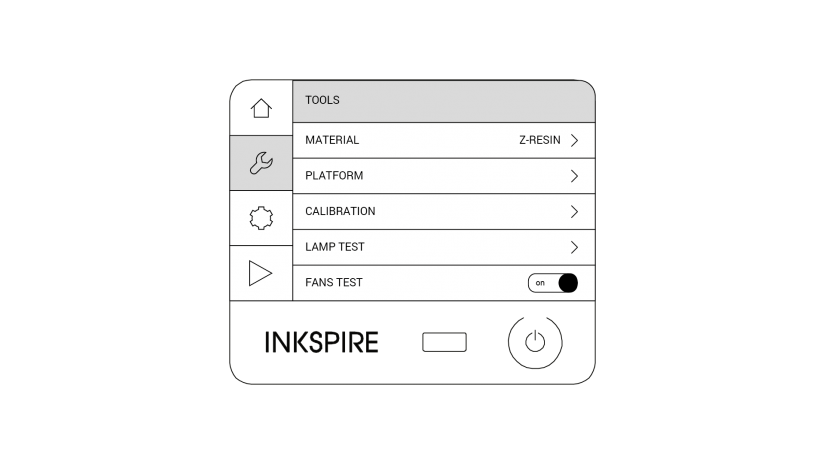
2. To calibrate the platform, select Tools -> Calibration. Follow the instructions displayed on the screen.
Printing and Post-Processing
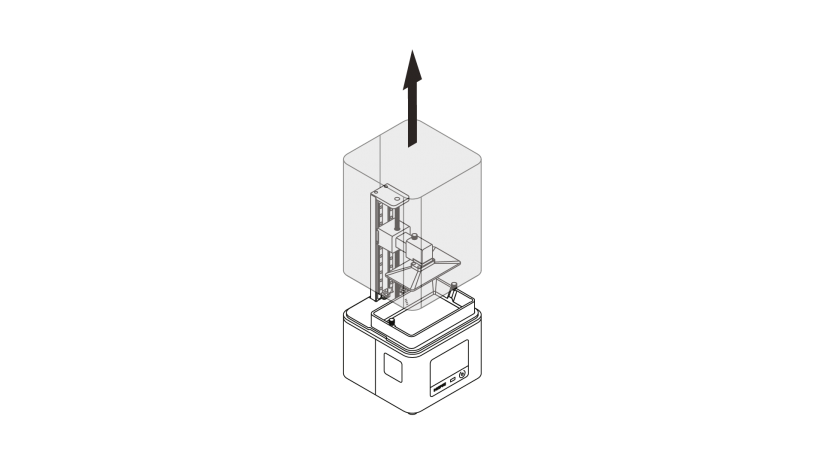
1. Remove the UV cover.
| If you haven't calibrated the platform during the set-up of the printer, carry out this procedure now. |
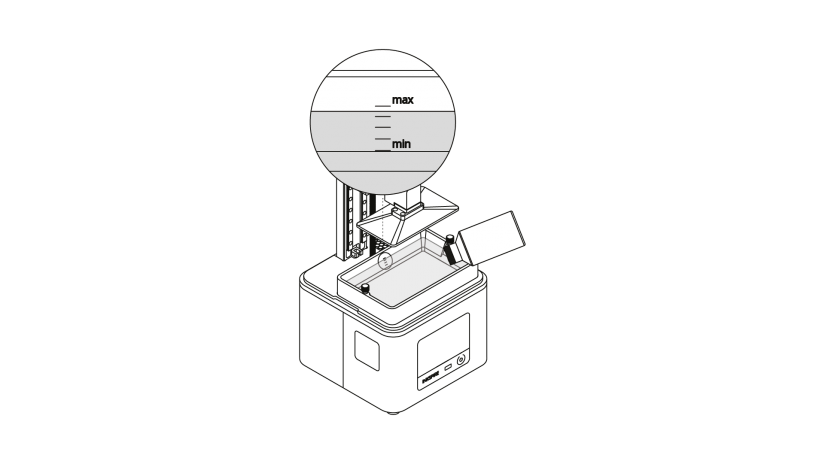
2. Fill the tank with resin. The resin level must fit the MIN and MAX marks. Install the UV cover back on the printer.
1. Transfer the file from Z-SUITE to the printer (via Wi-Fi/Ethernet or using the USB drive) and start the printing process.
2. Once the printing process is finished, wait until the resin fully drains off of the model. Remove the UV cover.
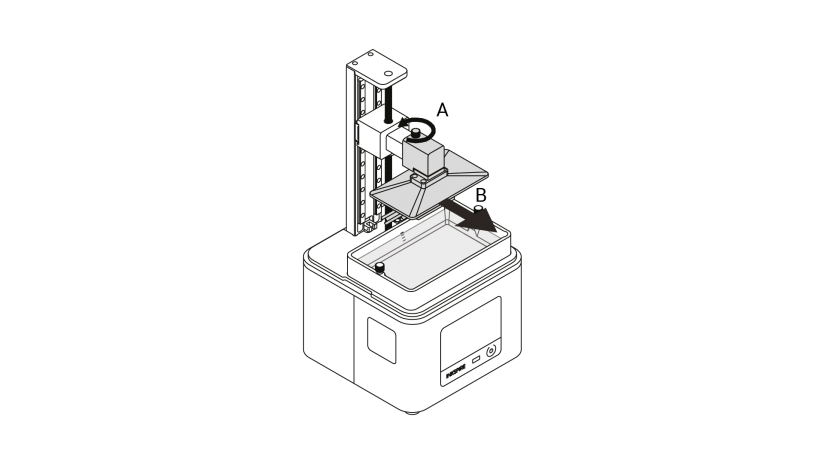
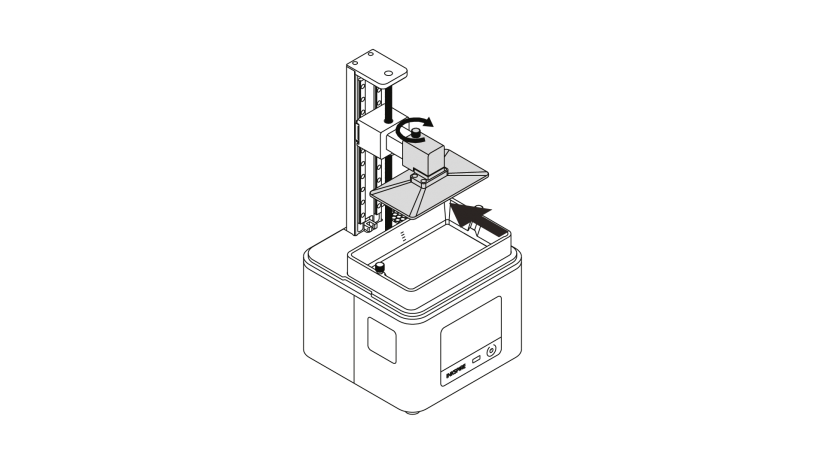
1. Wipe the top and edges of the platform with a paper towel and unscrew the platform screw (A). Remove the platform (B). Install the UV cover on the printer.
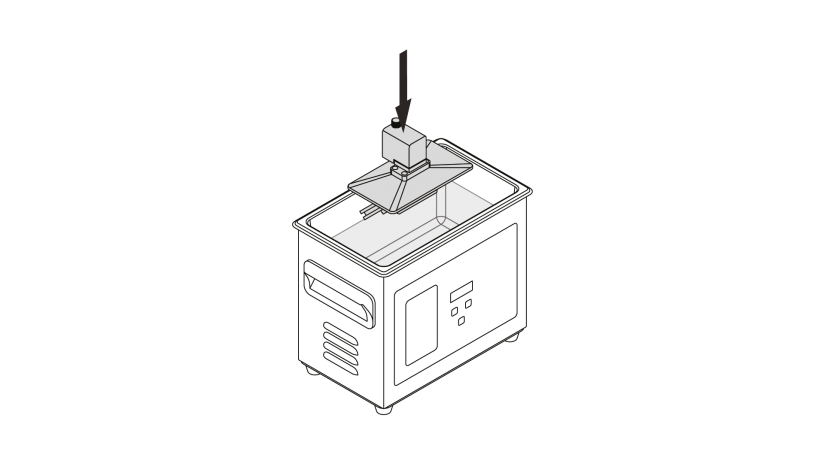
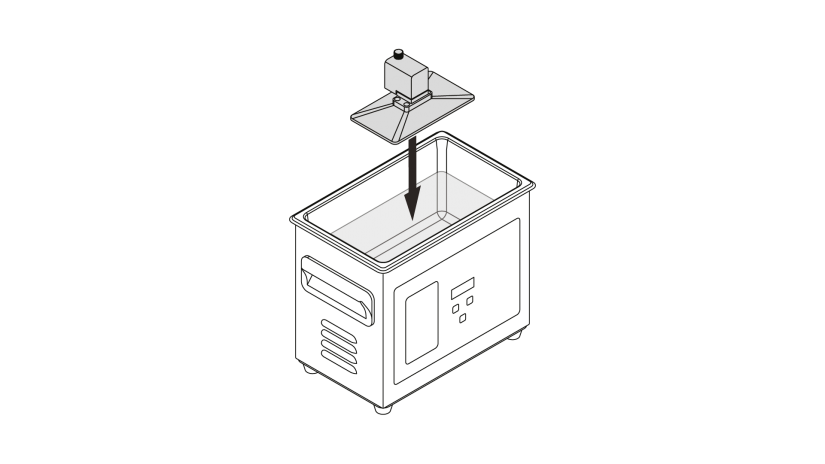
2. Immediately put the platform with the model in the Ultrasonic Cleaner. Turn on the device. Cleaning time depends on the size of the model but it shouldn't exceed three minutes. Longer cleaning time causes the liquid to heat up.
1. Wipe the top and edges of the platform with a paper towel and unscrew the platform screw (A). Remove the platform (B). Install the UV cover on the printer.
2. Immediately put the platform with the model in the Ultrasonic Cleaner. Turn on the device. Cleaning time depends on the size of the model but it shouldn't exceed three minutes. Longer cleaning time causes the liquid to heat up.
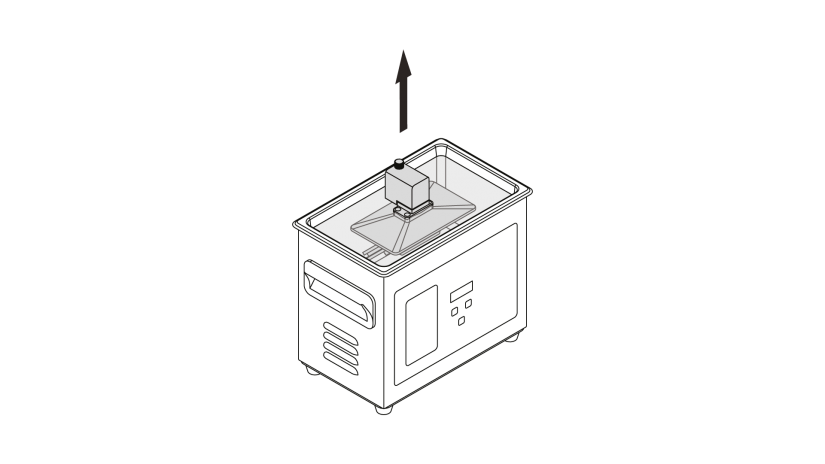
3. Turn off the Ultrasonic Cleaner and remove the platform with the model.
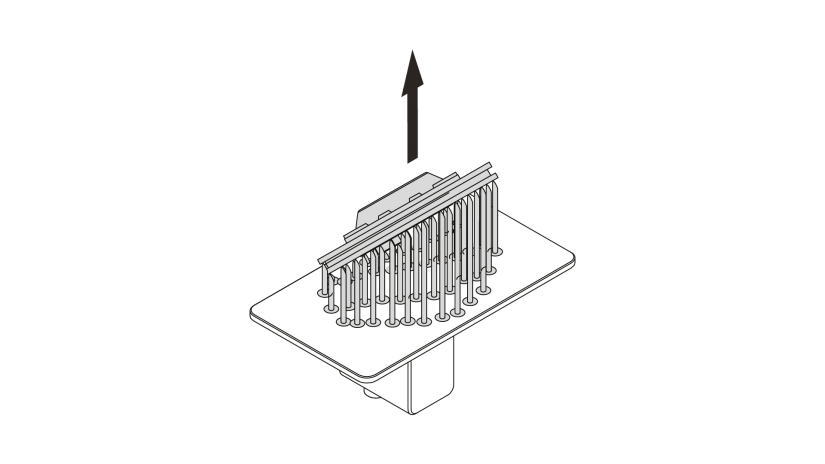
1. Leave the platform with the model to air dry and ensure that the model isn’t exposed to the UV light until it’s completely dry. Next, remove the model from the platform by hand or use a spatula. If you have problems with removing the print, use a cutting knife.

1. Leave the platform with the model to air dry and ensure that the model isn’t exposed to the UV light until it’s completely dry. Next, remove the model from the platform by hand or use a spatula. If you have problems with removing the print, use a cutting knife.
2. Remove the raft and support structures from the model.
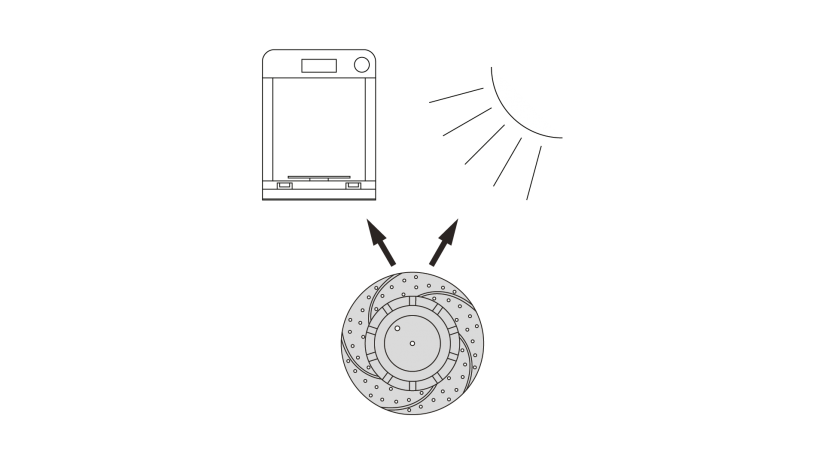
3. Put the model in the UV Station or in any source of UV light (e.g. direct sunlight).
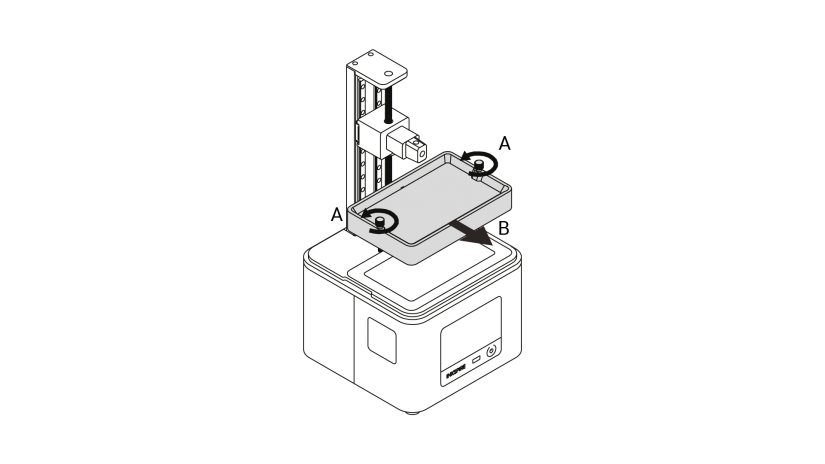
1. Unscrew the two screws that secure the resin tank and remove them (A). Next, remove the resin tank (B).
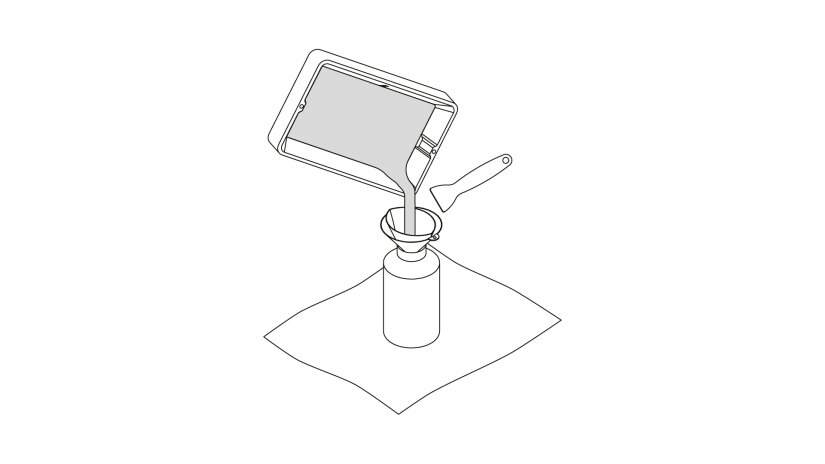
2. Insert the resin filter into the silicone funnel and put them together in the bottle with resin. Pour the resin left in the tank through the filter and funnel. If it's necessary, use a plastic spatula.
1. Unscrew the two screws that secure the resin tank and remove them (A). Next, remove the resin tank (B).
2. Insert the resin filter into the silicone funnel and put them together in the bottle with resin. Pour the resin left in the tank through the filter and funnel. If it's necessary, use a plastic spatula.
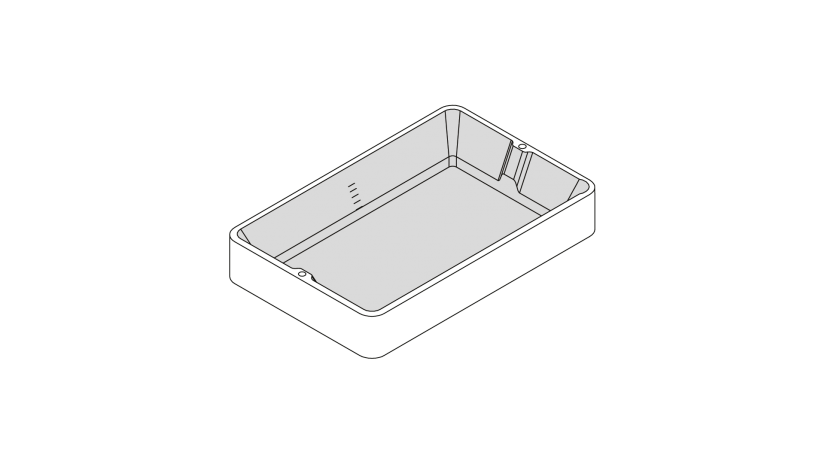
3. Clean the resin tank with a paper towel. You can also use 99% isopropyl alcohol for that purpose. If you change the color or type of resin, clean the tank in the Ultrasonic Cleaner.
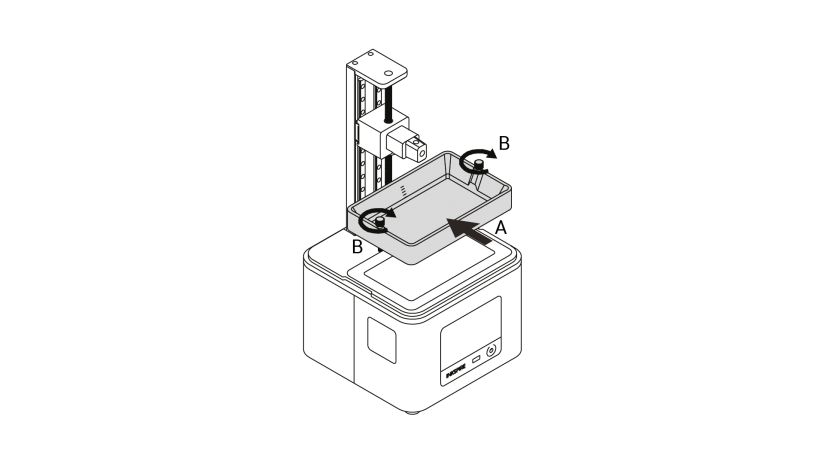
1. Clean the LCD screen and the outside of the FEP film with a soft cloth. Install the resin tank back in its place (A) and secure it with the two screws (B).
2. Clean the platform surface with a spatula to remove the residues of cured resin. Next, put the platform in the Ultrasonic Cleaner and turn on the device for about 30-60 seconds.
3. Turn off the Ultrasonic Cleaner, remove the platform and leave it to air dry. Once the platform is dry, install it back in the printer (A) and secure it with the screw (B).
Firmware Update
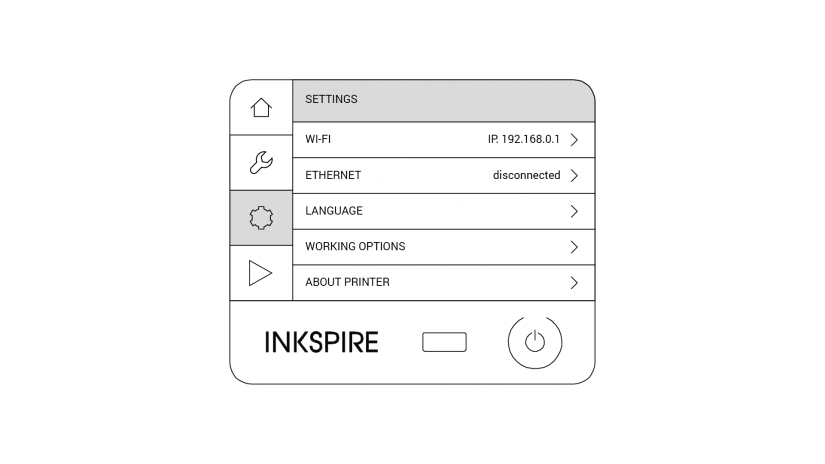
If your printer is connected to a network, select Settings -> About Printer -> Check for updates to check if there is a newer firmware version available. If so, follow the instructions displayed on the screen.
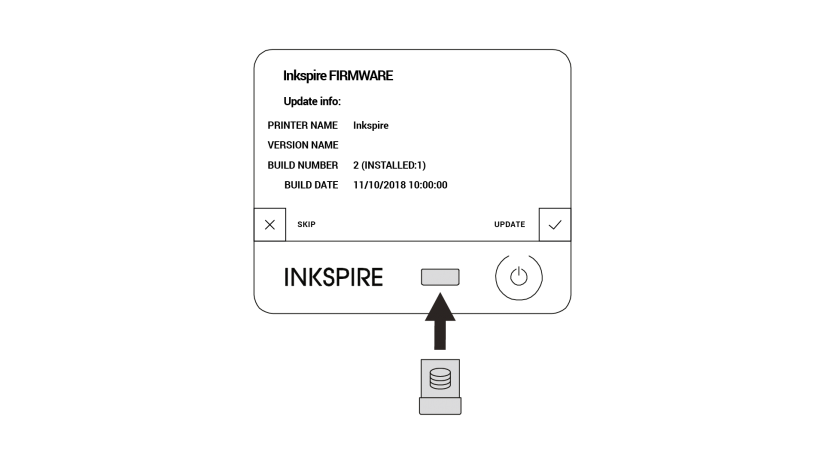
If your printer isn’t connected to a network, go to support.zortrax.com and check if there is a firmware update available. If so, download the file and save it on the USB drive. Plug the USB drive into the port at the front of the device to start the installation.


