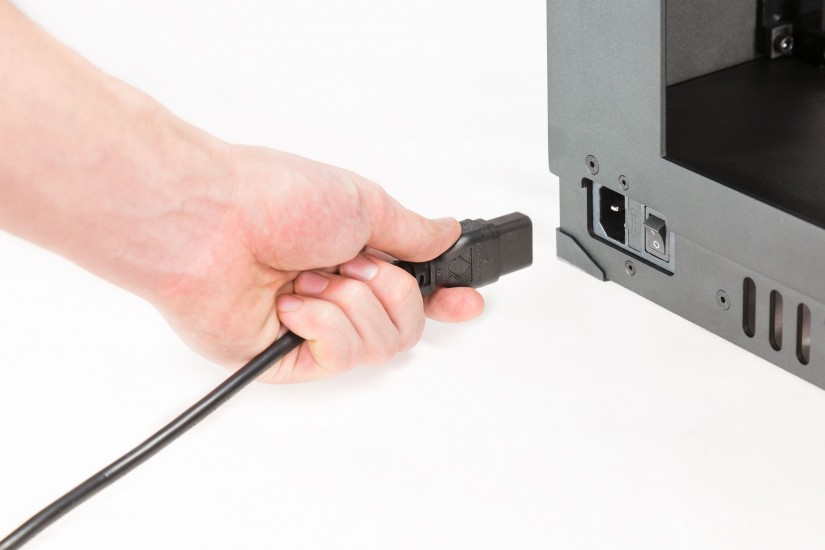
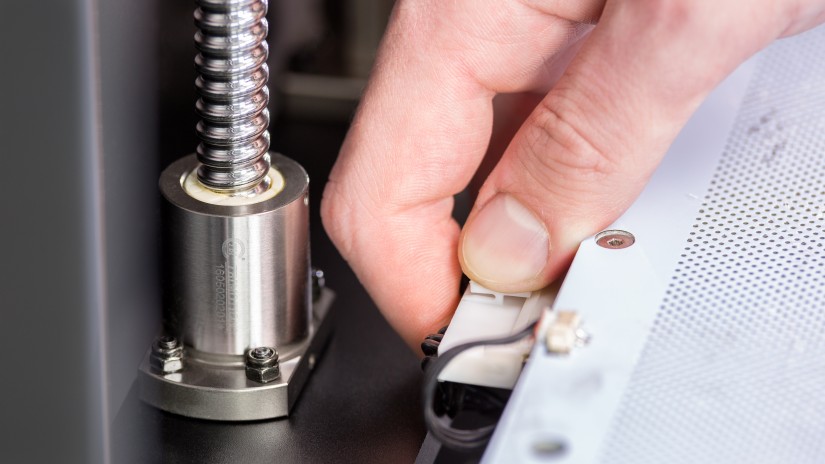
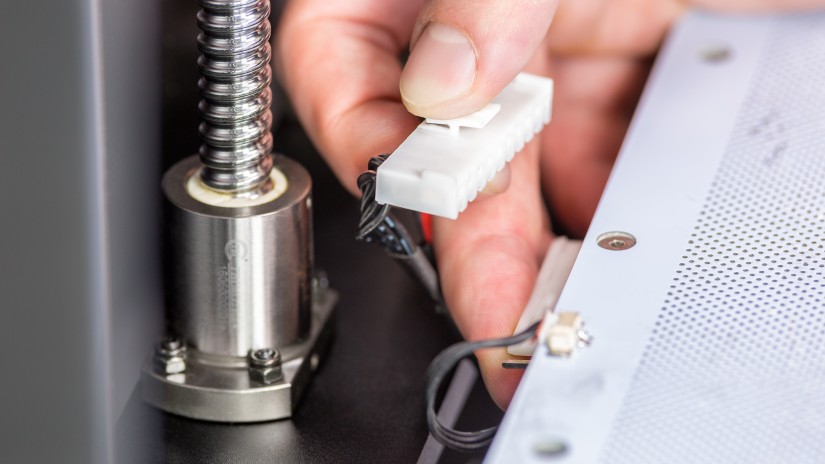
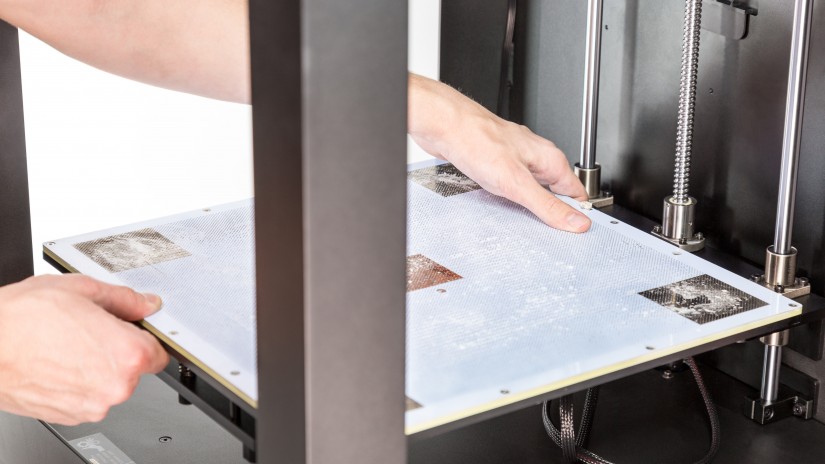
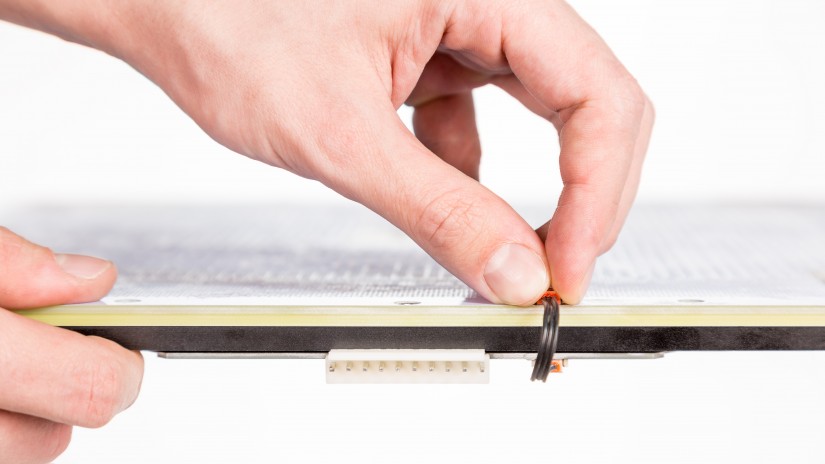
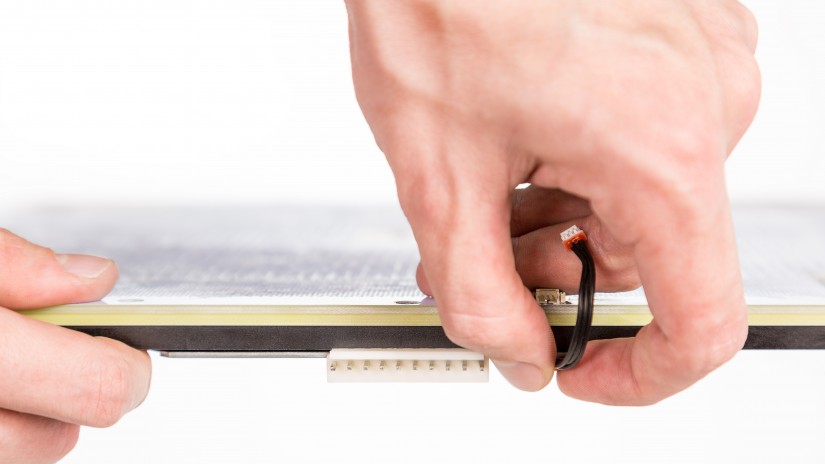
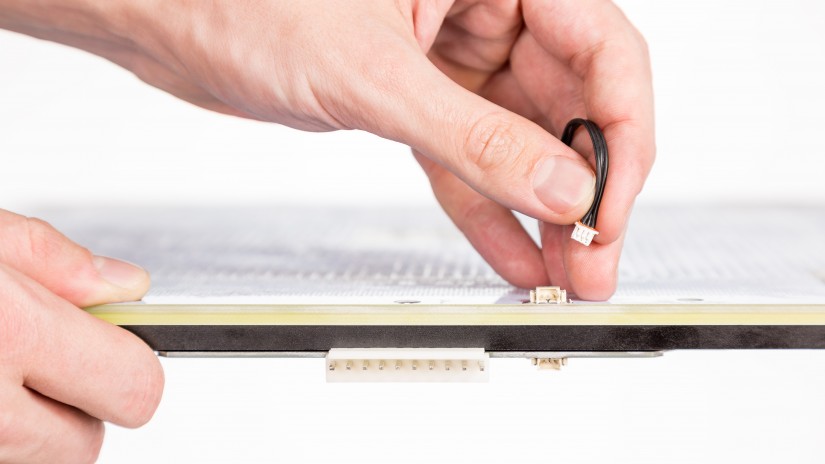
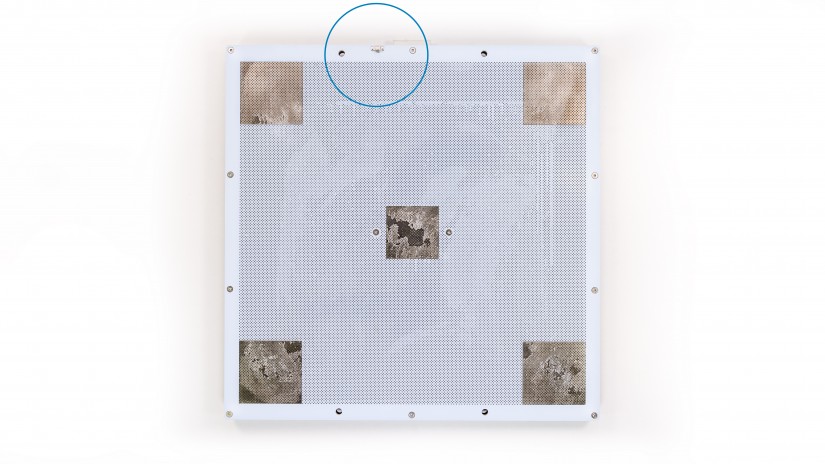
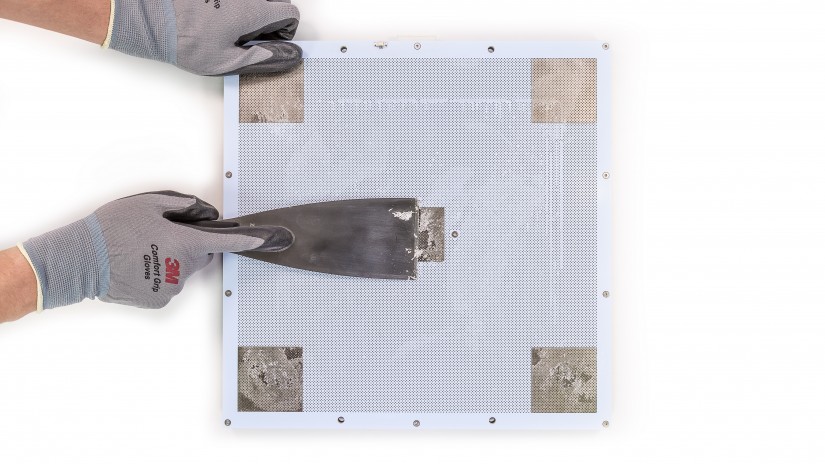
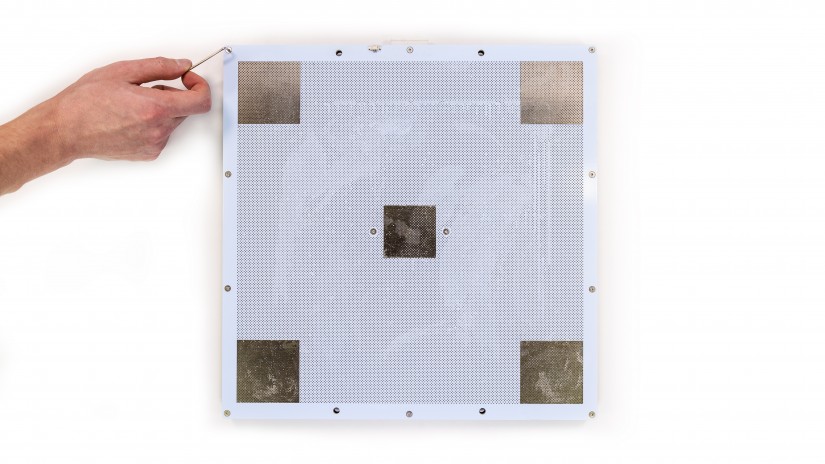
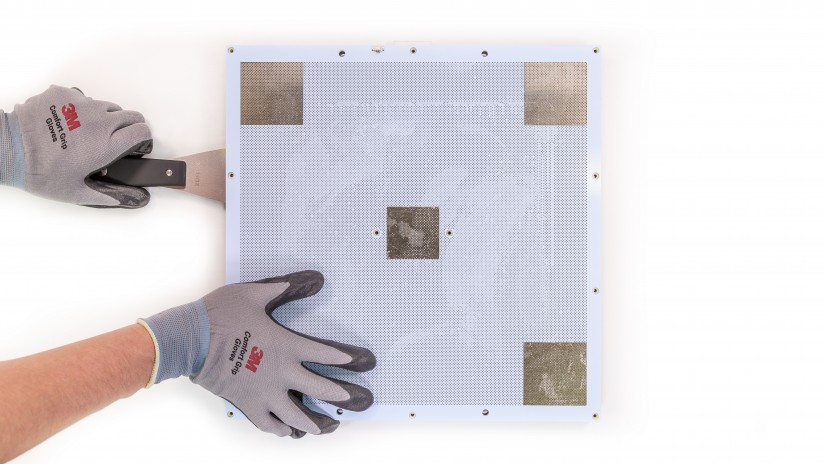
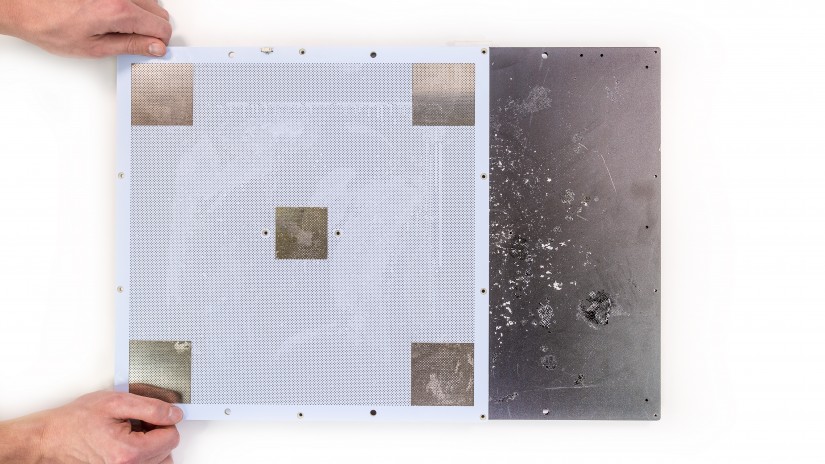
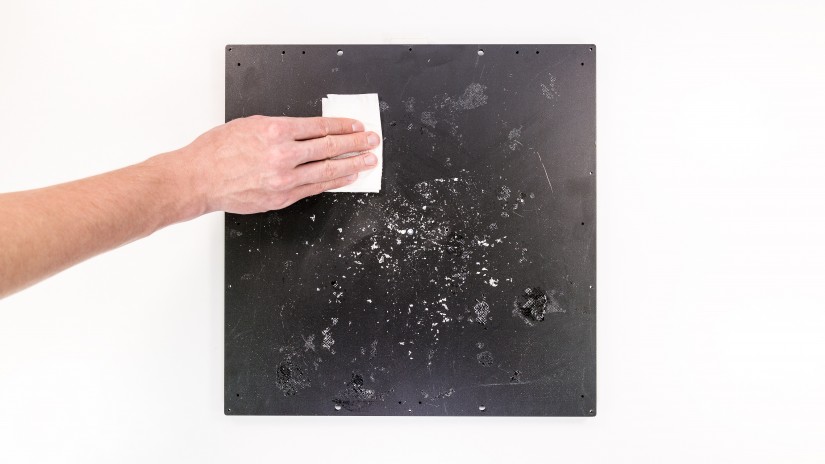
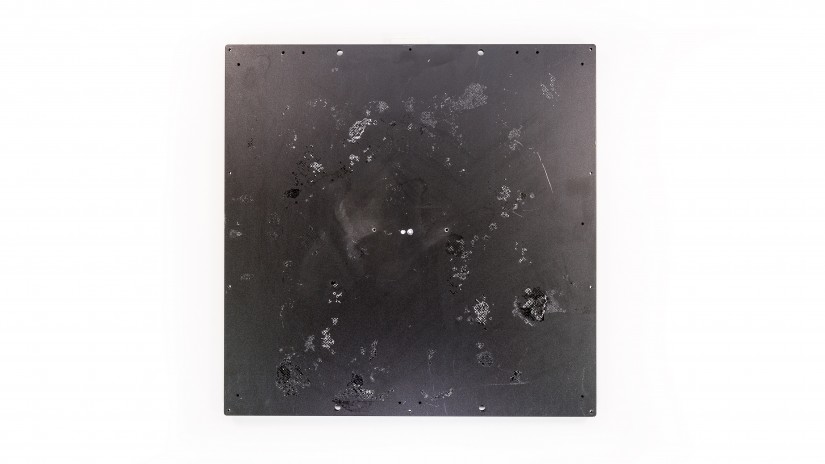
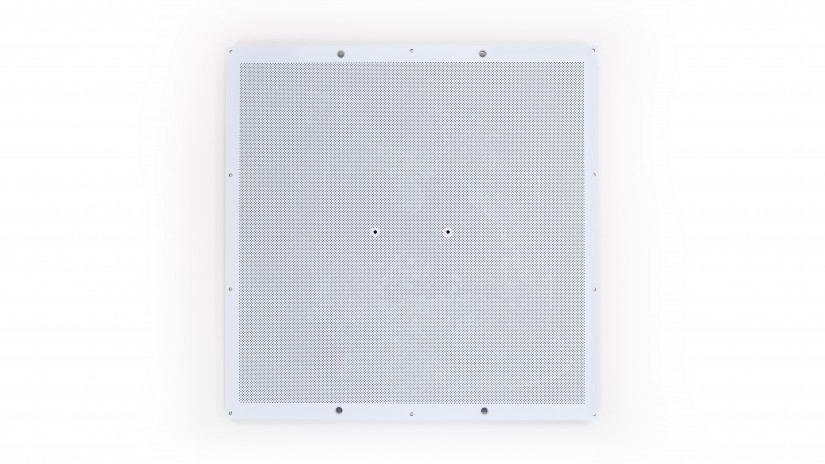
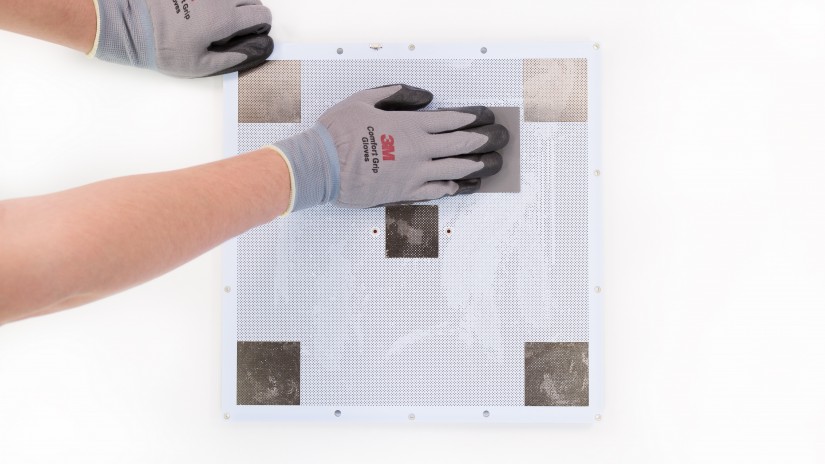
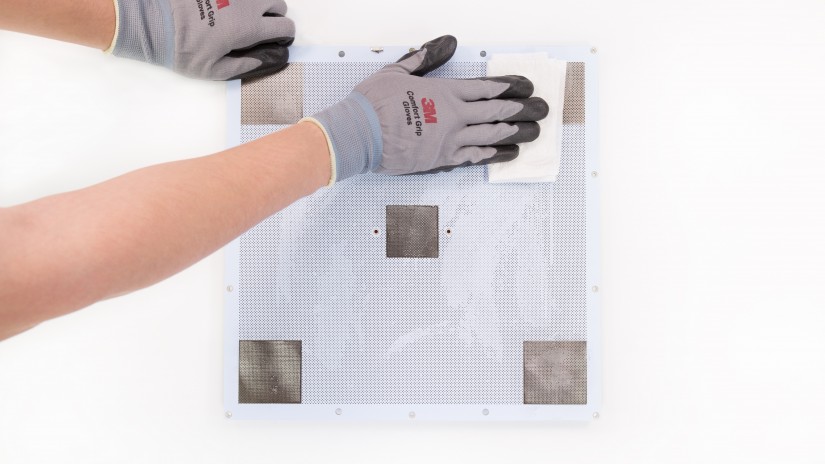
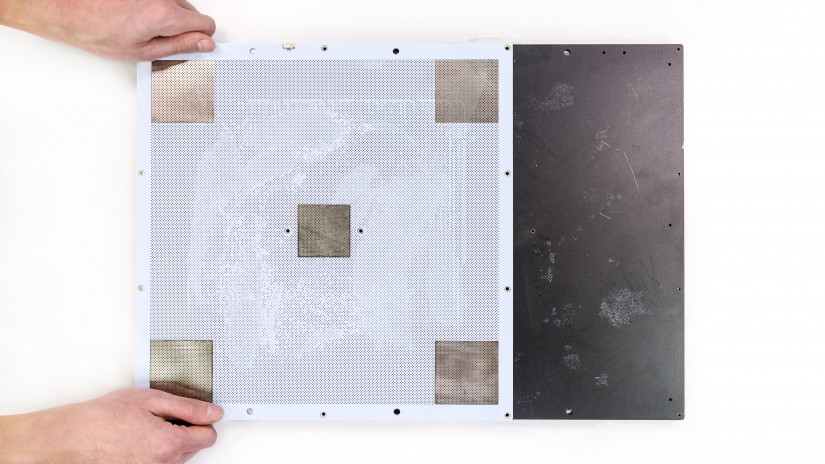
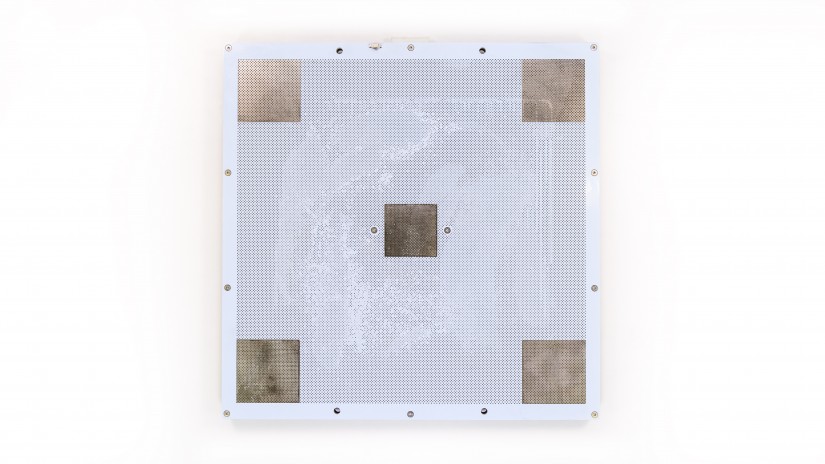
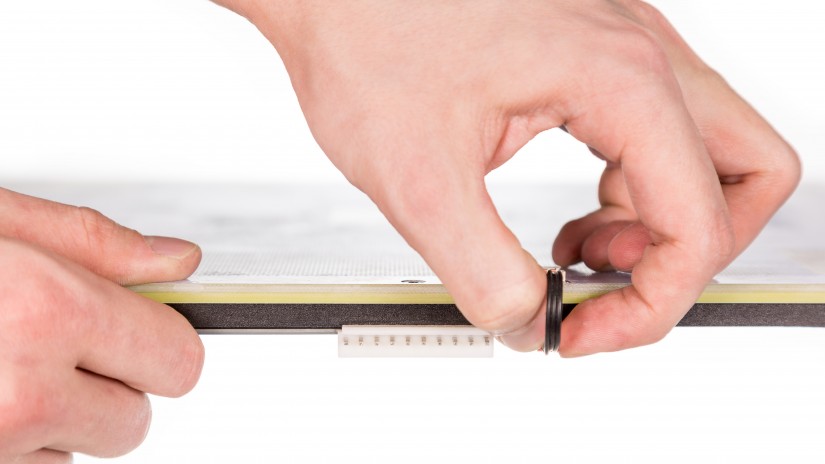
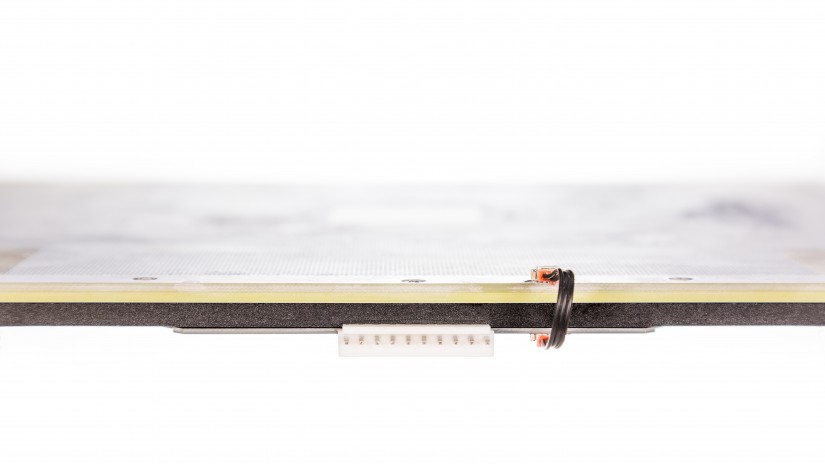
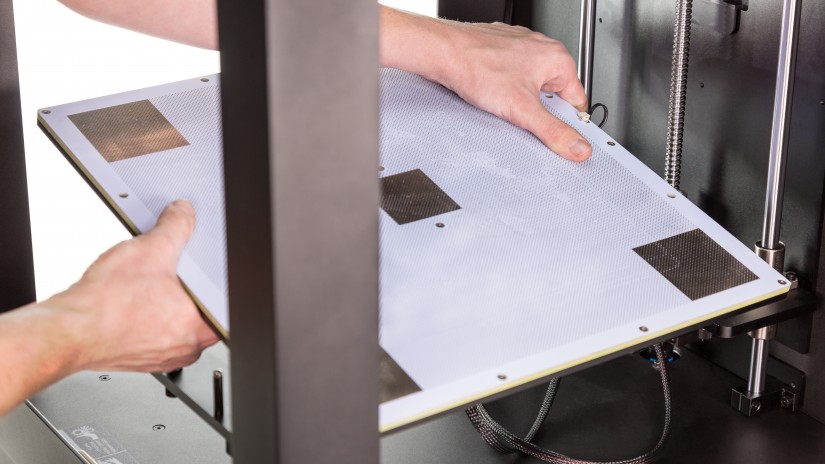
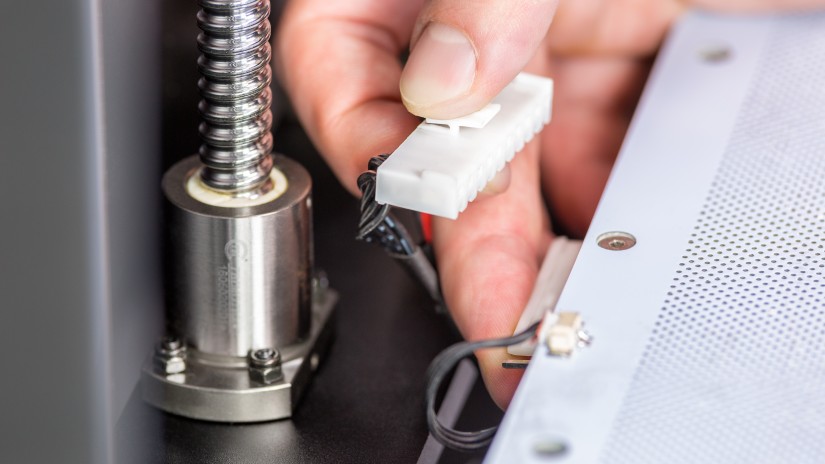
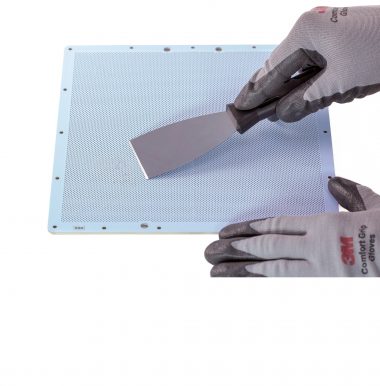
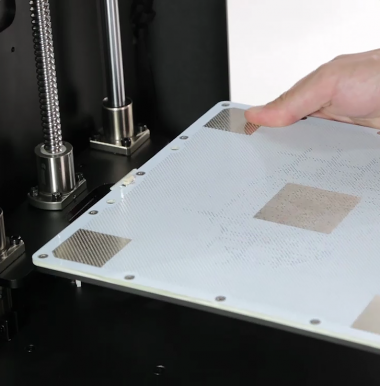
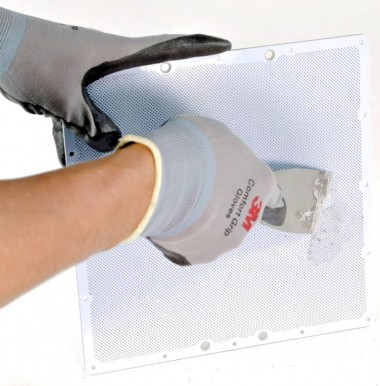
Platform maintenance is necessary to keep the platform clean and in good condition. The maintenance procedures improve the printing process and make it more trouble-free. Also, platform maintenance can help you resolve problems with platform calibration, especially its center point. Once you carry out the maintenance work, your model will properly adhere to the platform and, at the same time, it will be easier for you to remove it once the printing process is finished. This manual provides the correct maintenance procedure.
| Remember to calibrate the platform after completing platform maintenance. |


16
Platform Calibration
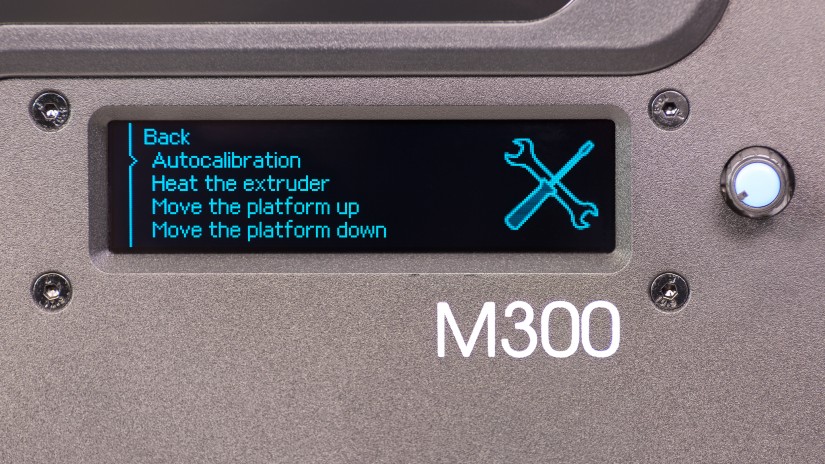
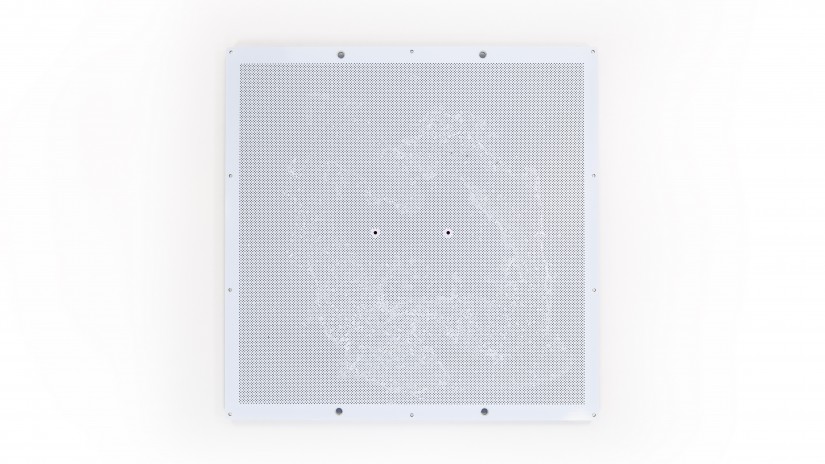
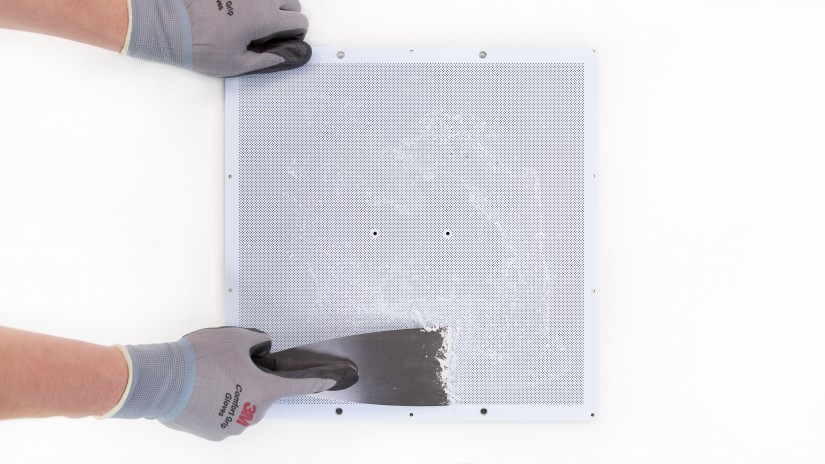
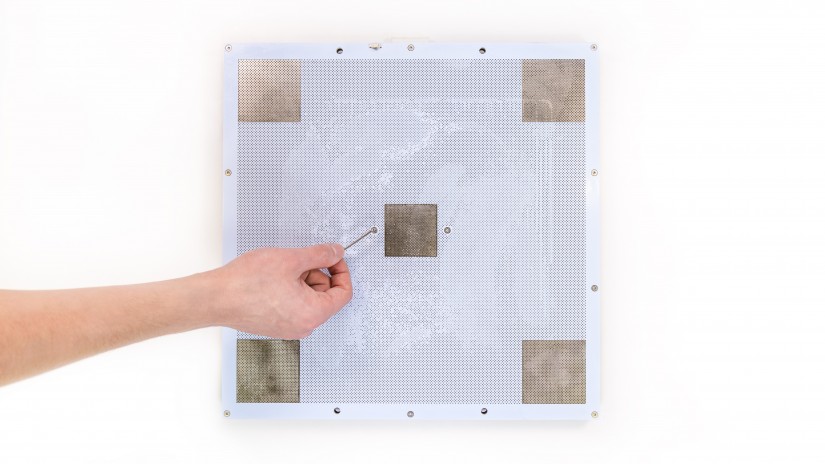
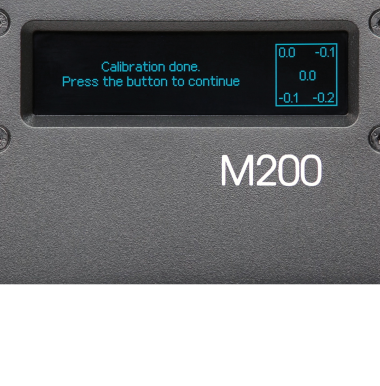
Once the maintenance work is done, the platform needs calibration.
In order to correct the difference in values between the center and the side calibration points, you should tighten/loosen the two platform screws placed next to the center point. If the center point value is 0.2 and one of the side points value is -0.2 (the difference equals or exceeds 0.4), you should tighten the screws, whereas you should loosen them if the center point value is -0.2 and one of the side points value is 0.2.