This part of the Z-SUITE 2 manual provides several tips and tricks which will help you when using the software. See how you can apply the tips when preparing 3D models for printing and working with the generated .zcode/.zcodex files. The remaining parts of the manual are available at: Basic Features, Working with Models, Print Preparation, Support Adjustments.
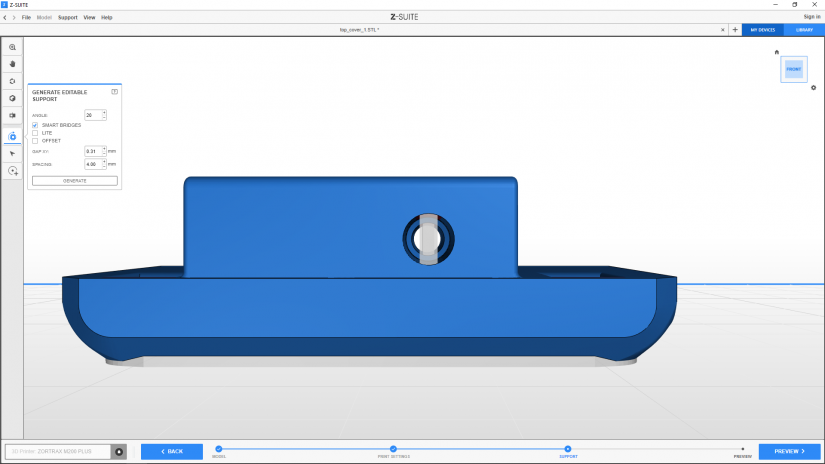
Smart Bridges
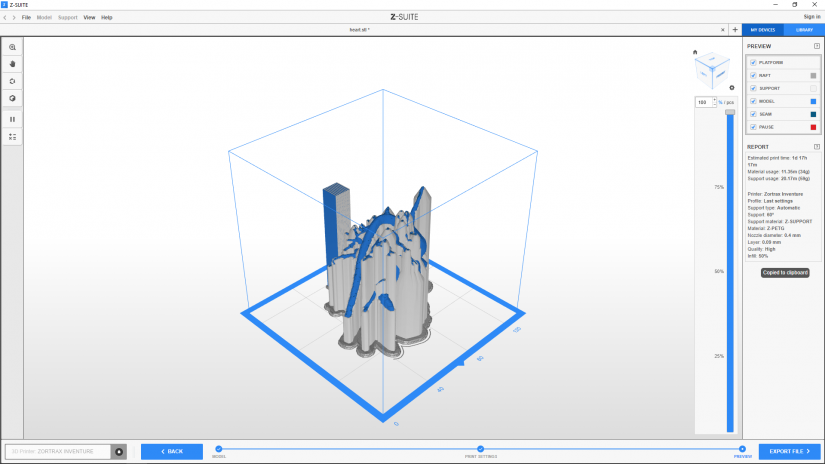
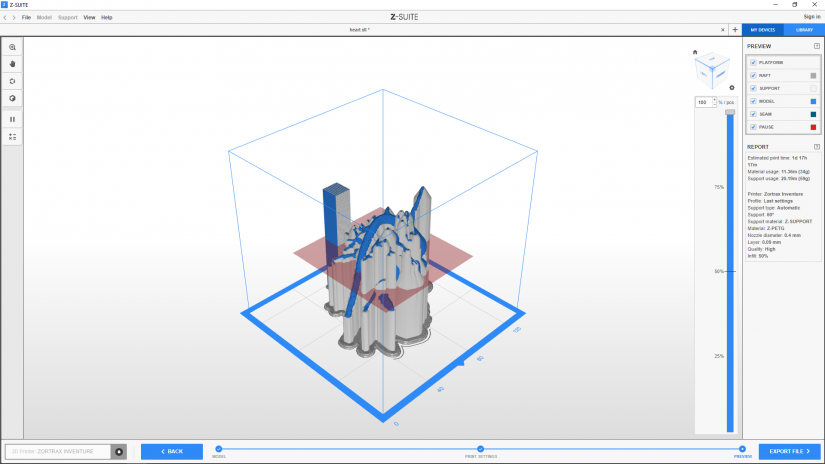
Weak Spots

Weak spots are particular areas in a model’s structure which can easily break once you apply force to the whole object. Such spots appear in 3D prints due to the direction of printing. In the FDM technology, layers are applied onto one another in the Z axis. It means that if the force is parallel to the printed layers, your model will crack and break. That’s why, you should evaluate the object’s intended purpose and position it properly before the printing process to eliminate weak spots. The graphic shows the spool holder used in Zortrax printers. It has to support the weight of a spool during printing and should be printed horizontally so that the bending forces will be carried perpendicularly to the layers.
Position and Print Quality
Choosing your model’s orientation can highly influence its final look as well. Remember that when a layer bonds with the already solidified previous layer, there will remain a slightly visible spot on the print’s surface. That’s why, by positioning your model differently, you can easily eliminate most imperfections from external surfaces which you want to be as smooth as possible.
Profiles
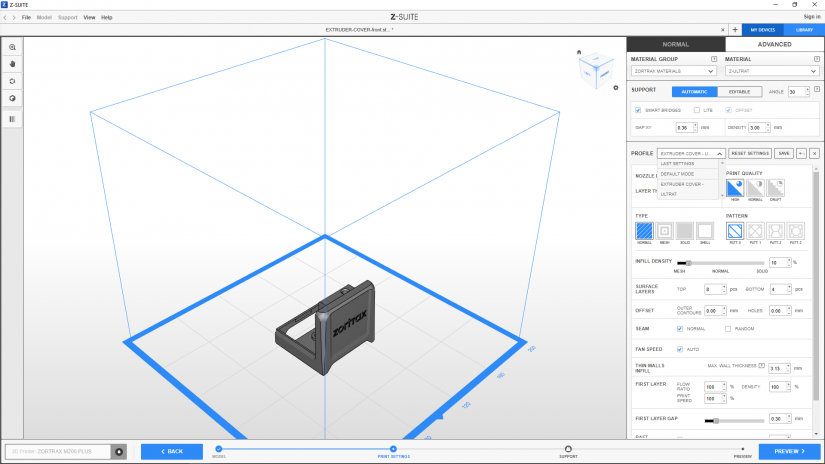
Z-SUITE 2 allows you to create customized profiles which you can test and print with as many times as you wish. Once you choose the best settings for a given model, you can save your profile and store it in the program’s memory.
Use the Save option and name your profile. It will be included in the drop-down list.
There are also several ready-made profiles with default settings for different types of models. The profiles’ names indicate possible applications of models.
Replicating .zcode/.zcodex Files
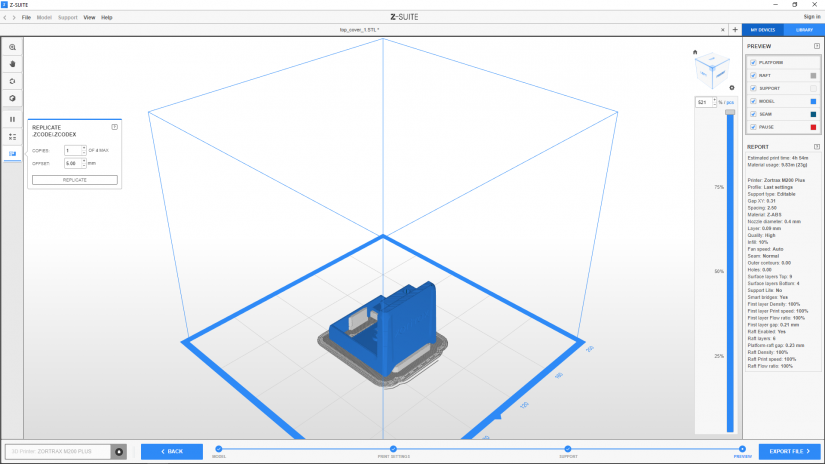

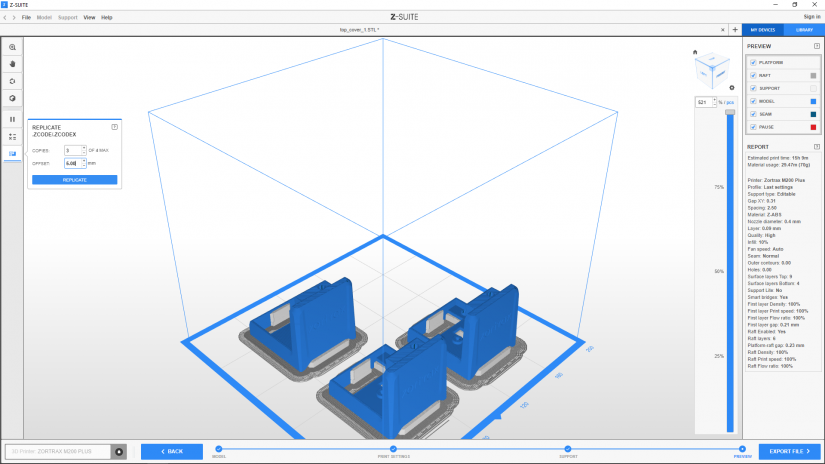
Once you’ve generated a .zcode/.zcodex file, you can create several copies of the already prepared model and place them in the workspace. Select the Replicate .zcode/.zcodex tool icon, type in the number of copies you want to create, and click Replicate.
Z-SUITE will automatically arrange the models on the platform and won’t allow more copies than it is possible to place in the workspace.
Each copy will have the same print settings, including the position of seam and supports.
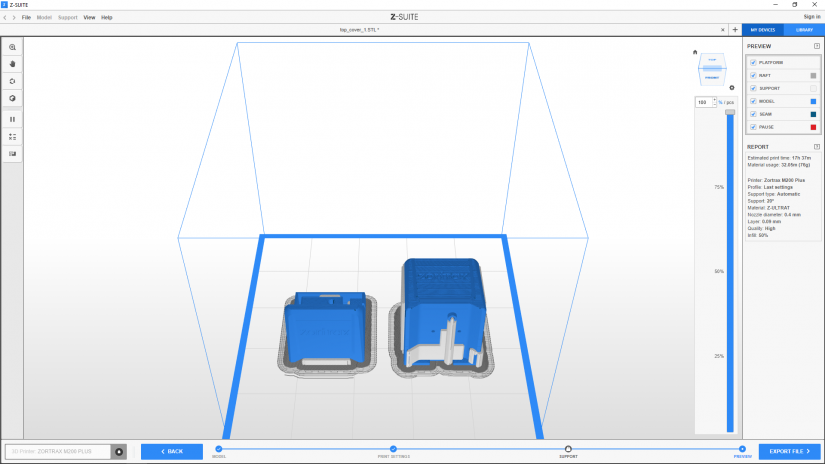
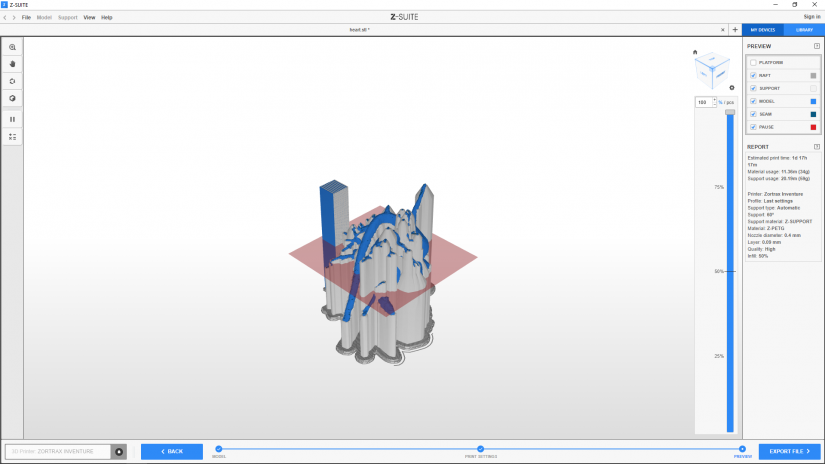
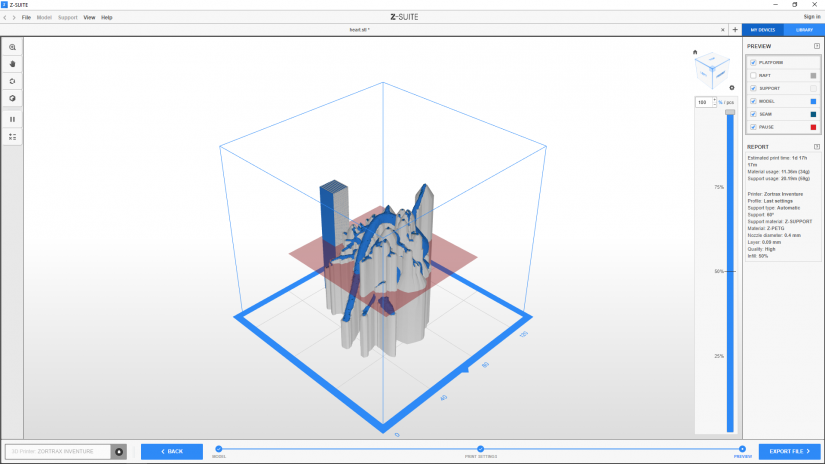
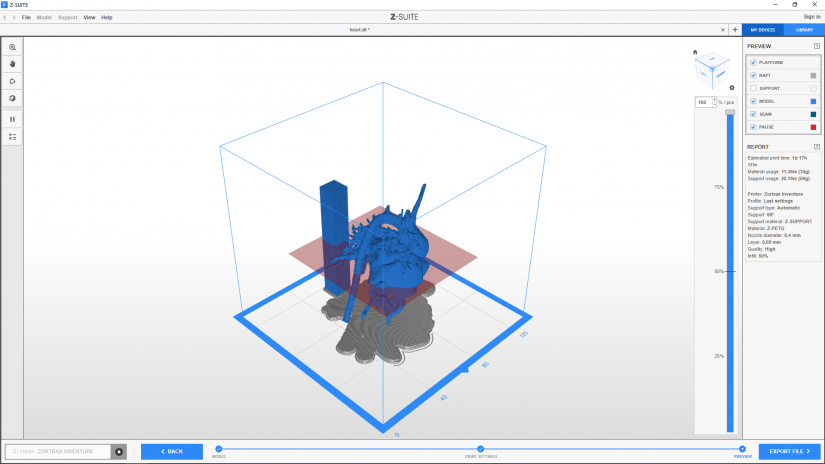
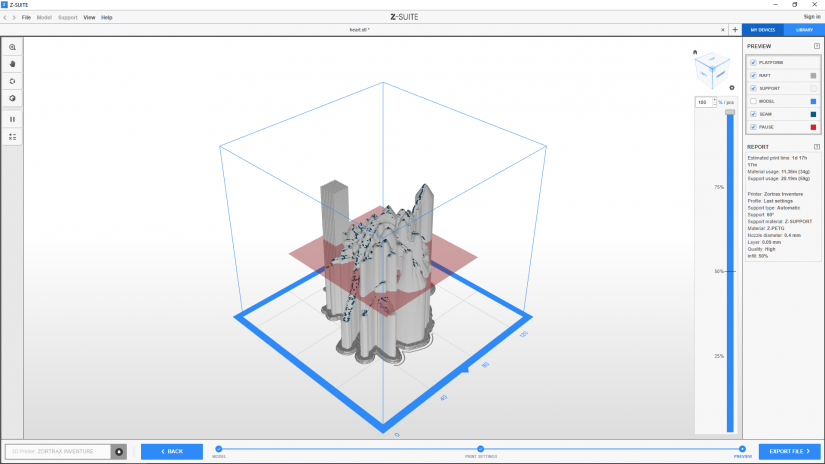
Preview
1. In the PREVIEW menu on the right, there is a list of components which you can hide or show from the model's preview once the .zcode/.zcodex file has been generated:

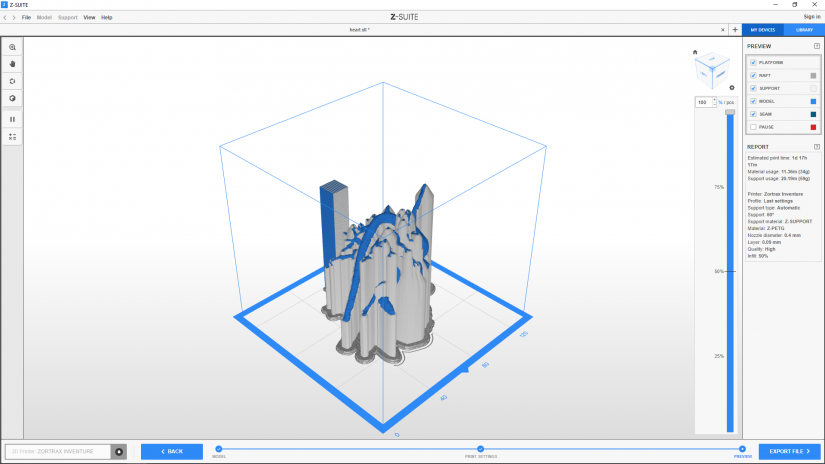
1. In the PREVIEW menu on the right, there is a list of components which you can hide or show from the model's preview once the .zcode/.zcodex file has been generated:
2. PLATFORM
3. RAFT
4. SUPPORT
5. MODEL, you can uncheck the model to see what the seam will look like in your print
6. SEAM
7. PAUSE

