Structure of a 3D Print
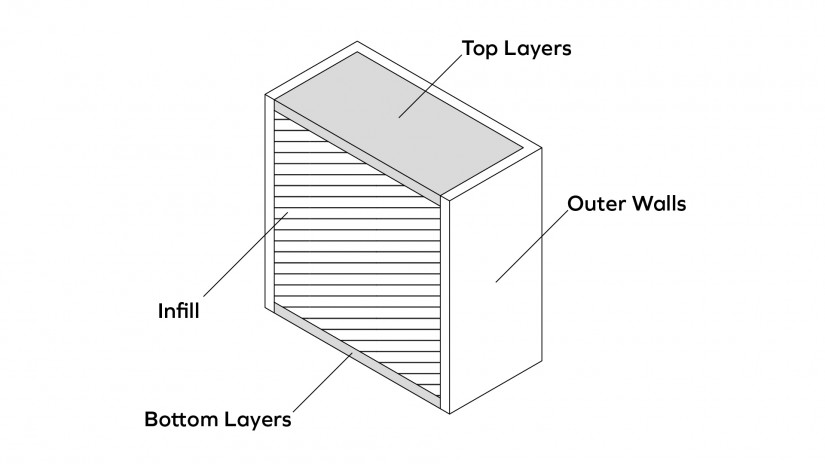
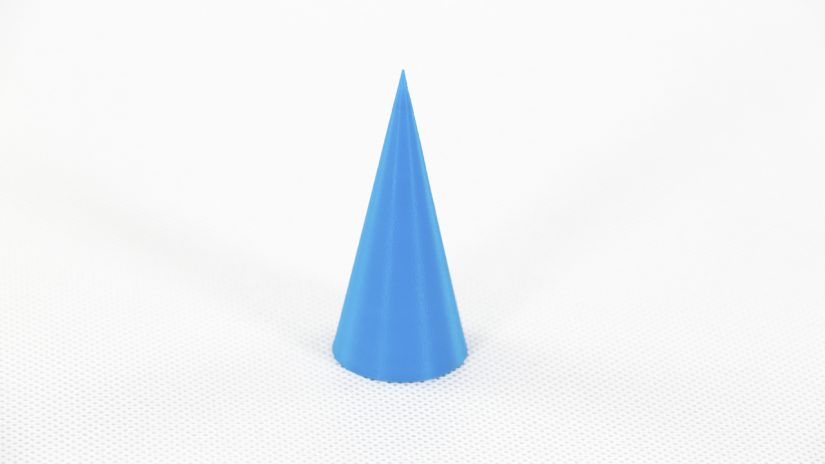
The process of creating a 3D model usually consists of printing 4 sections: bottom layer, outer walls, infill and top layer. Each section serves its purpose in supporting the structure of the model.
The outer walls shape the object and surround the infill, which either fills the empty space inside the model almost entirely or in part. The walls and infill make the model solid and this can be increased by the number of top and bottom layers. The top and bottom layers close the whole structure of your print and highly influence the outcome of 3D printing, in terms of both its durability and final look.
Top Layers Settings

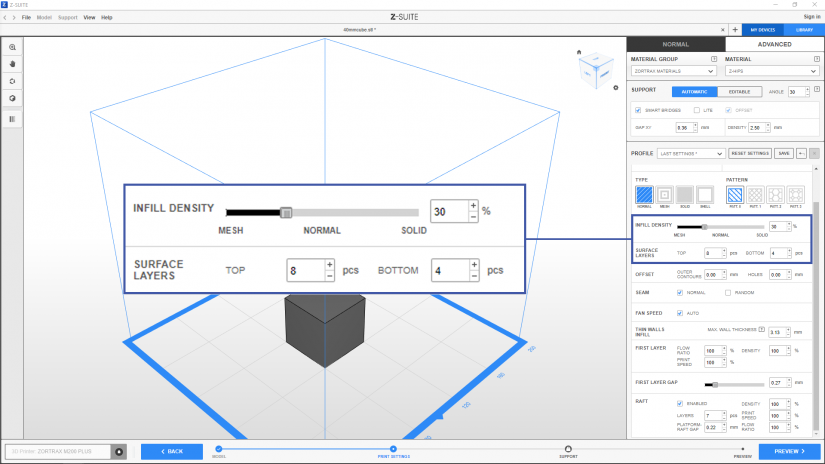
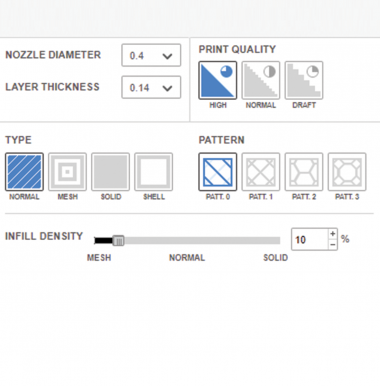
Depending on the intended purpose of the object, you can adjust the infill settings in Z-SUITE. The software will automatically set the optimal number of top and bottom layers to ensure a proper quality model. Using the default option will ensure that the top and bottom surfaces of your model are properly closed.
Inadequate Amount of Top Layers
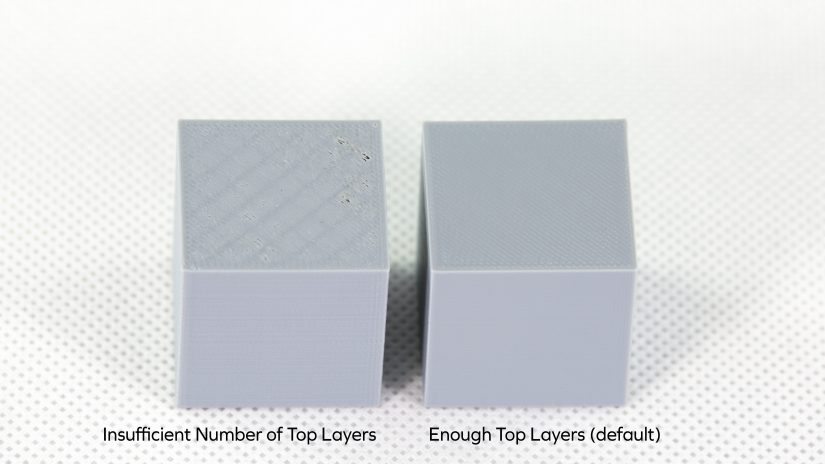
However, it’s still possible to increase or decrease the number of top and bottom layers so that you can save time and material. But by setting a low number of top and bottom layers you risk experiencing the “pillowing effect” or other imperfections which can occur on models with flat surfaces and low infill. Therefore, there is no need to adjust the settings in Z-SUITE because the software prevents quality defects by choosing the optimal number of top and bottom layers.

