The power supply unit is responsible for supplying all components of the printer with power. The PSU converts alternating current from a socket to low voltage direct current required for the printer to operate. It also regulates the voltage so the printer can start and run normally without overheating. If the printer does not start and there are problems with overheating, the power supply unit may be damaged. However, before replacing the unit, make sure that the power cable is not broken or unplugged, the fuse is not blown and the power switch works properly. To identify a failure, measure the voltage on the PSU. If the output voltage is less than 24V, the unit needs to be replaced. This manual provides the correct replacement procedure.
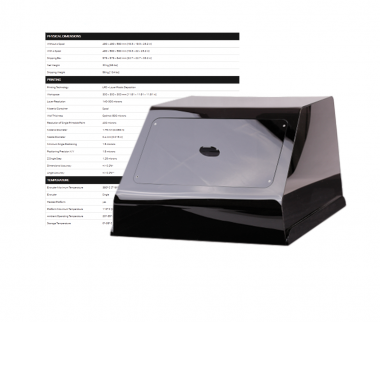
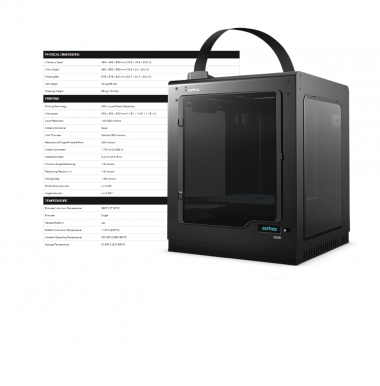
| The following manual shows the M200 repair work. For the M300, these procedures are the same. |
Unplugging the Power Cable
Turn off the printer and unplug the power cable.
Changing the Printer's Position
Grab the printer’s housing and change the printer’s position so that you can easily access the bottom plate.
Unscrewing the Bottom Plate, part 1
Unscrew the screws that secure the bottom plate on one side of the housing. Use a 2.5mm Allen key.
Turning the Printer
Turn the printer over.
Unscrewing the Bottom Plate, part 2
Unscrew the screws that secure the bottom plate on the other side of the housing. Use the same key.
Separating the Bottom Plate
Separate the bottom plate from the printer and unplug the bottom fan cable from the motherboard.
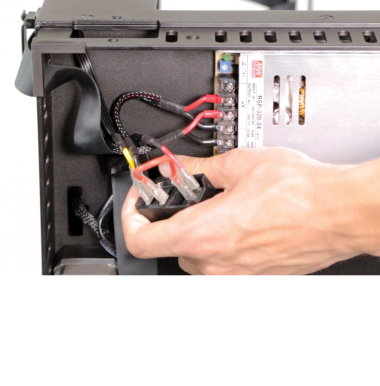
Unscrewing the Power Supply Unit Cables
Remove the plastic cover which protects the screws that secure the power supply unit cables. Loosen the screws one by one starting from the top and remove the cables.
Power Supply Unit Removal
Hold the power supply unit and unscrew the four screws that secure it. Finally, remove the unit.
Power Supply Unit Assembly
Install the new power supply unit in its place and secure it with the four screws.
Securing the Power Supply Unit Cables
Insert the power supply unit cables into the unit and tighten each screw. Finally, reattach the plastic cover.
Bottom Plate Installation
Plug the bottom fan cable into the motherboard and install the bottom plate.
Securing the Bottom Plate, part 1
Secure the bottom plate on one side of the housing. Use a 2.5mm Allen key.
Turning the Printer
Turn the printer over.
Securing the Bottom Plate, part 2
Secure the bottom plate on the other side of the housing. Use the same key.
Changing the Printer's Position
Grab the printer’s housing and set the printer upright.
Plugging the Power Cable
Plug the power cable in.