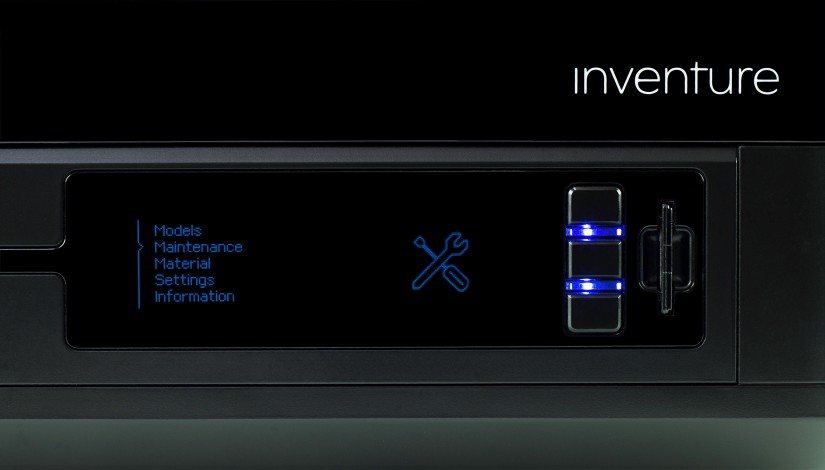
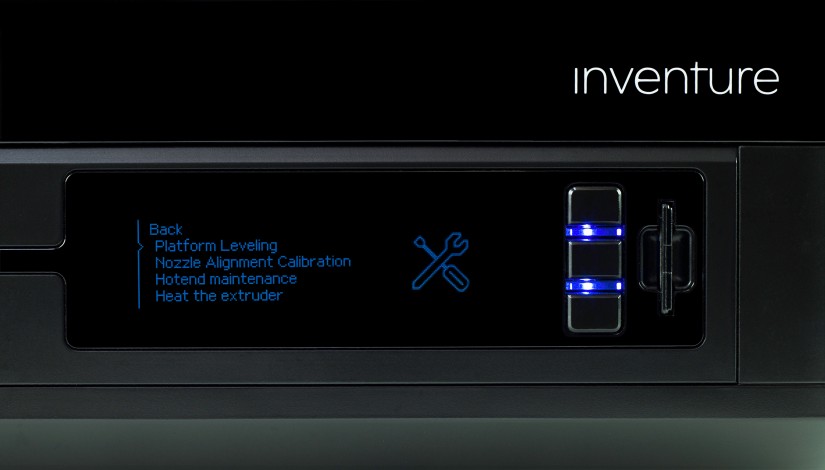
Platform leveling involves the procedure of checking the distance between the nozzle and five points on the platform, and tightening/loosening the calibration screws. This procedure can significantly lower the risk of problems which may occur during the printing process. Platform leveling is necessary if the printer is run for the first time and after every build tray replacement.

Tightening the Screws


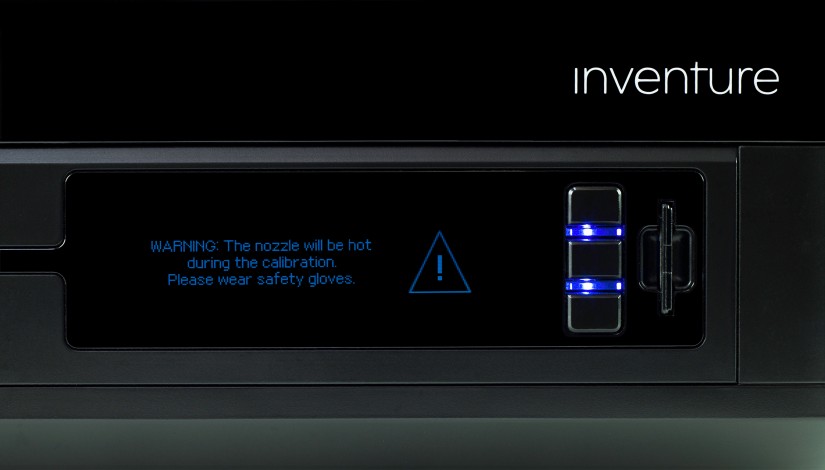
Once the extruder heating is done, push the middle button to continue.
Follow the instructions displayed on the screen.
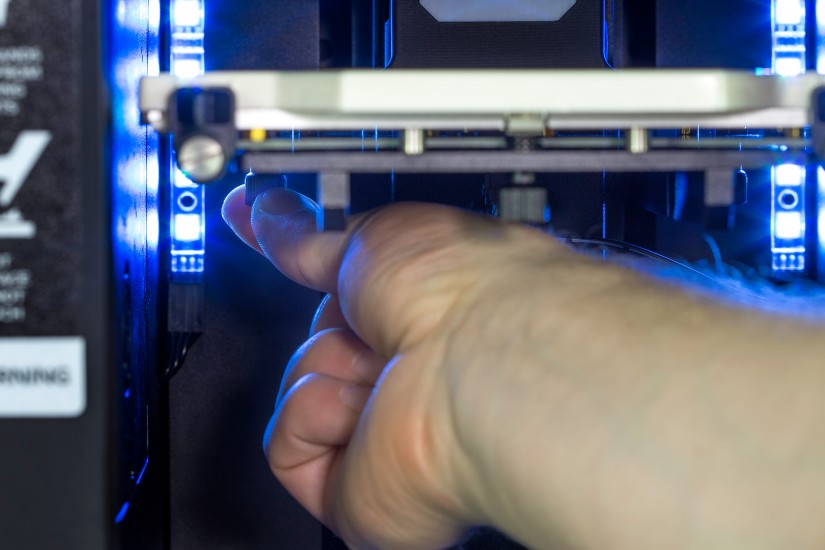
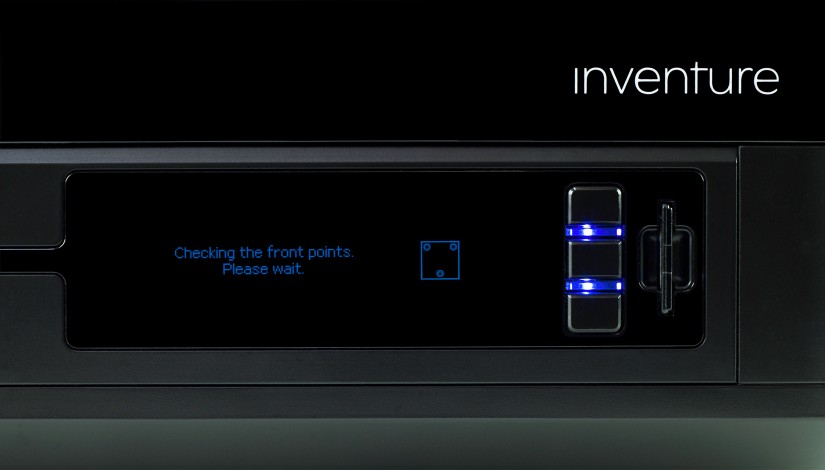
At this moment the printer will lift up the platform and check the distance between the nozzle and the center point of the platform. Next, the display will show a message indicating that the three calibration screws placed under the platform need to be tightened. Once you’ve tightened the screws, push the middle button to continue.
Distance Corrections

If the printer detects an incorrect distance in any of these points, the display will show instructions on what adjustments should be made.
Follow the instructions and tighten or loosen the screw indicated in the message.
Turn the screw slightly, only by a few degrees. Once you finish, push the middle button and the printer will recheck a given point on the platform.
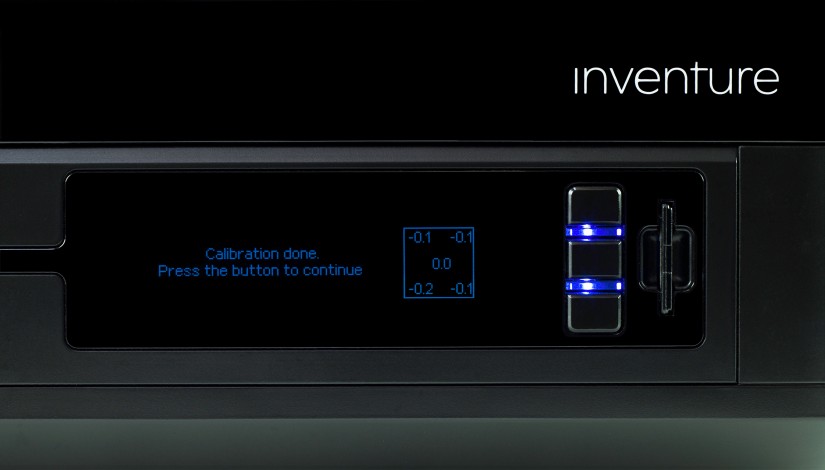
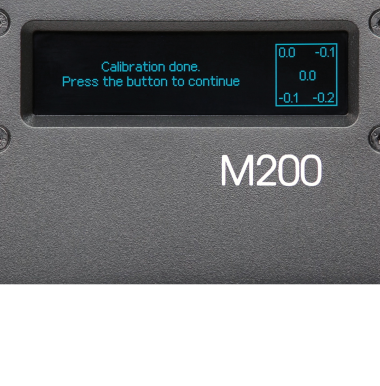
If the distance between the nozzle and five points is set within the acceptable limits, the printer will finish the calibration procedure.
Additionally, the display will show the calibration results.
