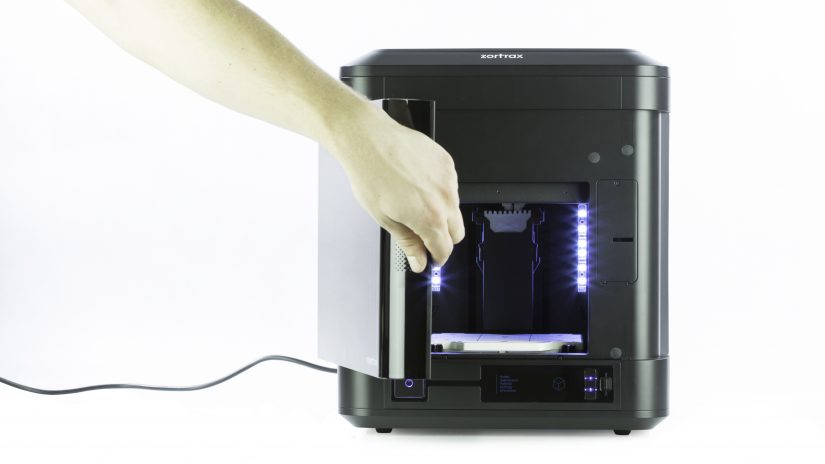
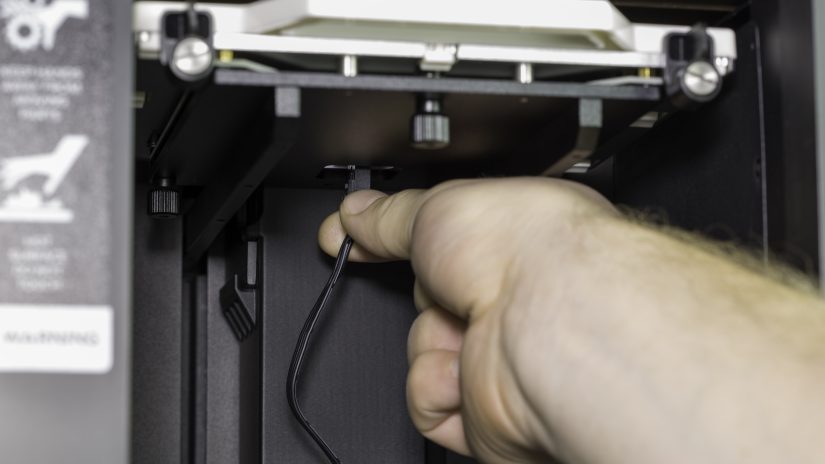
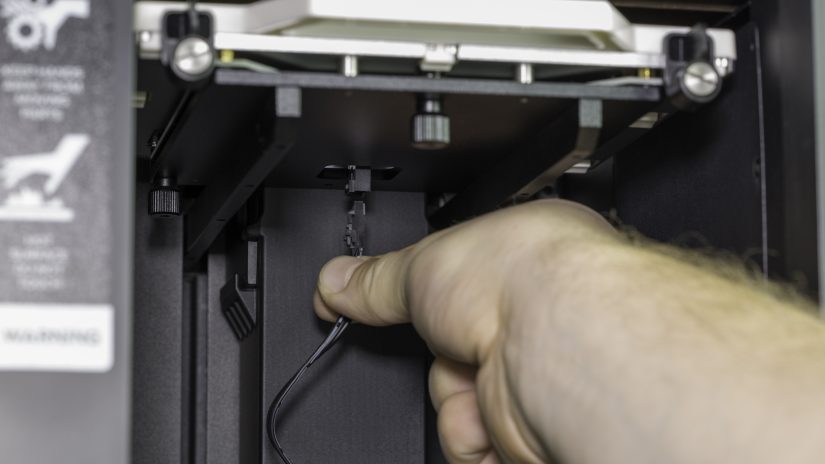
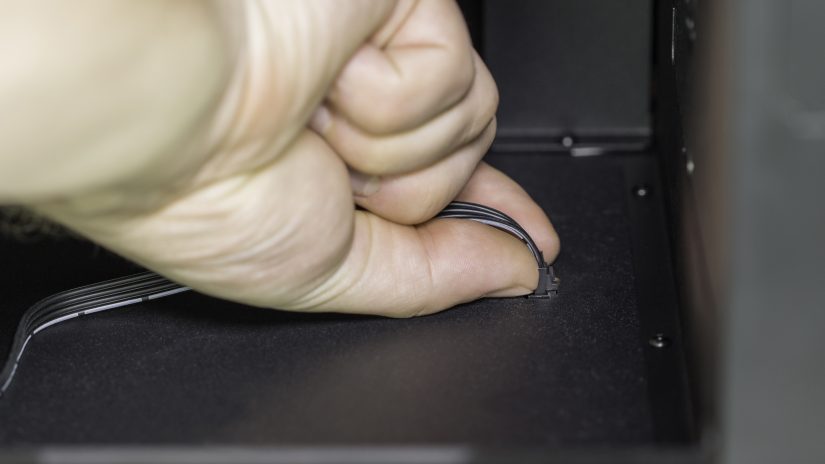
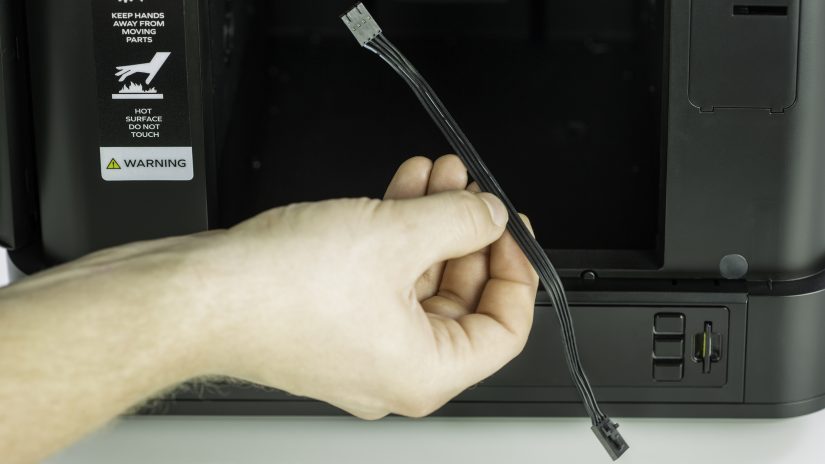
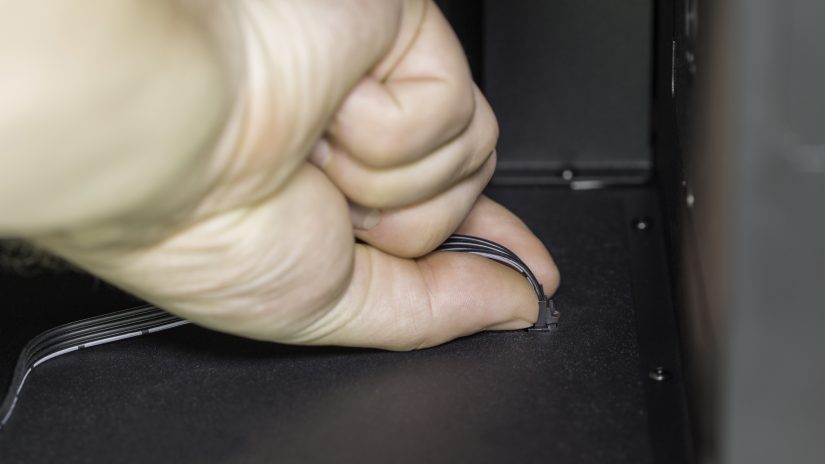
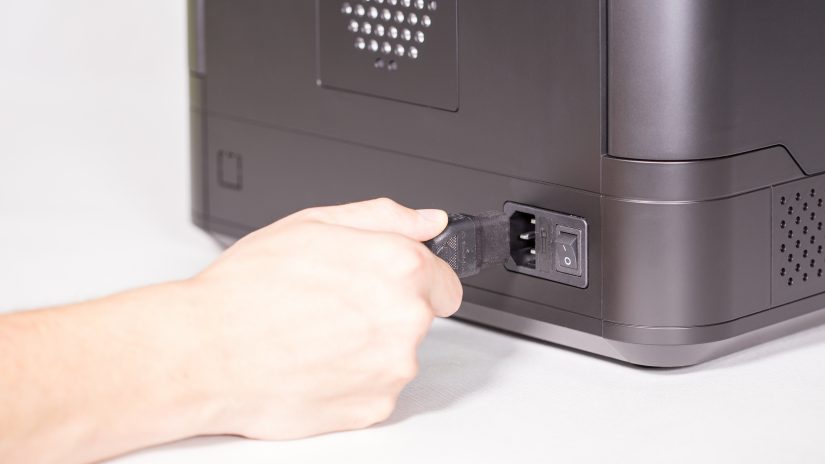
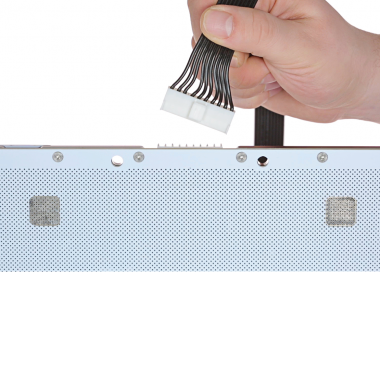
The platform cable is responsible for transferring power and data from the motherboard to the build tray mount during the platform calibration and printing process. That’s why, problems with the build tray or calibration procedure may indicate a platform cable failure. This failure can be also connected with the chamber thermistor or extruder. Therefore, if the display shows one of the following error messages: #112 (chamber thermistor), #133 (build tray contacts), #137 (build tray missing), #139 (extruder electrical failure), at first you should check the respective component for proper connection. If everything is properly connected, replace the platform cable. This manual shows how to replace the cable properly.

1

Opening the Front Door

Platform-Cable-Replacement_1.jpg

Open the front door.

2

Moving up the Platform

Platform-Cable-Replacement_2.jpg

From the menu choose Maintenance and then Move the platform. Move up the platform using the upper button.

DO NOT MOVE THE PLATFORM TOO HIGH. THE NOZZLES CANNOT HIT THE BUILD TRAY.
3

Unplugging the Power Cable

Turn off the printer and unplug the power cable.

4

Unplugging the Platform Cable, part 1

Unplug the platform cable from the platform.

5

Unplugging the Platform Cable, part 2

Platform-Cable-Replacement_5.jpg

Unplug the platform cable from the bottom plate and remove the cable from the printer.

6

Plugging in the Platform Cable, part 1

Prepare a new platform cable and plug it into the platform.

7

Plugging in the Platform Cable, part 2

Platform-Cable-Replacement_7.jpg

Plug in the other connector of the platform cable to the bottom plate.

8

Plugging in the Power Cable

Platform-Cable-Replacement_8.jpg

Plug in the power cable and turn on the printer.

Was this article helpful?

Yes No

Thank you for your feedback.

Arrow back Arrow up