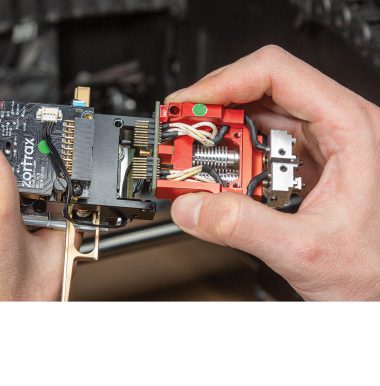
The hotend is an essential heating system which consists of an aluminum block and a heater and thermocouple. It is responsible for heating and melting the material as well as for ensuring the proper temperature of the material during the whole printing process. The hotend replacement is necessary when you encounter problems with material extrusion caused by a blockage inside the hotend. Also, the hotend needs to be replaced if the extruder motor makes a clicking sound, or if the material leaks through the top of the hotend (around the two black screws), or if your print is incomplete (there is a visible lack of material in the structure of the print). Before replacing the hotend, make sure that the nozzle is not clogged with material remains.
| If you have the hotend v1, you also have to replace the extruder PCB and heater&thermocouple. |
| The following manual shows the M200 repair work. For the M300, these procedures are the same. |
Unloading the Material
If the material is loaded into the extruder, unload the material using the Material – Unload the material option in the menu.
Unplugging the Power Cable
Turn off the printer and unplug the power cable.
Wait until the printer – especially the hotend – cools down completely.
Hotend Removal
With a 1.5mm Allen key loosen the two screws that secure the hotend and remove the hotend from the extruder.
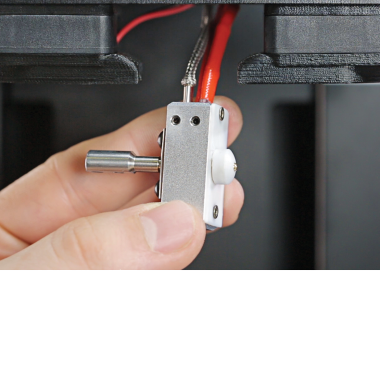
Heater and Thermocouple Removal
With a 1.5mm Allen key loosen the two screws that secure the heater and thermocouple in the hotend. Then remove both the heater and the thermocouple.
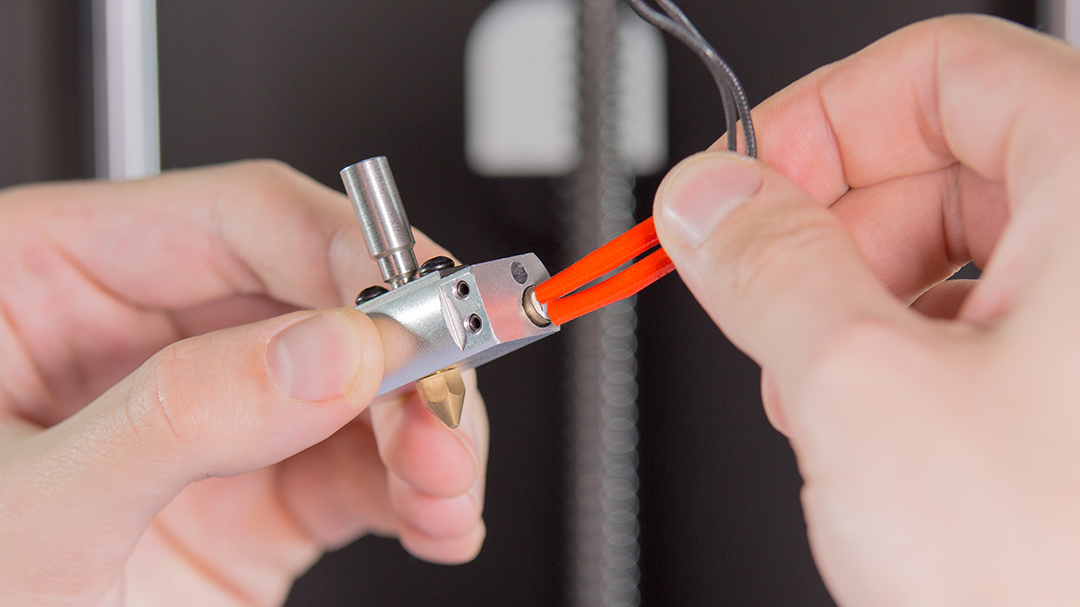
Heater and Thermocouple Assembly
Insert the heater and thermocouple into the new hotend and firmly tighten the two screws that secure them (using a 1.5mm Allen key).
Make sure that the screws don’t go through the insulation that covers the wires – don’t push the heater too far into the slot in the hotend.

| This picture shows the heater inserted correctly. | This picture shows the heater pushed too far into the slot in the hotend. |
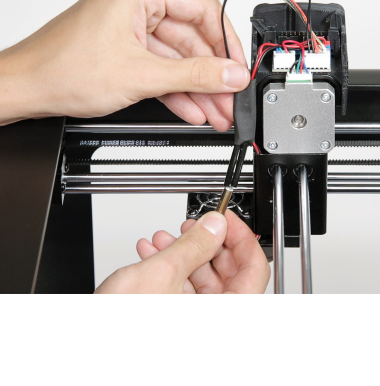
Hotend Assembly
Insert the hotend into the extruder and tighten the two screws that secure it (using a 1.5mm Allen key).
Plugging the Power Cable
Plug the power cable in.