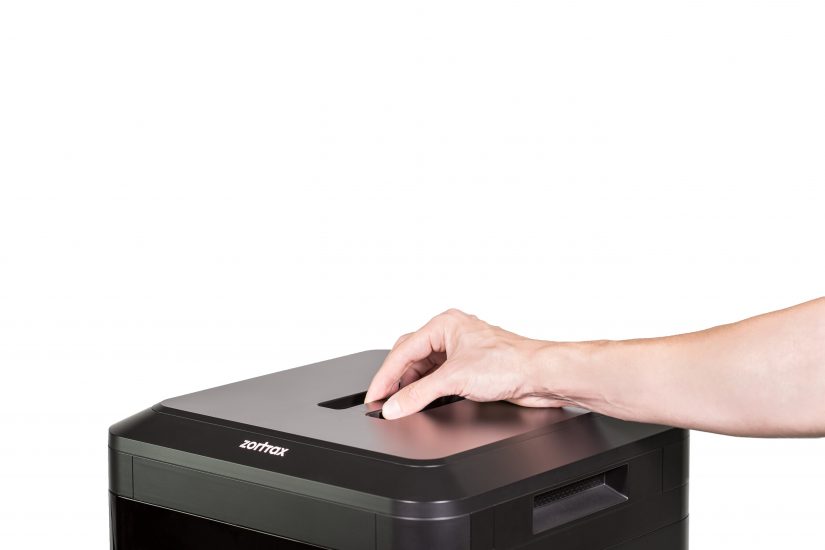
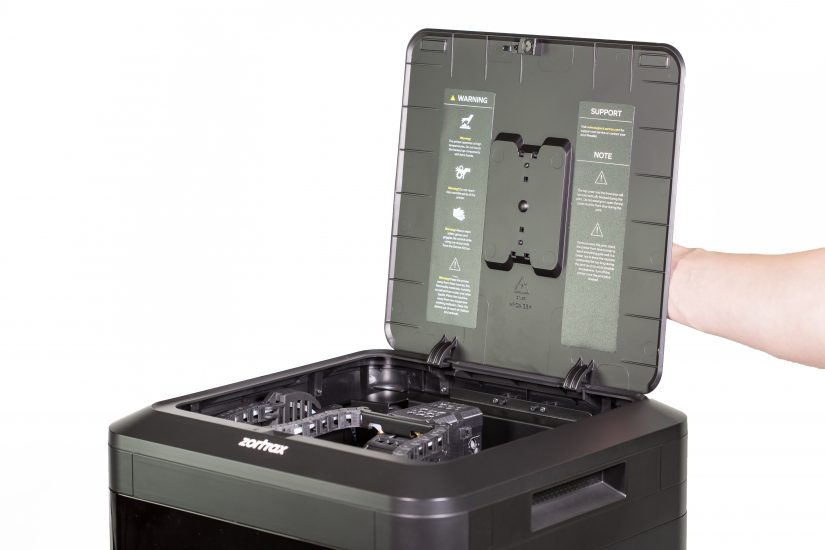
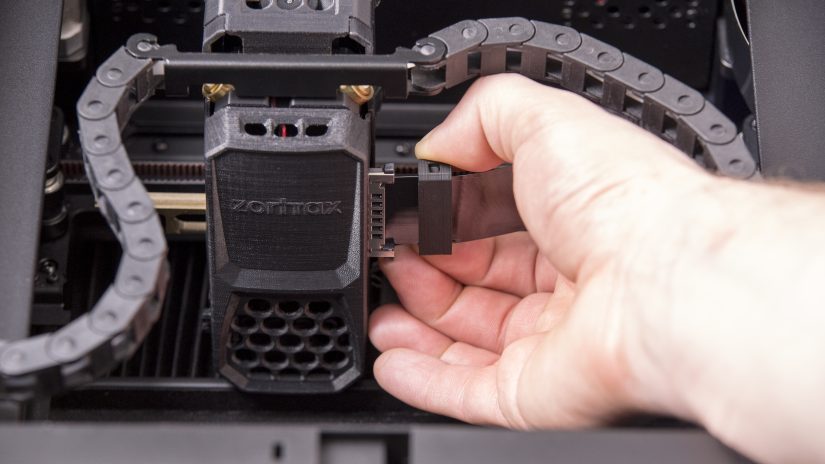
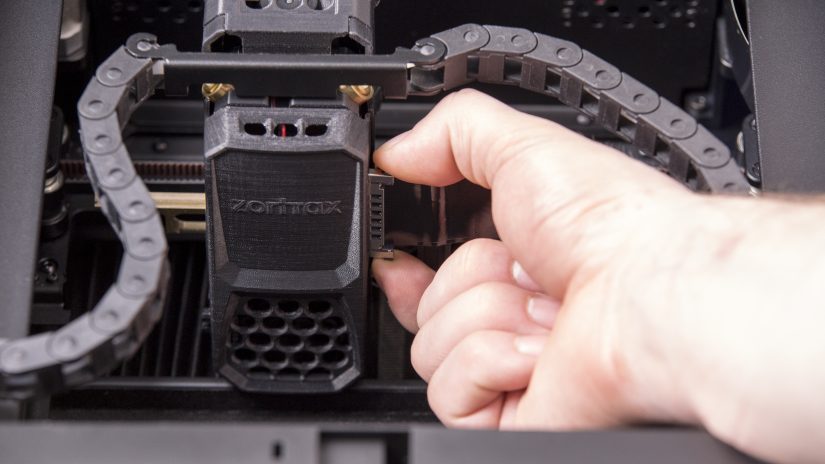
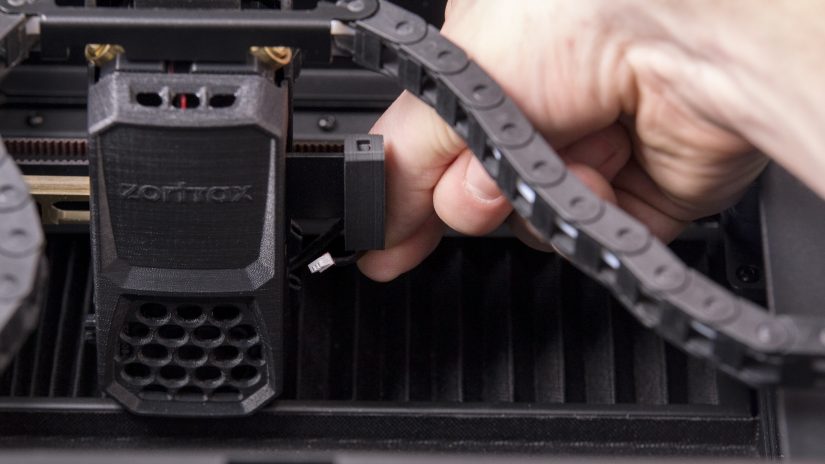
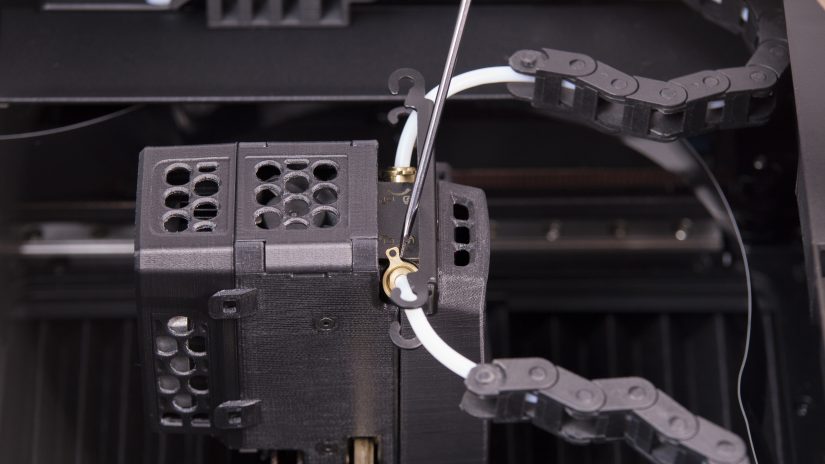
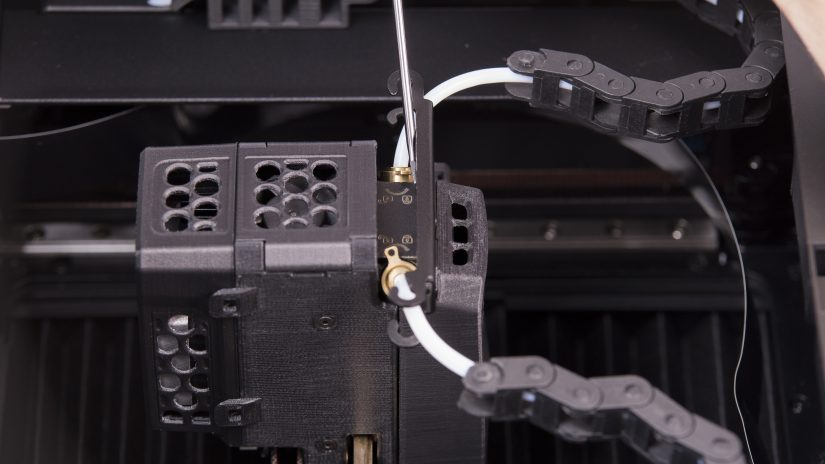
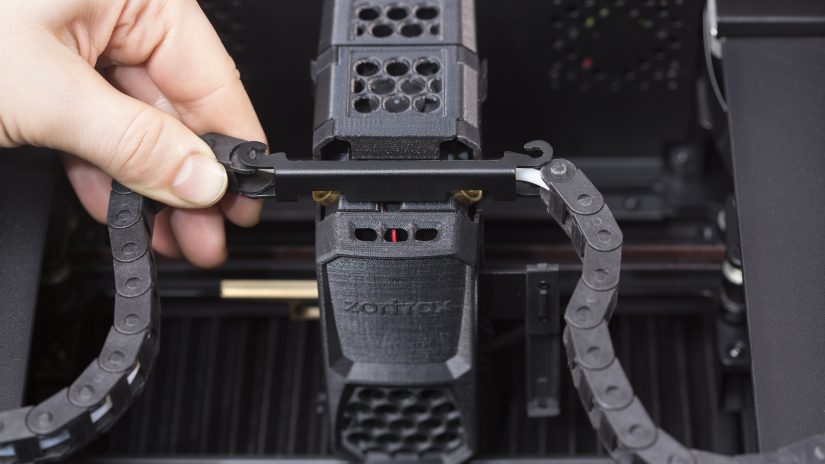
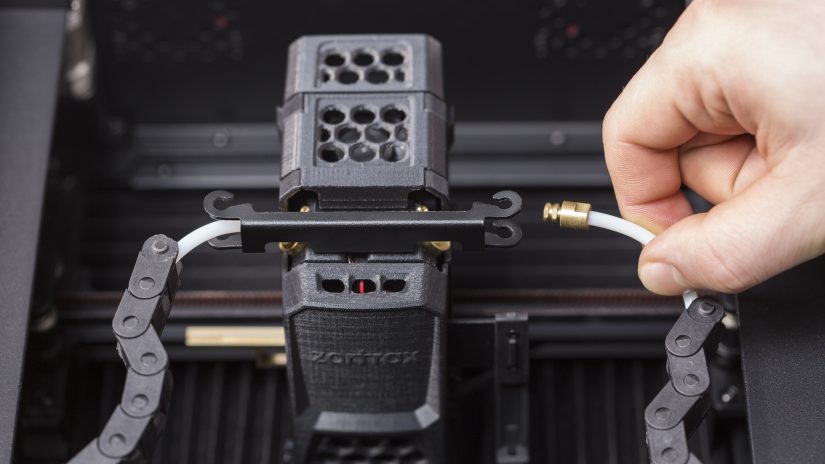
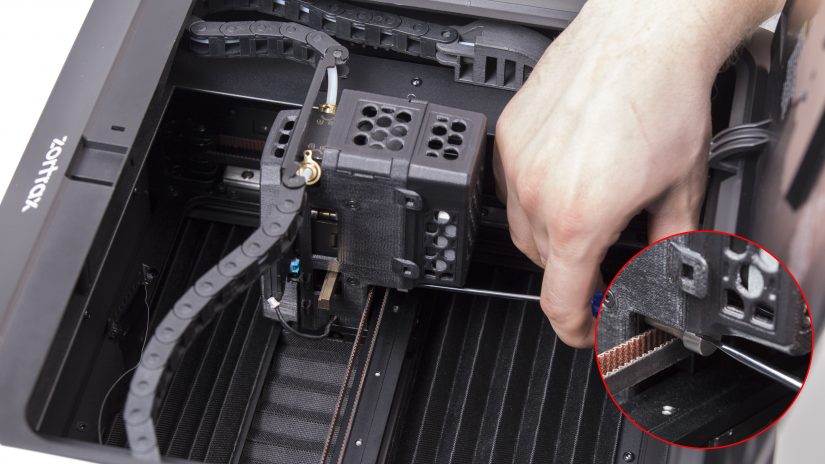
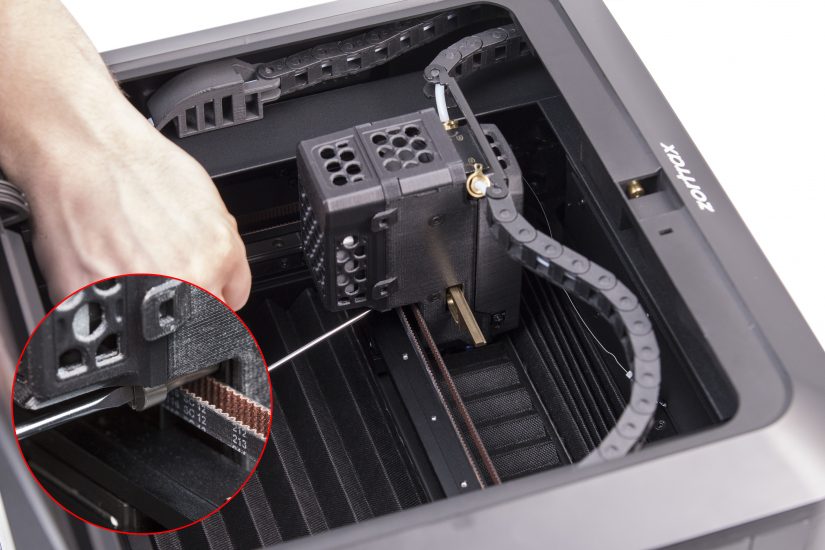
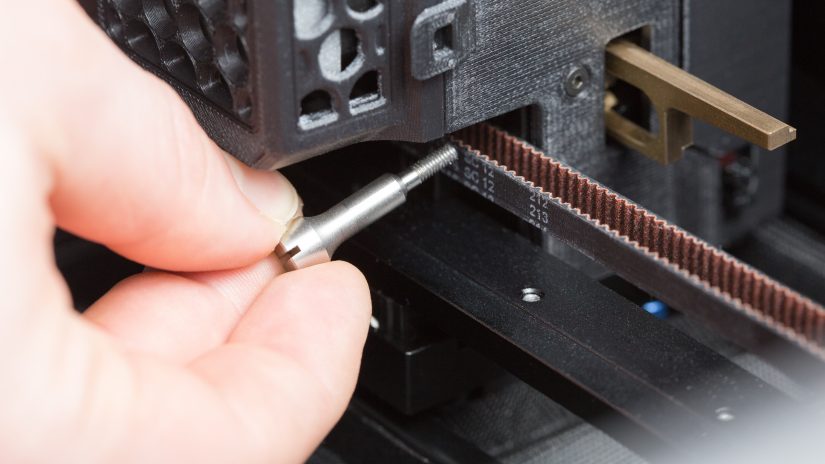
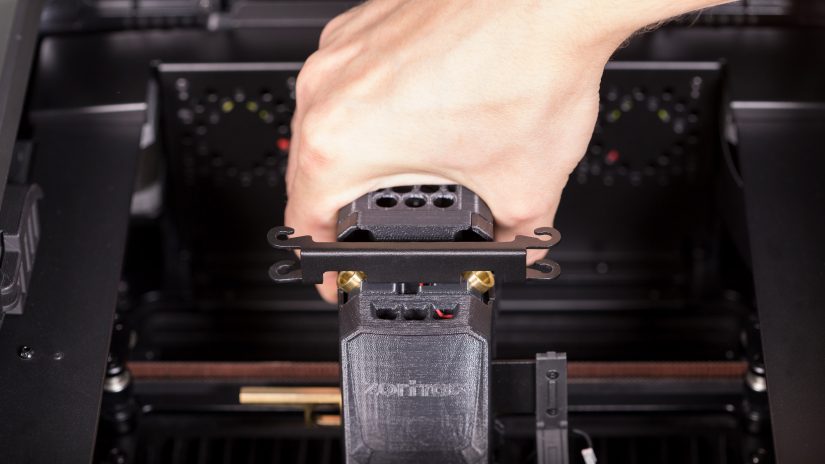
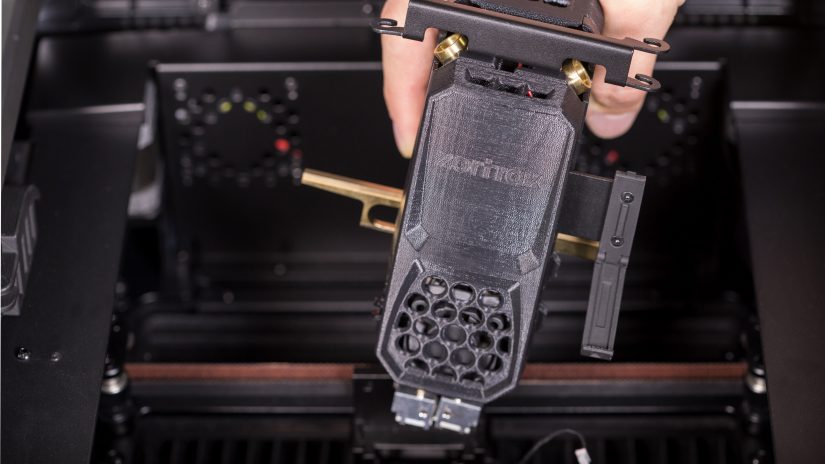
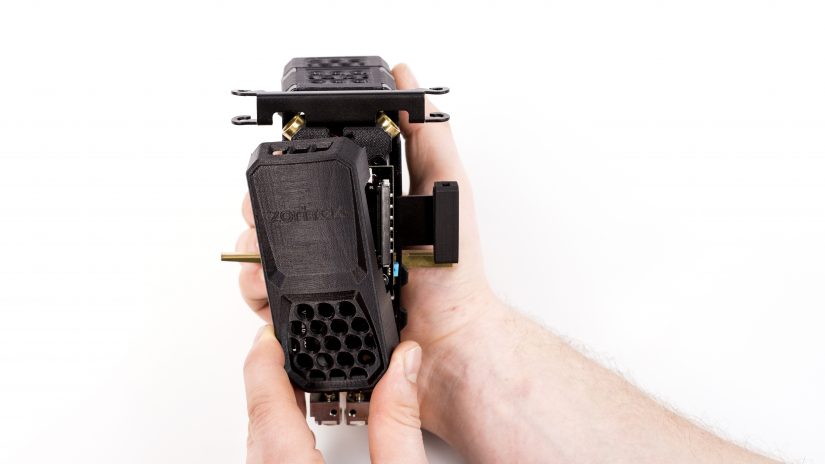
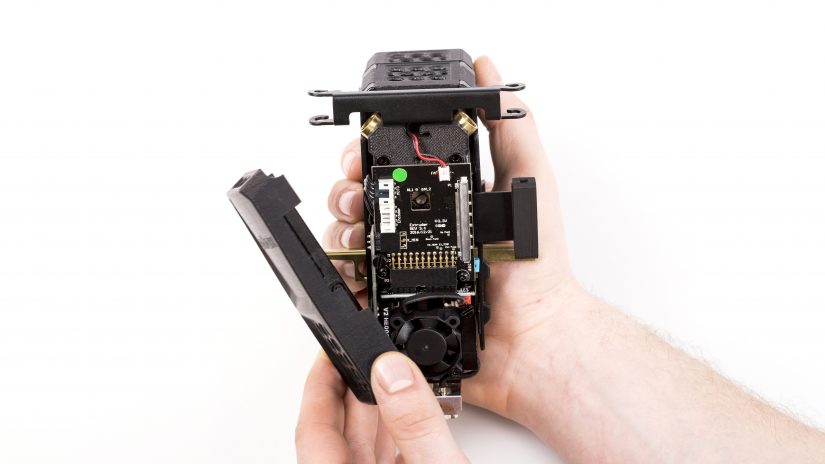
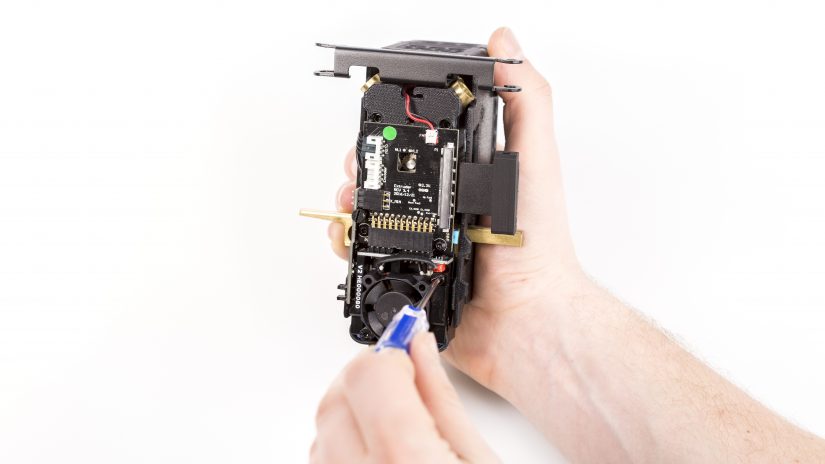
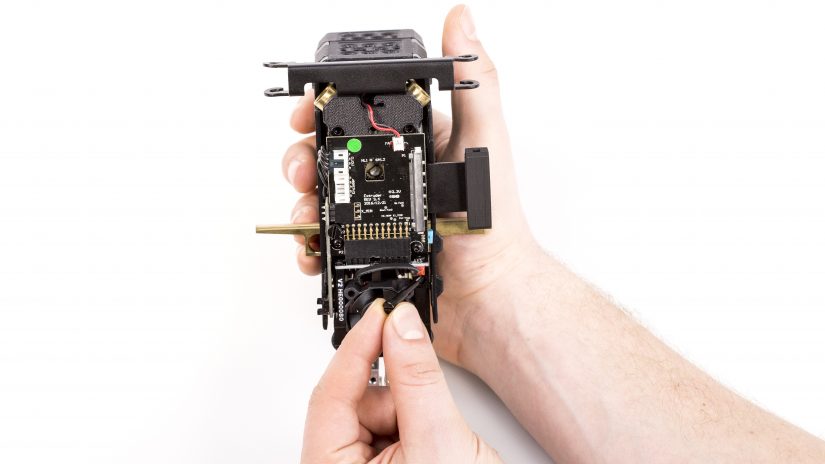
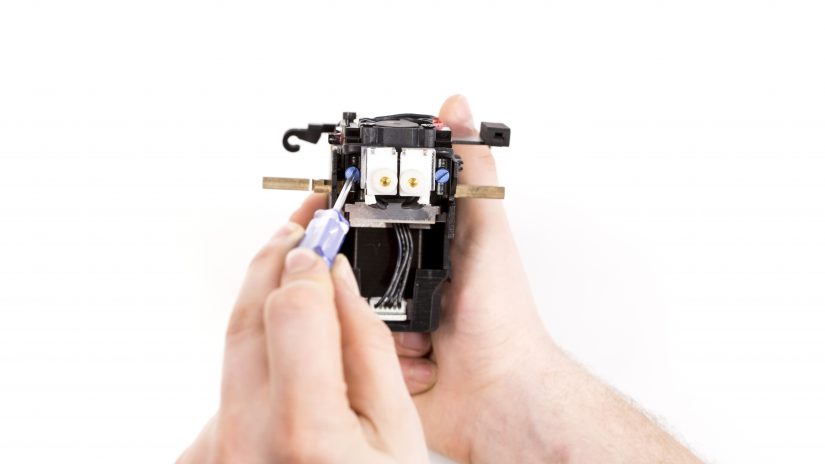
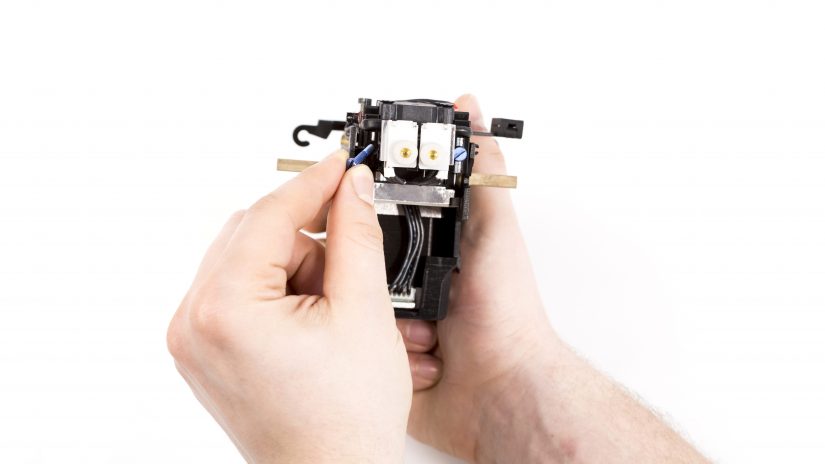
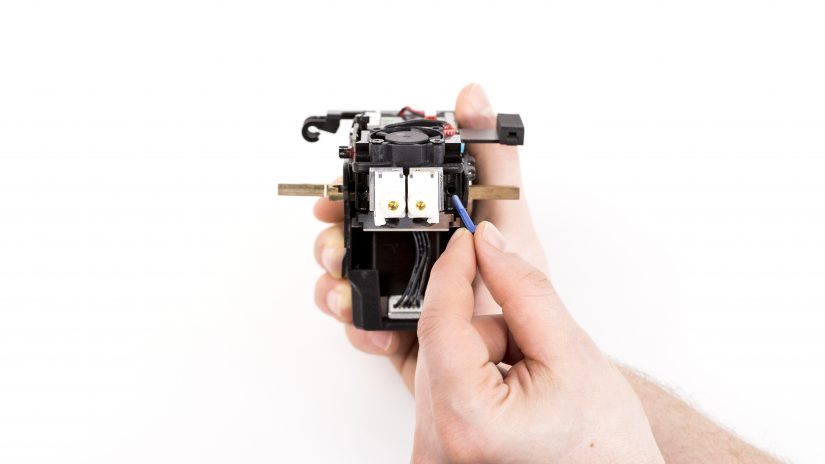
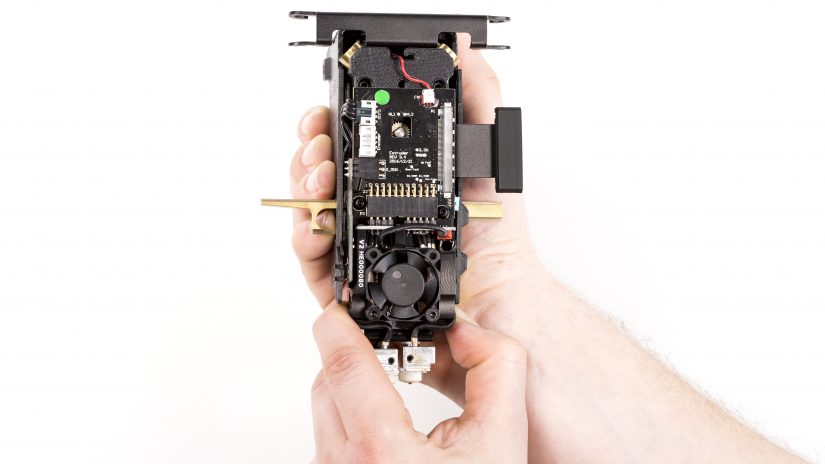
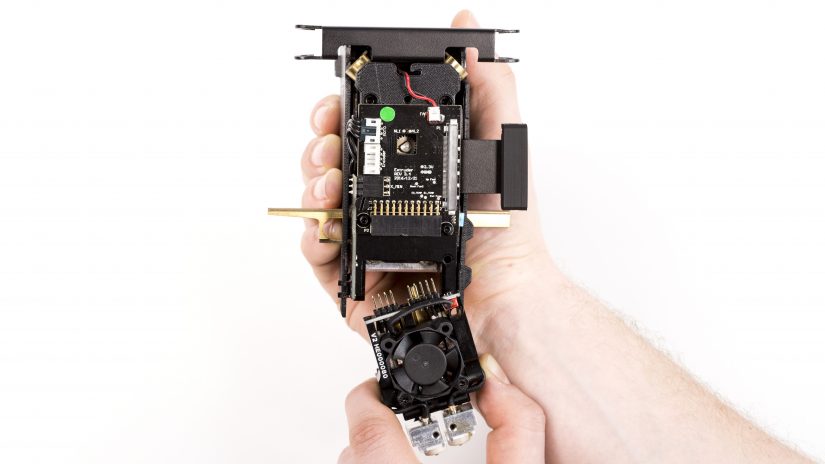
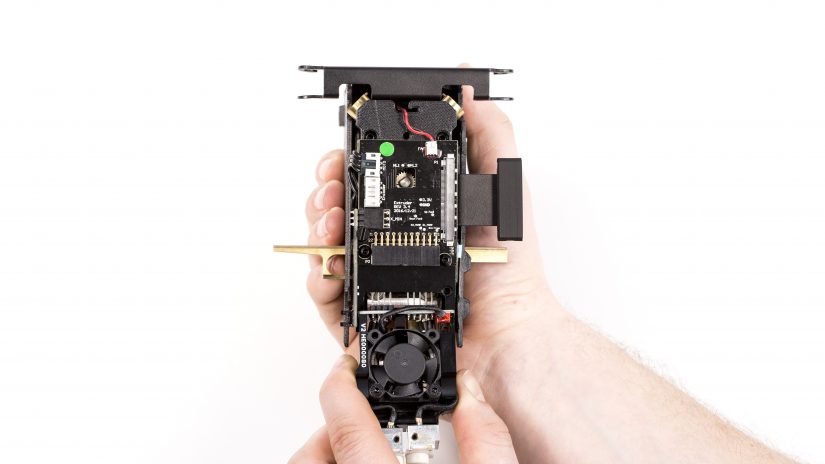
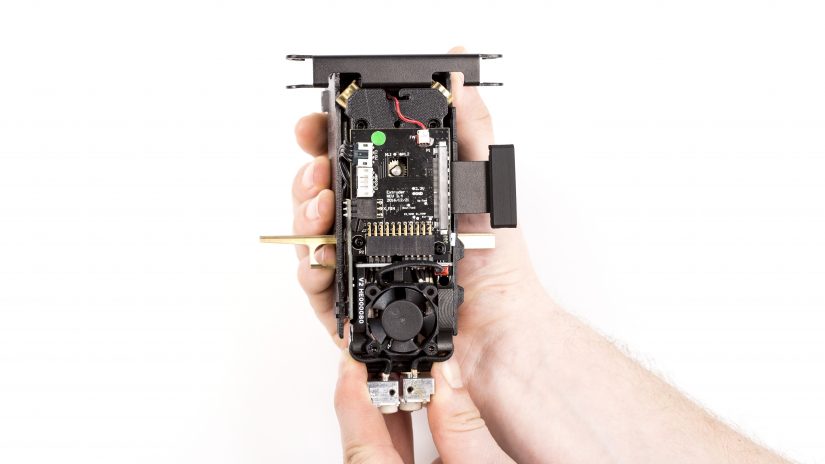
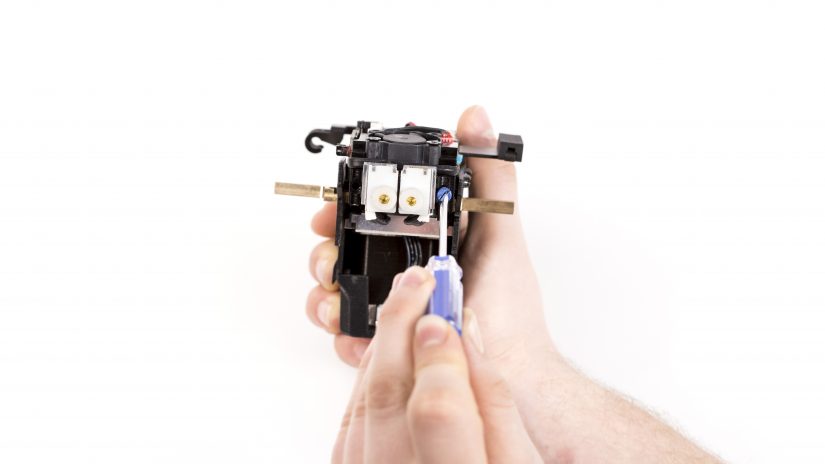
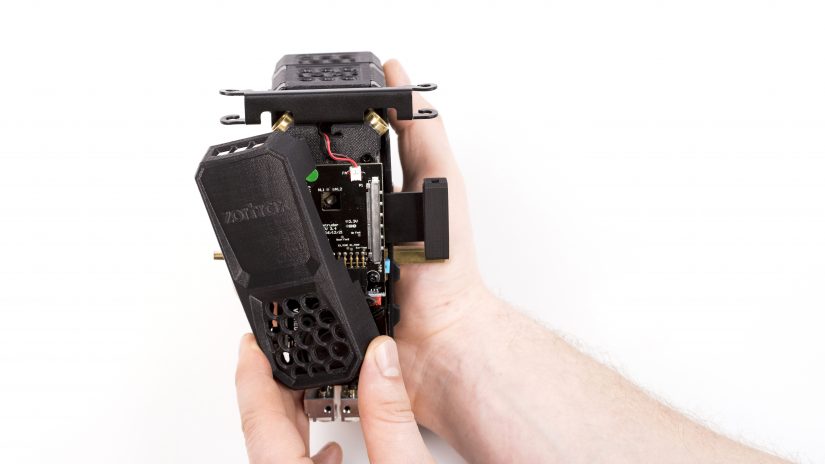
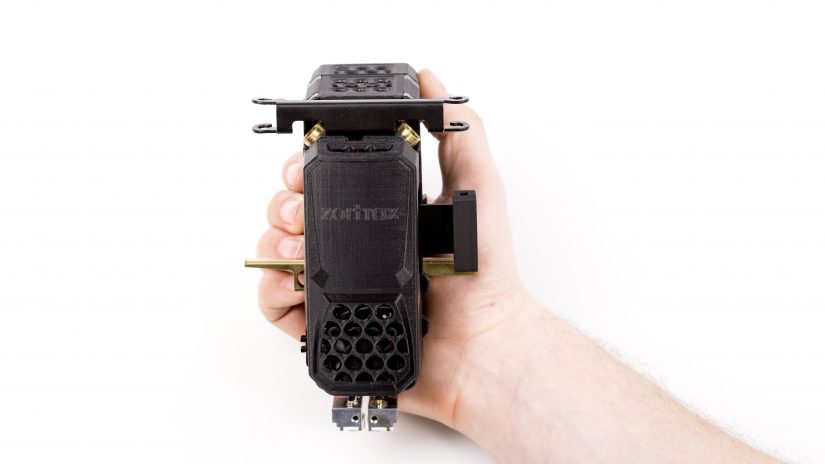
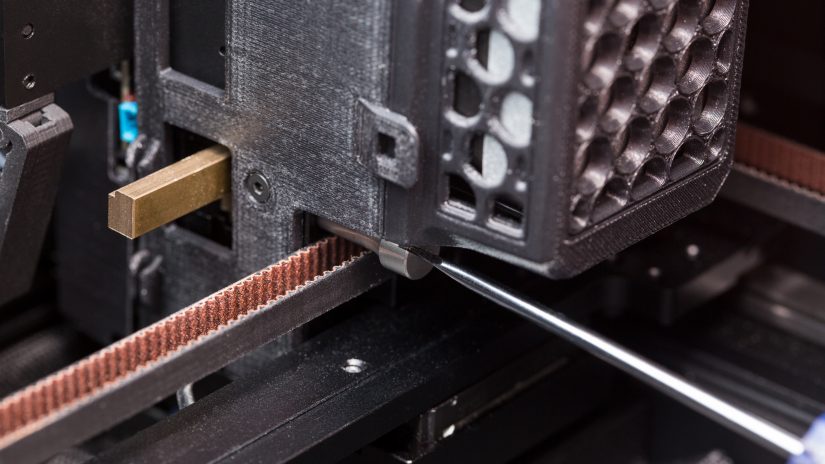
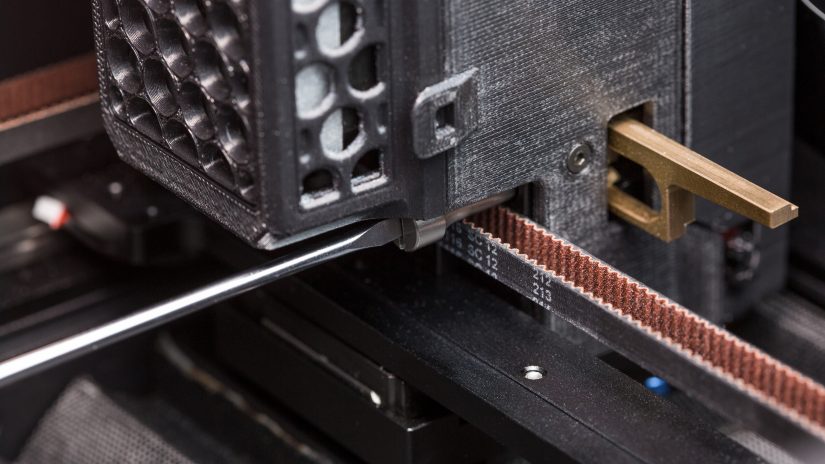
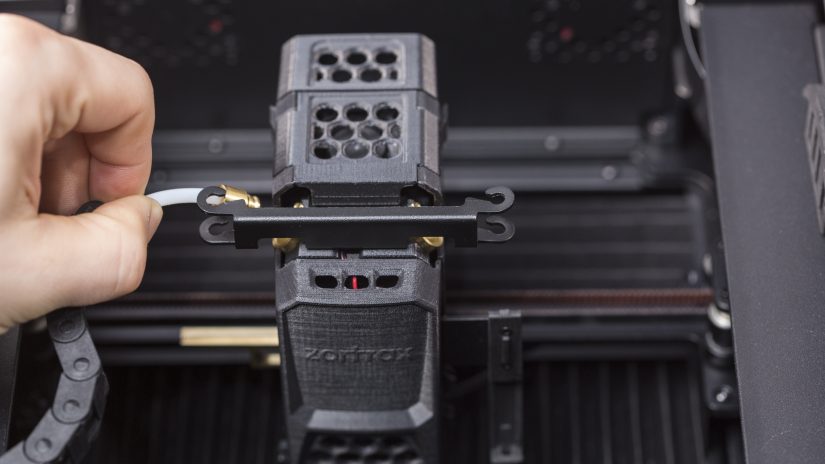
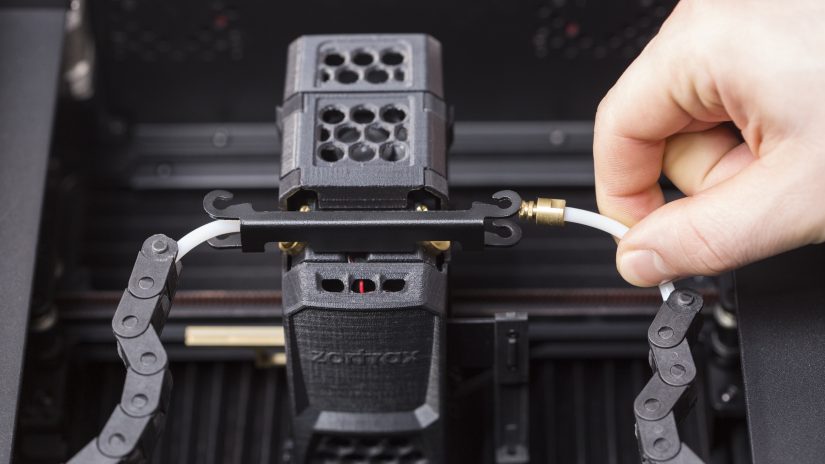
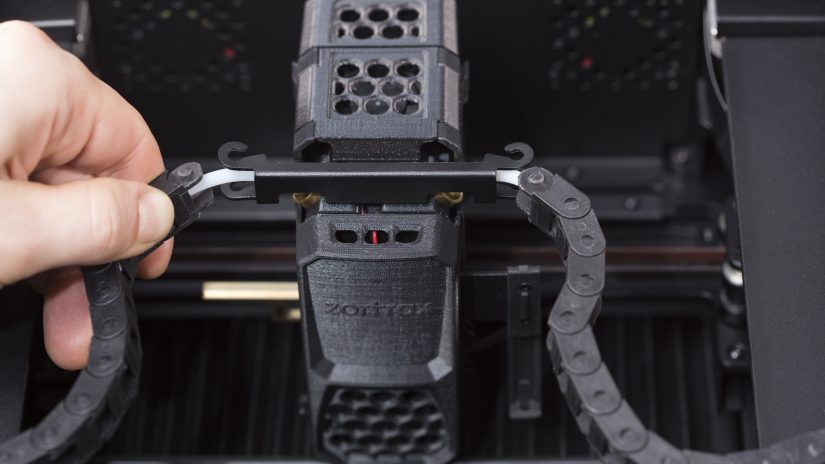
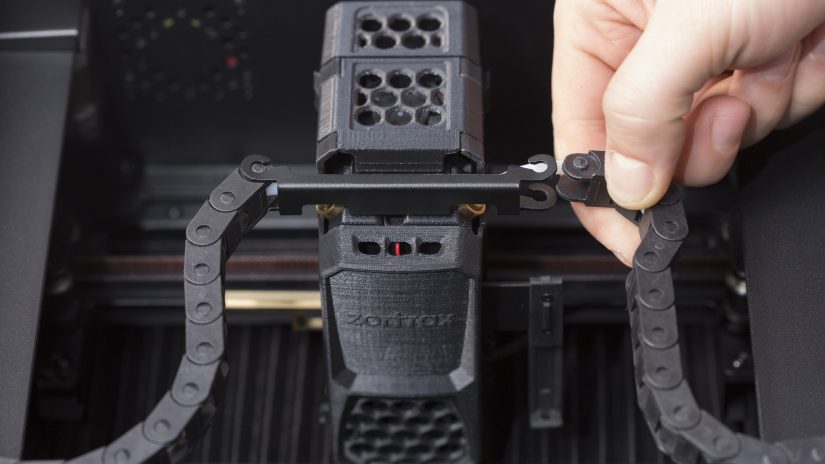
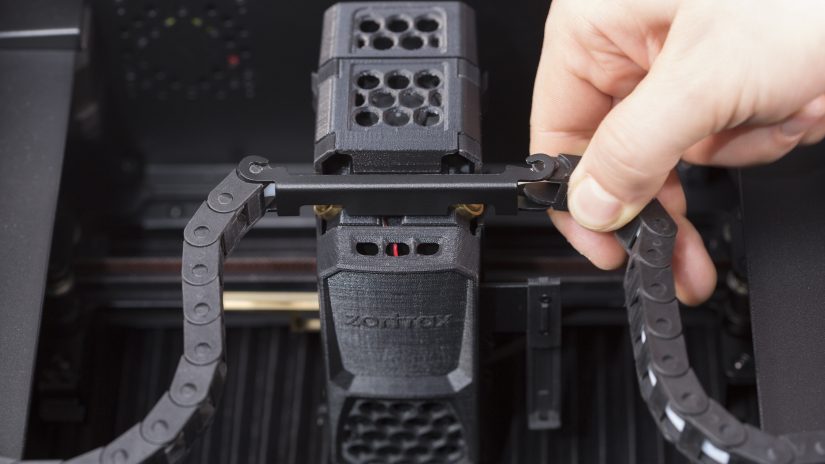
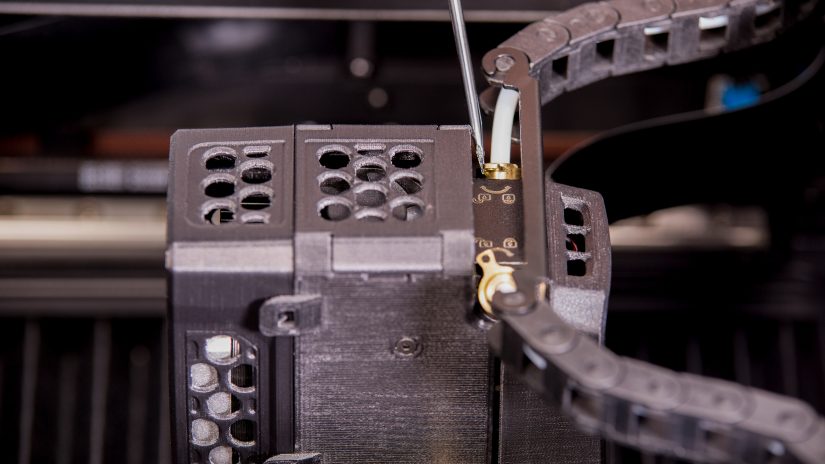
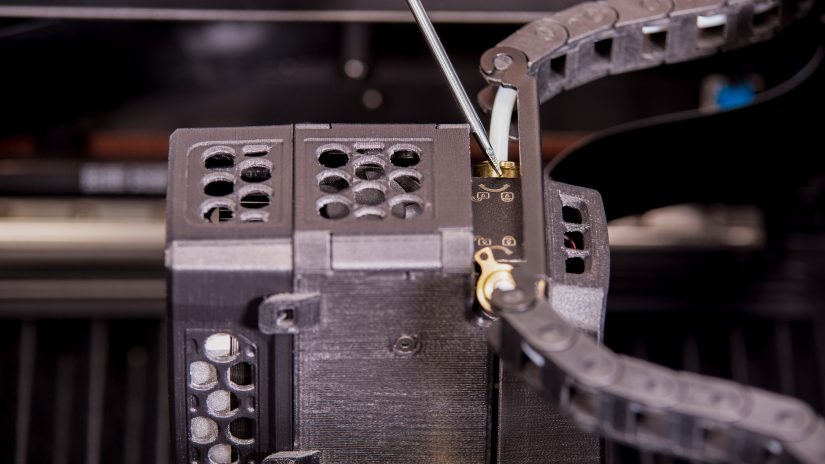
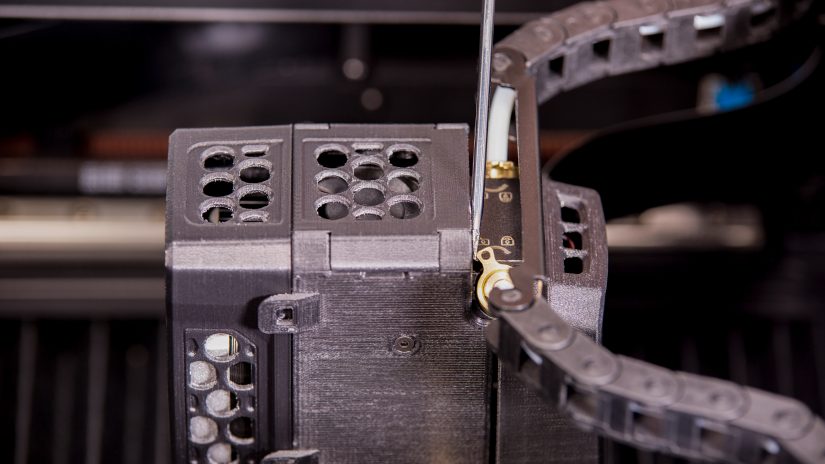
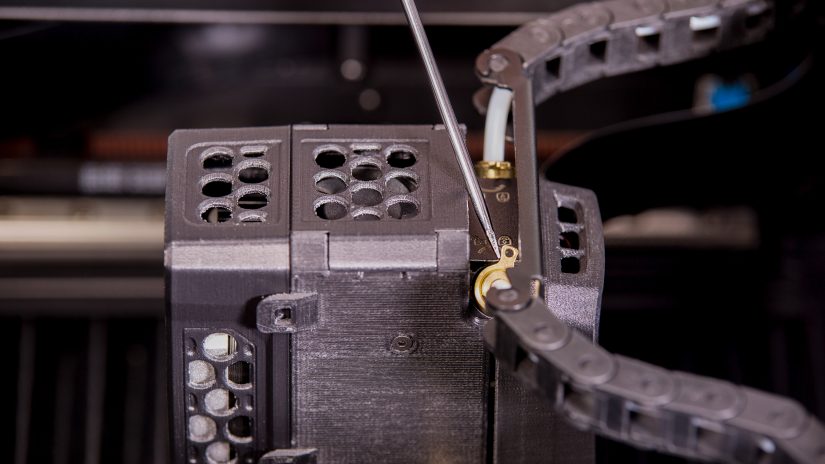
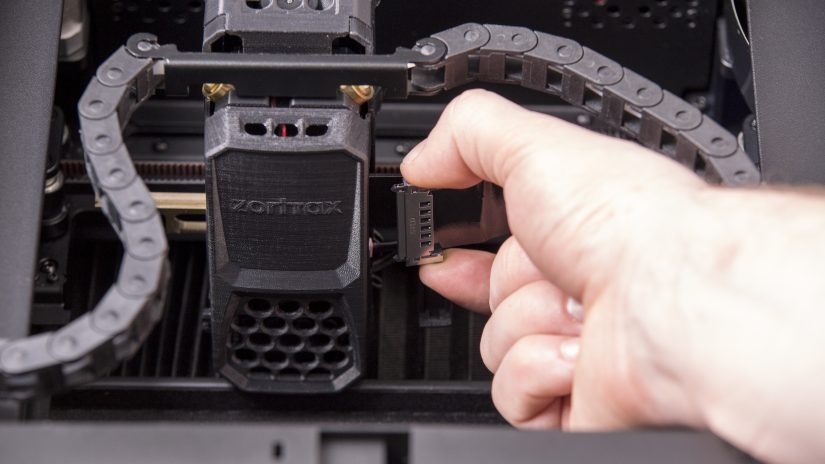
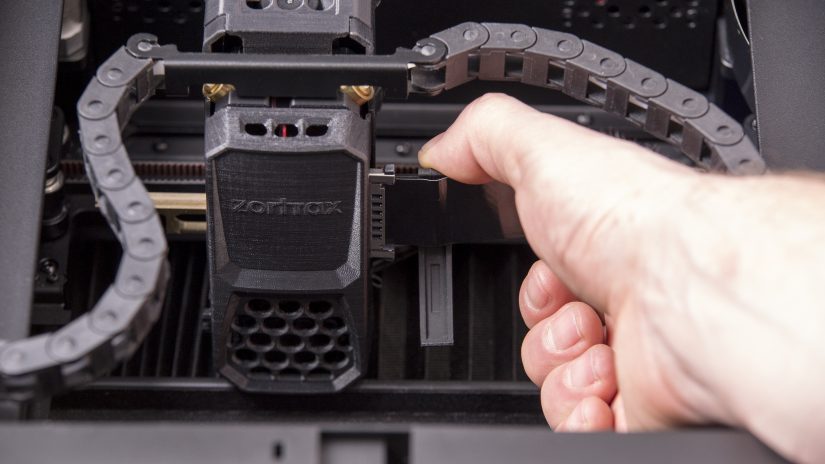
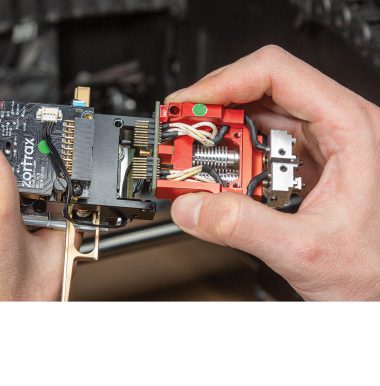
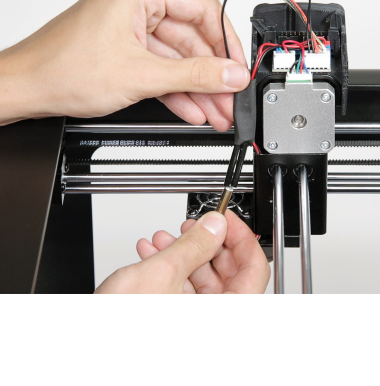
The hotend module consists of two separate hotends, one extruding the model material and the other extruding the support material. It is also responsible for heating and melting the materials as well as for maintaining the proper temperature of the materials during the whole printing process. Therefore, if the whole module does not heat up or does not extrude either of the materials, or the material residues accumulate around the hotends and are difficult to remove, the hotend module needs to be replaced.
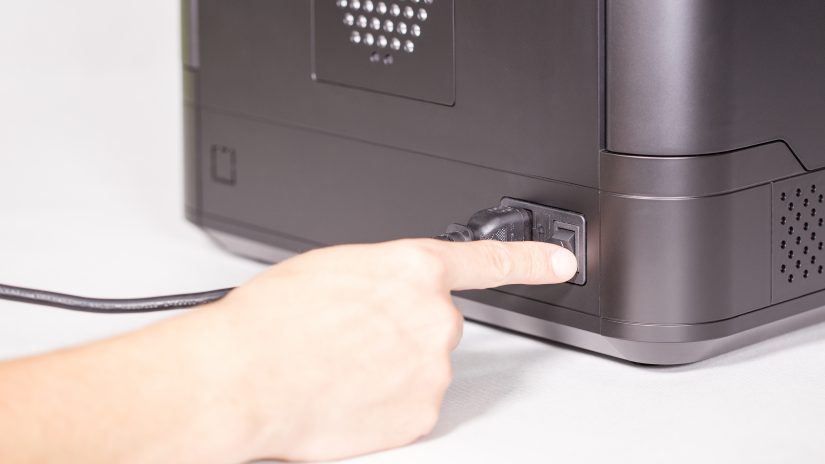
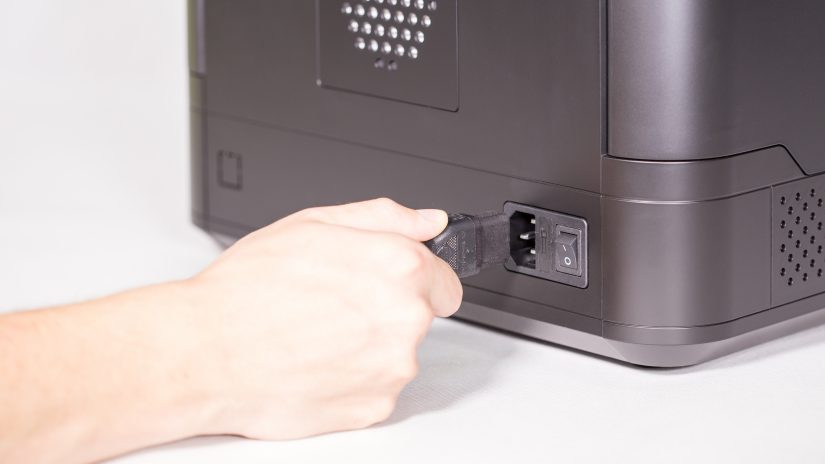
| If any material is loaded into the extruder, unload it before replacing the hotend module. |


