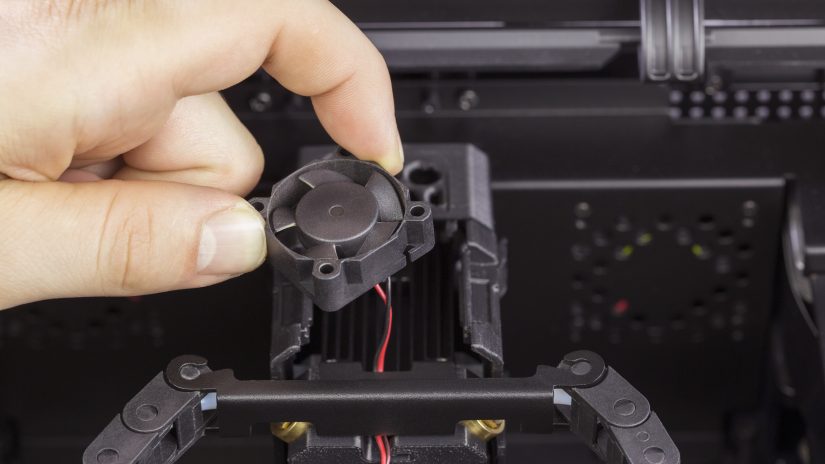
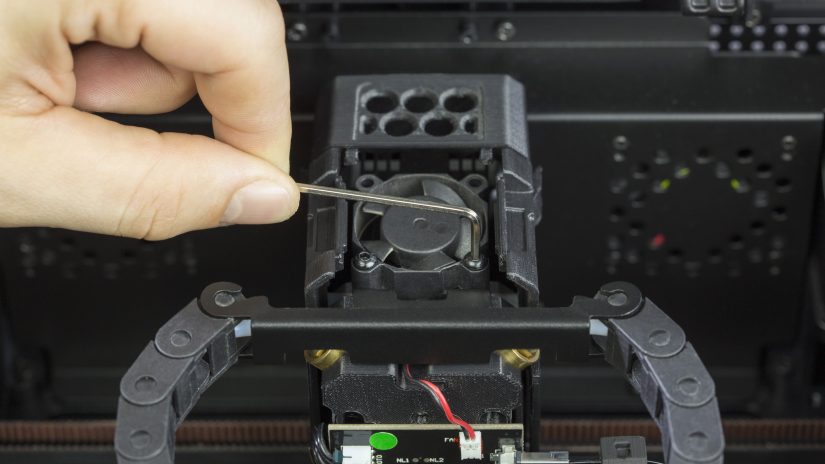
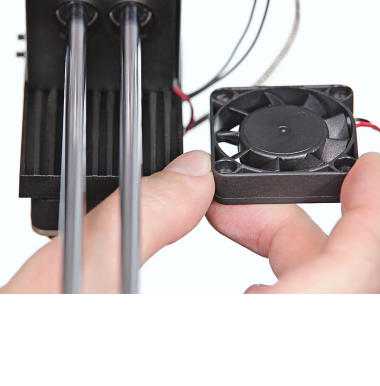
The extruder upper fan is responsible for cooling all components of the extruder, and thus prevents the whole unit from overheating. If you notice lower quality of prints or insufficient extrusion and shortages of materials in the structure of your model, at first check the extruder upper fan for proper operation. If the fan blades don’t spin, it should be replaced with a new one. Also, the error message #140 refers to the fan’s failure. This manual shows how to carry out the replacement.

1

Unplugging the Power Cable

Upper_Extruder_Fan_Replacement_1b.jpg

Turn off the printer and unplug the power cable.

2

Opening the Top Door

Open the top door.

3

Extruder Front Cover Removal

Remove the extruder front cover.

4

Unplugging the Extruder Upper Fan Cable

Unplug the extruder upper fan cable.

5

Extruder Upper Cover Removal

Upper_Extruder_Fan_Replacement_5a.jpg

Remove the extruder upper cover.

6

Unscrewing the Extruder Upper Fan

Unscrew the two screws securing the extruder upper fan and remove the screws.

7

Extruder Upper Fan Removal

Upper_Extruder_Fan_Replacement_7.jpg

Separate the extruder upper fan from the extruder.

8

Extruder Upper Fan Installation

Install the extruder upper fan in its place and put the cable in the gap.

9

Securing the Extruder Upper Fan

Secure the extruder upper fan with the two screws.

10

Extruder Upper Cover Assembly

Upper_Extruder_Fan_Replacement_11.jpg

Attach the extruder upper cover to the extruder.

11

Extruder Front Cover Assembly

Upper_Extruder_Fan_Replacement_12.jpg

Attach the extruder front cover to the extruder.

12

Closing the Top Door

Close the top door.

Was this article helpful?

Yes No

Thank you for your feedback.

Arrow back Arrow up