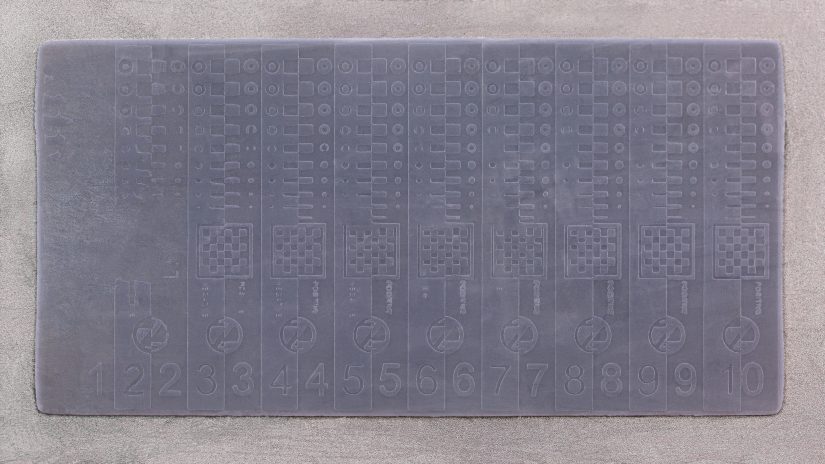
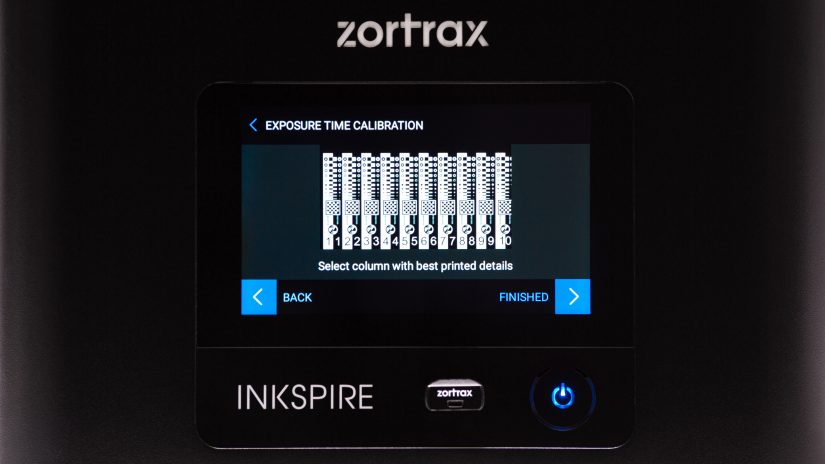
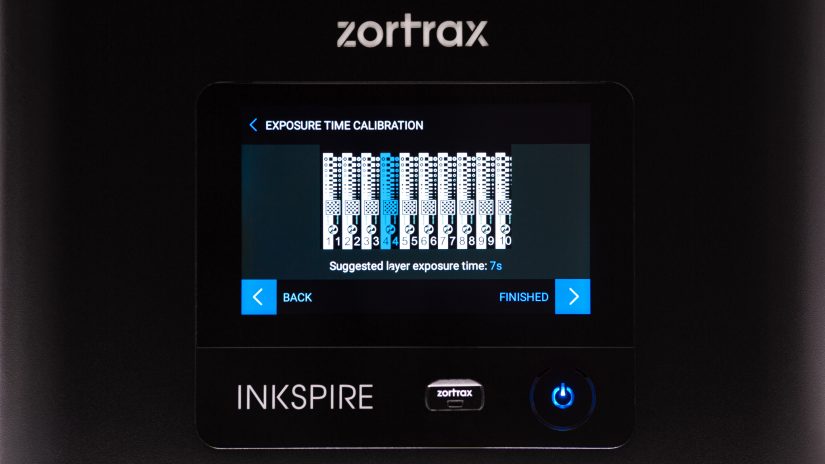
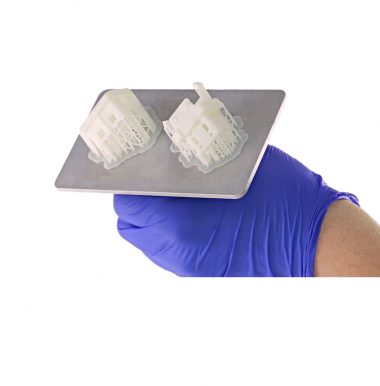
Every resin intended for UV LCD 3D printing is cured with UV light using different exposure time settings which depend on the chosen layer thickness. The Exposure Time Calibration tool allows you to determine the correct settings for the type of resin you are going to use and layer thickness you have set for your model. To avoid having to randomly test print settings and ending up with a failed print, you have to properly calibrate the printer and find the best exposure time values. This manual shows a simple procedure that will help you when working with third-party resins and produce a high-quality print. During this calibration, the Inkspire will print a simple model with ten columns showing multiple details. Once the model is ready, you have to inspect it visually to know which exposure time settings are the best for your resin.
Entering Calibration Values
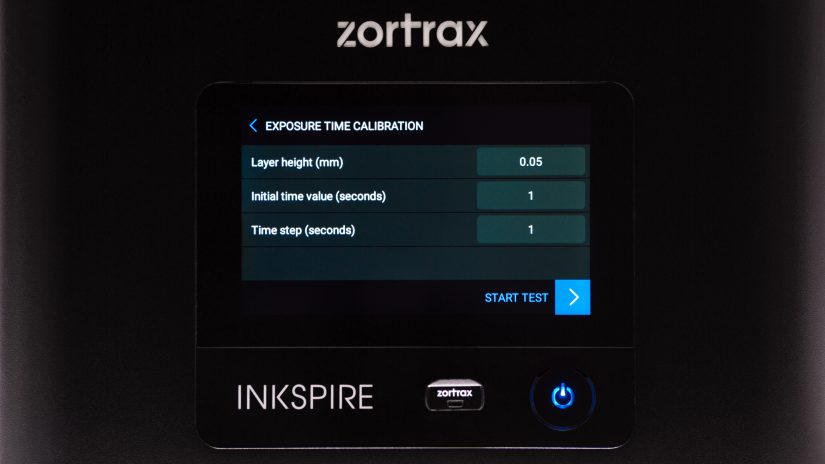
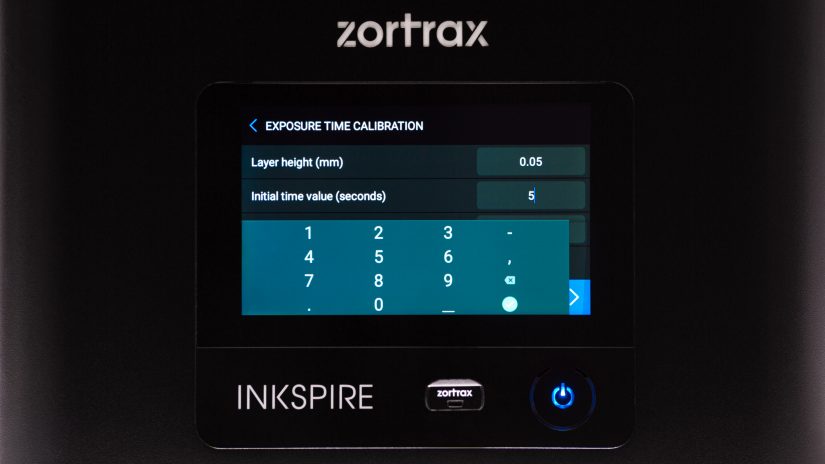
To start the calibration, enter the necessary settings:
–Layer height (mm) – the layer thickness which you want to test for the resin,
–Initial time value (seconds) – the initial exposure time value for the first column of the trial model,
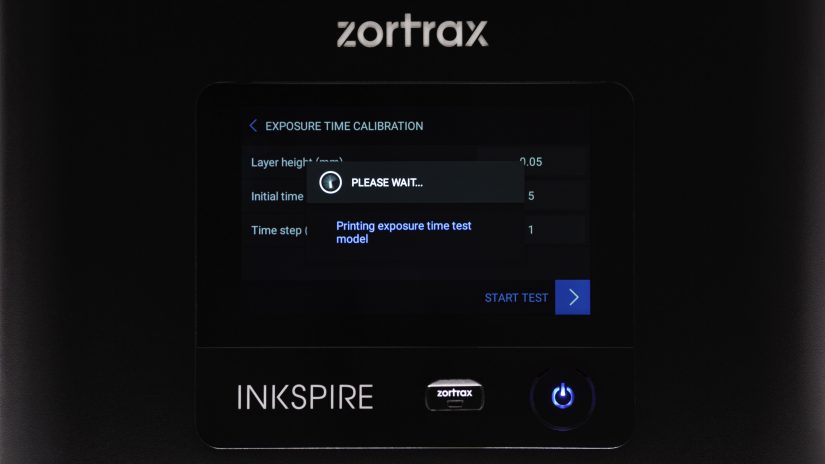
–Time step (seconds) – the time value which will extend the exposure time for each next column.
Once you enter all values, select Start test and the printer will start to print the trial model.


