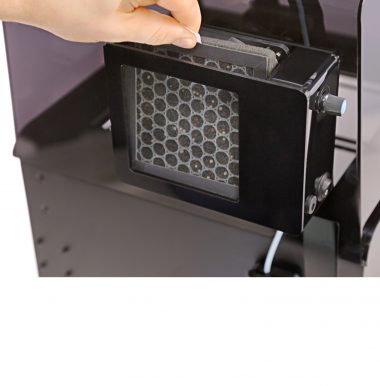
The endstop is an extruder movement control tool which is responsible for sensing the extruder’s position. Each M Series and M Series Plus printer is equipped with two endstops – one located at the end of the X axis and the other at the end of the Y axis, both are located in the front corners of the housing. Once the extruder reaches the end of the axis, the lever of the endstop is pressed with an endstop sleeve – the element placed on the inner side of the axis block. This action immediately informs the printer that the extruder should stop moving and not crash into the housing. Therefore, if the extruder hits a corner of the housing, and an error message appears on the display (Endstops error #034), at first check if the endstop cables are properly connected to each endstop. Then, check if the endstop sleeves are installed on each axis block. If everything seems to be in order, the endstops need to be replaced. Follow the steps from this manual to see the correct replacement procedure. This manual shows the Y axis endstop replacement. The X axis endstop should be replaced likewise.
| The following manual shows the M200 repair work. For the M300, M200 Plus and M300 Plus, these procedures are the same. |
Unplugging the Power Cable
Turn off the printer and unplug the power cable.
Unscrewing the Endstop
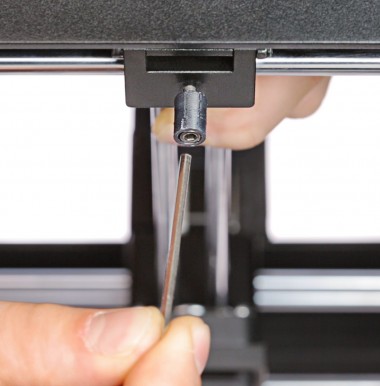
Unscrew the two screws that secure the endstop in the housing. Use a 2mm Allen key.
Endstop Removal
Gently grab the endstop, pull it out and unplug the cables.
Plugging the Cables into the Endstop
Plug the cables into the new endstop.
Endstop Assembly
Install the new endstop in its place and secure it with the screws.
Plugging the Power Cable
Plug the power cable in.